9
To Begin Recording
Once you have successfully set up the cameras, and have a HDD installed in the recorder, the recorder
will start recording footage. To tell if each camera is recording,
will be displayed on each camera’s
live view screen.
When the HDD is full, the oldest recorded footage will be overwritten automatically. The recorder is set to
overwrite by factory default but this can be changed in the “GENERAL” settings menu.
Recording Rate Setup
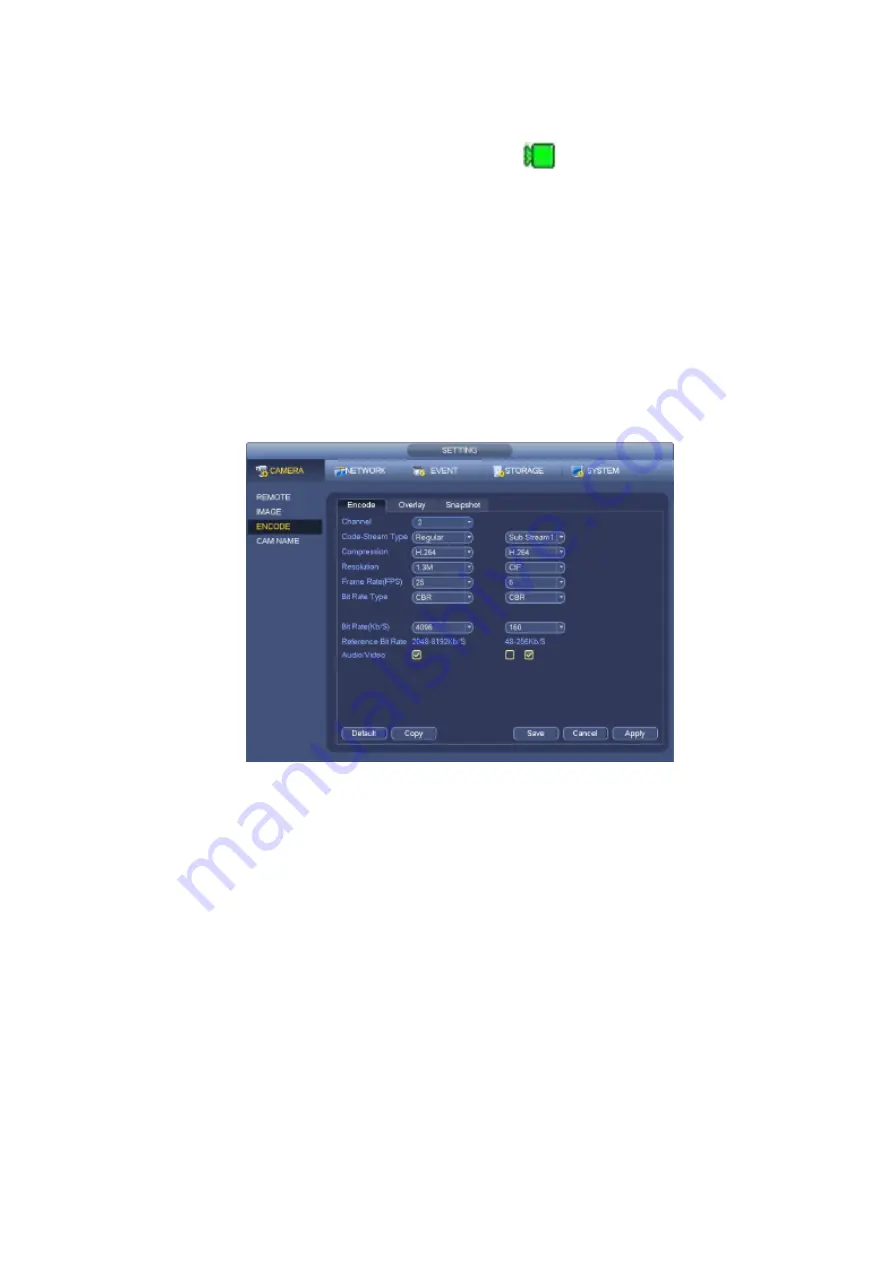
Right click to open the menu and select “MAIN MENU”, then select “CAMERA” under the settings menu,
and finally “ENCODE”.
In this menu, you can set individual encoding options for Regular, Motion Detect and Alarm Recording.
The Sub Stream must be enabled if you wish to remotely access the recorder. This is the checkbox on the
right, under “Sub Stream”.
If you have setup remote access and find that the video is slow to load, set each camera’s sub stream
settings to: H.264 with a CIF resolution, 10fps, Bit Rate CBR of 320kbps.
This is a good starting point, settings can be adjusted lower or higher, depending on the internet
connection speed.


