4
INSTRUCTION GUIDE: ElITE COmmUNICaTING ThERmOSTaT
IG1602EW 06/12
Installer Information/Advanced Features
Safety Considerations
Improper wiring or installation may damage thermostat. Wiring
must conform to local and national electrical codes
Introduction
The thermostat is a wall mounted, low-voltage thermostat which
maintains room temperature by controlling the operation of a
heating and air conditioning system. Batteries are not required;
temperature and mode settings are preserved with the power off.
Installation Considerations
The thermostat requires no batteries. The thermostat is not a
power stealing device and mUST have both R and C connected.
Installation
Thermostat Location
Thermostat should be mounted:
- approximately 5 ft. (1.5m) from floor.
- Close to or in a frequently used room, preferably on an
inside partitioning wall.
- On a section of wall without pipes or duct work.
Thermostat should NOT be mounted:
- Close to a window, on an outside wall, or next to a door
leading to the outside.
- Exposed to direct light and heat from a lamp, sun,
fireplace, or other temperature-radiating object which
may cause a false reading.
- Close to or in direct airflow from supply registers and
return-air grilles.
- In areas with poor air circulation, such as behind a door
or in an alcove.
Install Thermostat
1. Turn off all power to unit.
2. If an existing thermostat is being replaced:
a) Remove existing thermostat from wall.
b) Disconnect wires from existing thermostat, one at a
time. Be careful not to allow wires to fall back into the
wall.
c) as each wire is disconnected, record wire color and
terminal marking.
d) Discard or recycle old thermostat.
NOTE:
mercury is a hazardous waste and mUST be
disposed of properly.
3. Separate the front and back pieces of plastic.
4. Route thermostat wires through hole in back piece of
plastic. level plastic against wall (for aesthetic value only
- thermostat need not be leveled for proper operation) and
mark wall through 2 mounting holes.
5. Drill two 3/16-in. mounting holes in wall where marked.
(
NOTE:
mounting holes on thermostat are designed to fit
on a horizontal J-box).
6. Secure back plastic to wall with 2 anchors and screws
provided making sure all wires extend through hole in plastic.
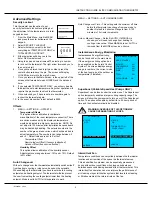
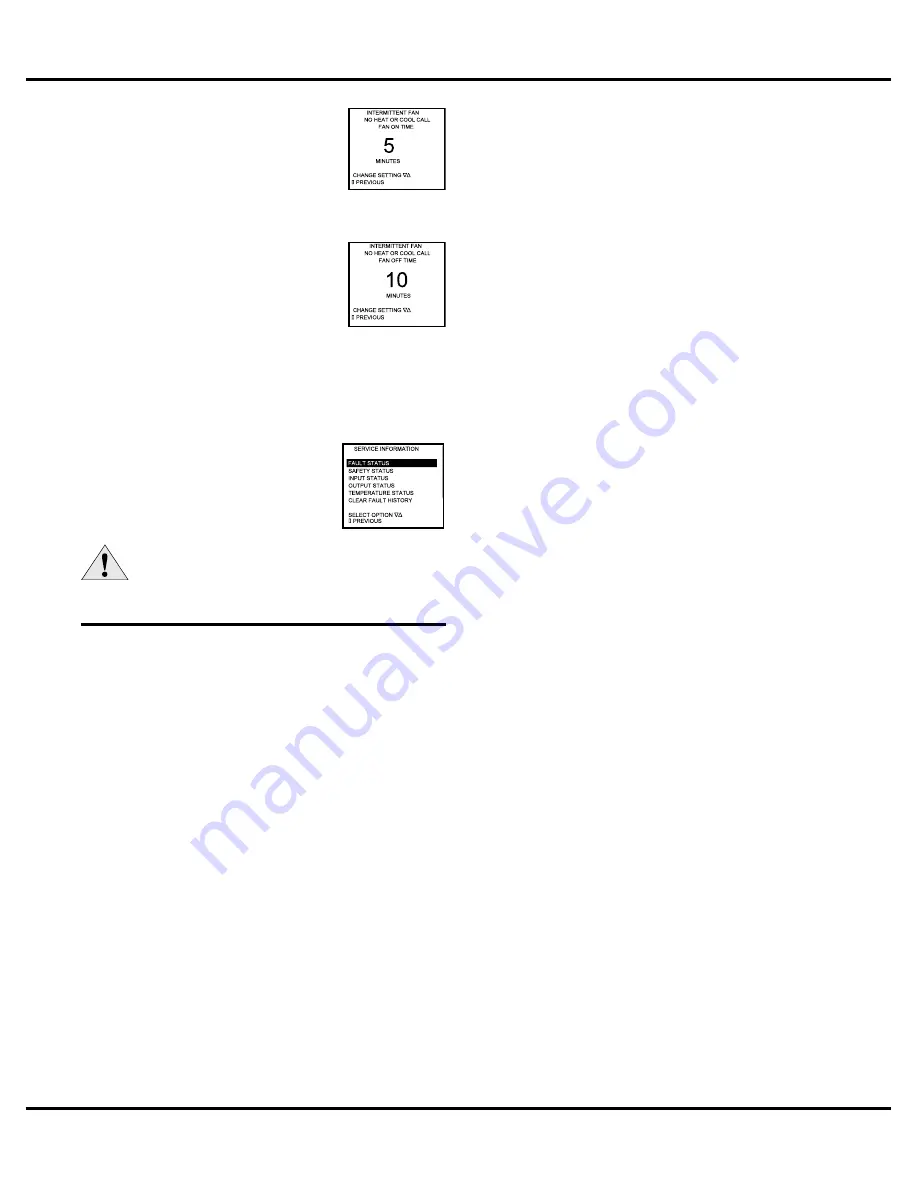
1. MENU → SETTINGS →
INTERmITTENT FaN
2. If the FaN hasn’t been on for an hour,
the fan will start cycling based on these
times. Default is OFF. The first screen
is the amount of time you want the fan
to be energized. Ranges are OFF, or 5-20 minutes in 5
minute increments.
3. after entering this time and pressing
the center button ■, the next screen
is the amount of time the fan is OFF.
Ranges are 0 minutes, or 5-40 minutes
in 5 minute increments.
4. after entering this time and pressing
the center button ■ you will be returned to the Setting Menu
screen.
5. Fan ON and OFF cycles will continue until the fan has been
energized by a call for heating or cooling.
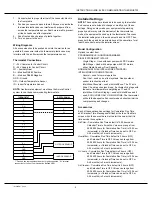
Service Information
MENU → SETTINGS → SERVICE INFO
These screens help an installer or
contractor to have a good understanding of
what problems might be occurring before
arriving for service.
WARNING: Before installing thermostat, turn off
all power to unit. There may be more than one
power disconnect. Electrical shock can cause
personal injury or death.


