12
Sanitization Steps
STEP 1:
TURN OFF WATER SUPPLY - CLOSE INLET
SUPPLY NEEDLE VALVE ALL THE WAY
STEP 2:
DEPRESSURIZE SYSTEM - OPEN FAUCET
SUPPLY UNTIL ALL WATER IS EMPTIED
Use a clean drip pan or basin to continue to catch any spilled
water remaining in the housings as you remove the
membrane and cartridges.
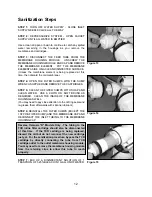
STEP 3:
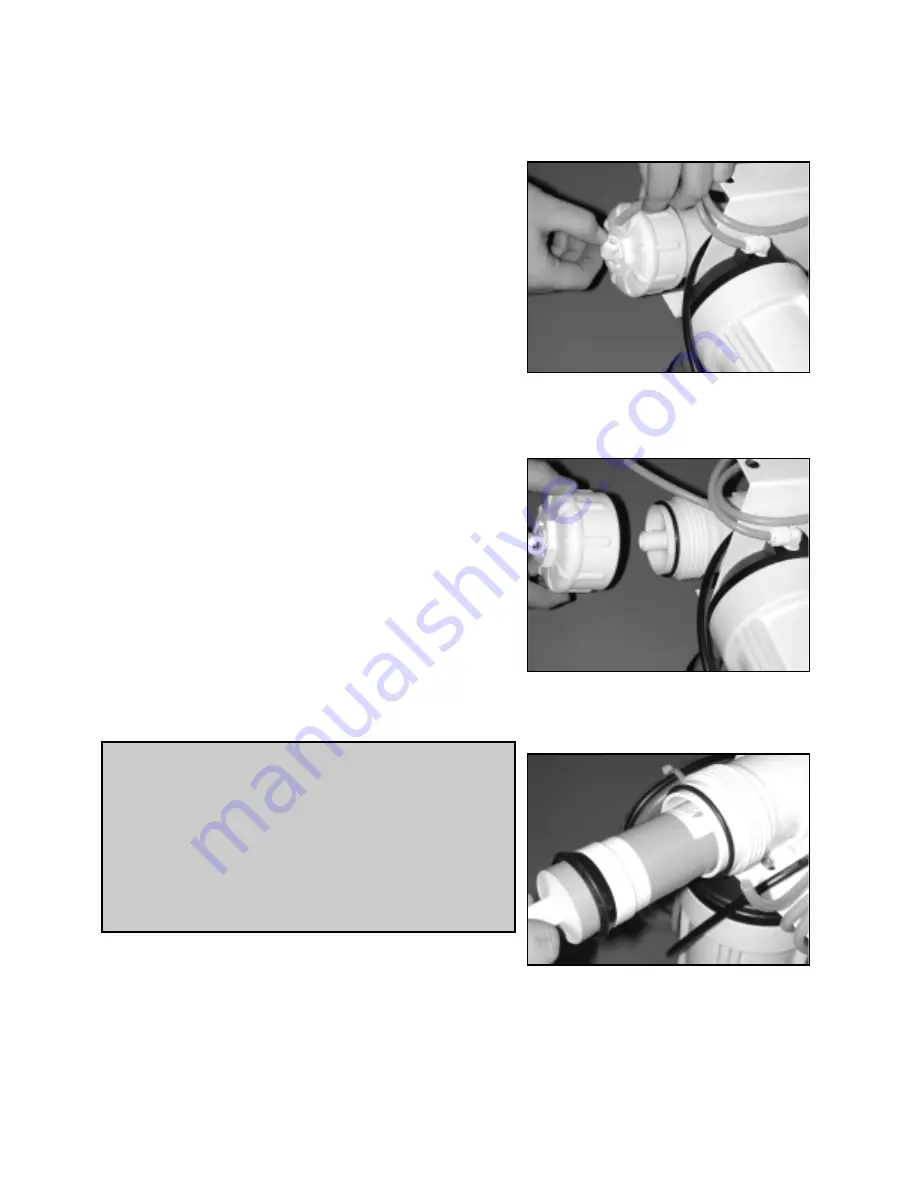
DISCONNECT THE FEED TUBE FROM THE
MEMBRANE HOUSING MODULE. UNSCREW THE
MEMBRANE HOUSING MODULE END CAP AND REMOVE
THE MEMBRANE ELEMENT. PUT THE MEMBRANE
ELEMENT ASIDE ON A CLEAN DISINFECTED SURFACE.
(Unless the membrane element is being replaced at this
time, then discard the old membrane.)
STEP 4:
OPEN THE FILTER SUMPS WITH THE SUMP
WRENCH SUPPLIED AND REMOVE THE CARTRIDGES.
STEP 5:
CLEAN THE FILTER SUMPS WITH SOAP AND
CLEAN WATER. USE A CLOTH OR SOFT BRUSH AS
REQUIRED. CLEAN THE INSIDE OF THE MEMBRANE
HOUSING AS WELL.
(You may need to pay close attention to the O-Ring seals and
re-grease them afterwards with silicone lubricant)
STEP 6:
REINSTALL THE FILTER SUMPS (EXCEPT THE
1ST PRE-FILTER SUMP) AND THE MEMBRANE CAP AND
RECONNECT THE INLET TUBING TO THE MEMBRANE
HOUSING CAP.
Reverse Osmosis "D" Models Only - The tubing to the
TCR inline filter cartridge should also be disconnected
at this time. If the TCR cartridge is being replaced,
discard the old but do not reconnect the new cartridge
just yet. For the sanitization procedure, bypass the TCR
cartridge by directly connecting the tube from TCR
cartridge outlet to the outlet membrane housing module.
You may need to remove the membrane housing module
from the retaining clips to allow this tube to reach
properly.
STEP 7:
MIX UP A DISINFECTANT SOLUTION OF 1
TEASPOON OF 5.25% BLEACH IN 1 GALLON OF WATER.
Figure 13
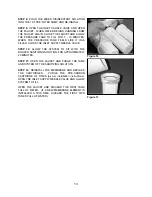
Figure 14
Figure 15


