


Installation and connection of outdoor unit
05.06.2015
36 / 80
Copyright
2013 by: WATERKOTTE GmbH. Subject to changes.
Be sure to use the correct tools. Any dust, debris or moisture entering the
refrigerant lines poses a risk of refrigeration oil deterioration.
Do not use a charging cylinder. Using a charging cylinder changes the
composition of the refrigerant, thus lowering efficiency.
After connecting the refrigerant tubes, check the connected tubes and the
indoor unit for gas leaks.
8.2.5
Tube airtight testing method (recommended procedure)
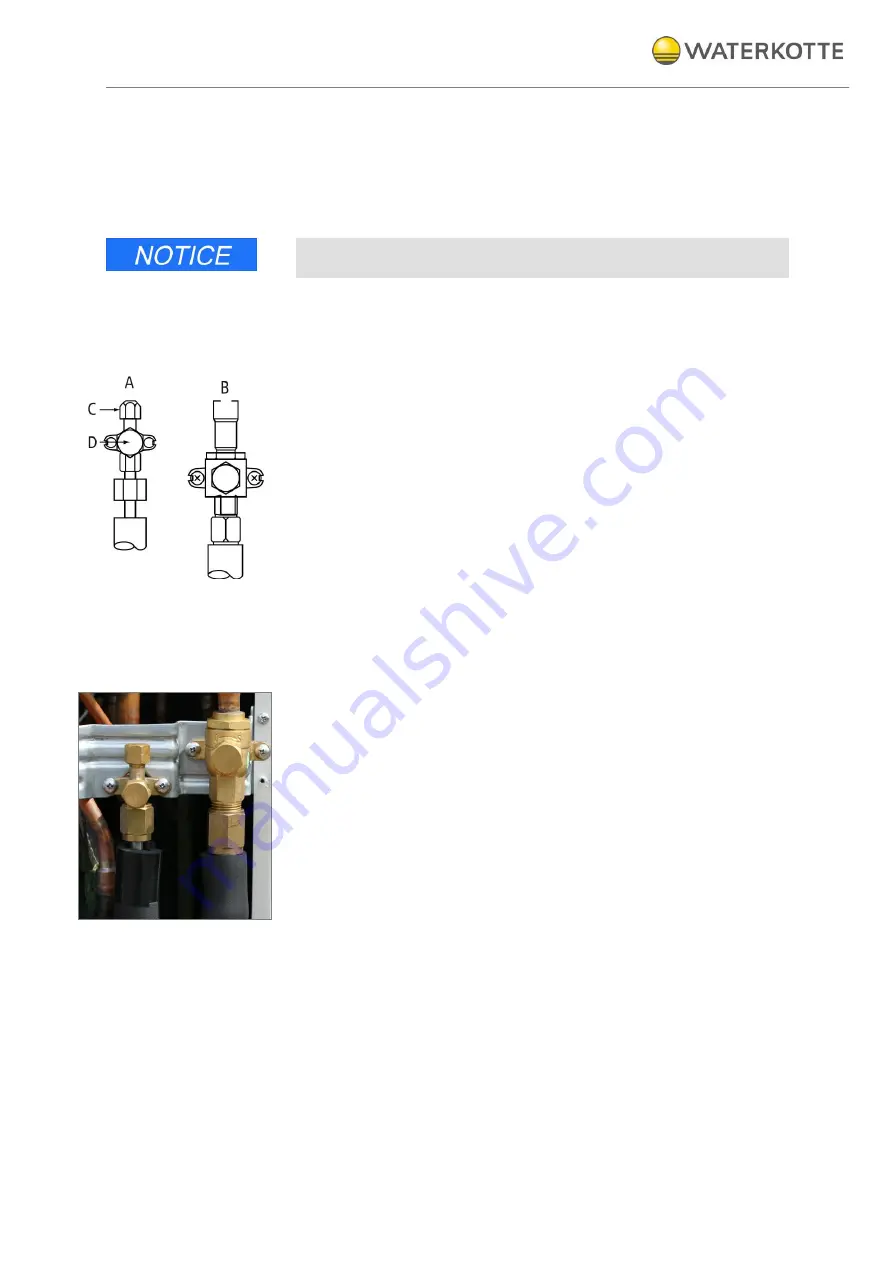
Make sure that stop valves A and B are closed, and do not open them.
Connect the testing tools (stop valve A).
Add pressure to the refrigerant lines through the service port C of the liquid
stop valve A.
Do not increase pressure to the specified value at once, but rather
gradually:
1.
Pressurise to 0.5 MPa (5 bar), wait five minutes, and make sure
that pressure does not drop.
2.
Pressurise to 1.5 MPa (15 bar), wait five minutes, and make sure
that pressure does not drop.
3.
Pressurise to 4.15 MPa (41.5 bar) and measure ambient tempera-
ture and refrigerant pressure.
4.
If specified pressure is maintained for one day and does not drop,
the tubes have passed the test and there are no leaks.
If the ambient temperature changes by 1 °C, the pressure will change by
about 0.01 MPa (0.1 bar). Make the necessary corrections.
If the pressure drops during steps (2) or (3), a gas leak exists. Look for the
source of the gas leak.
A Stop valve, liquid side
B Stop valve, gas side
C Service port
D Open/close section


