ClEANING AND MAINTENANCE
Like most appliances, your water dispenser requires periodic maintenance for maximum efficiency and performance and
must be cleaned on a regular basis (i.e. every 4 months). To maintain a hygienic environment within your water dispenser
and prevent potential formation (growth) of bacteria, we strongly recommend regular cleaning. A cleaning kit is available
through our Customer Service Department at
1-866-253-0447
or can be ordered on line at
www.greenwayhp.com
.
Failure to properly maintain your dispenser will void your warranty.
Cleaning Your Water Dispenser
IMPORTANT: Always unplug the dispenser before performing any of the following cleaning procedures.
Cleaning the Outside of the Water Dispenser
The outside of the dispenser can be wiped clean with a non-abrasive cleaner or a mild soap and water mixture. Never
use harsh chemicals or abrasive cleaners. Rinse thoroughly with clean water and then dry surfaces.
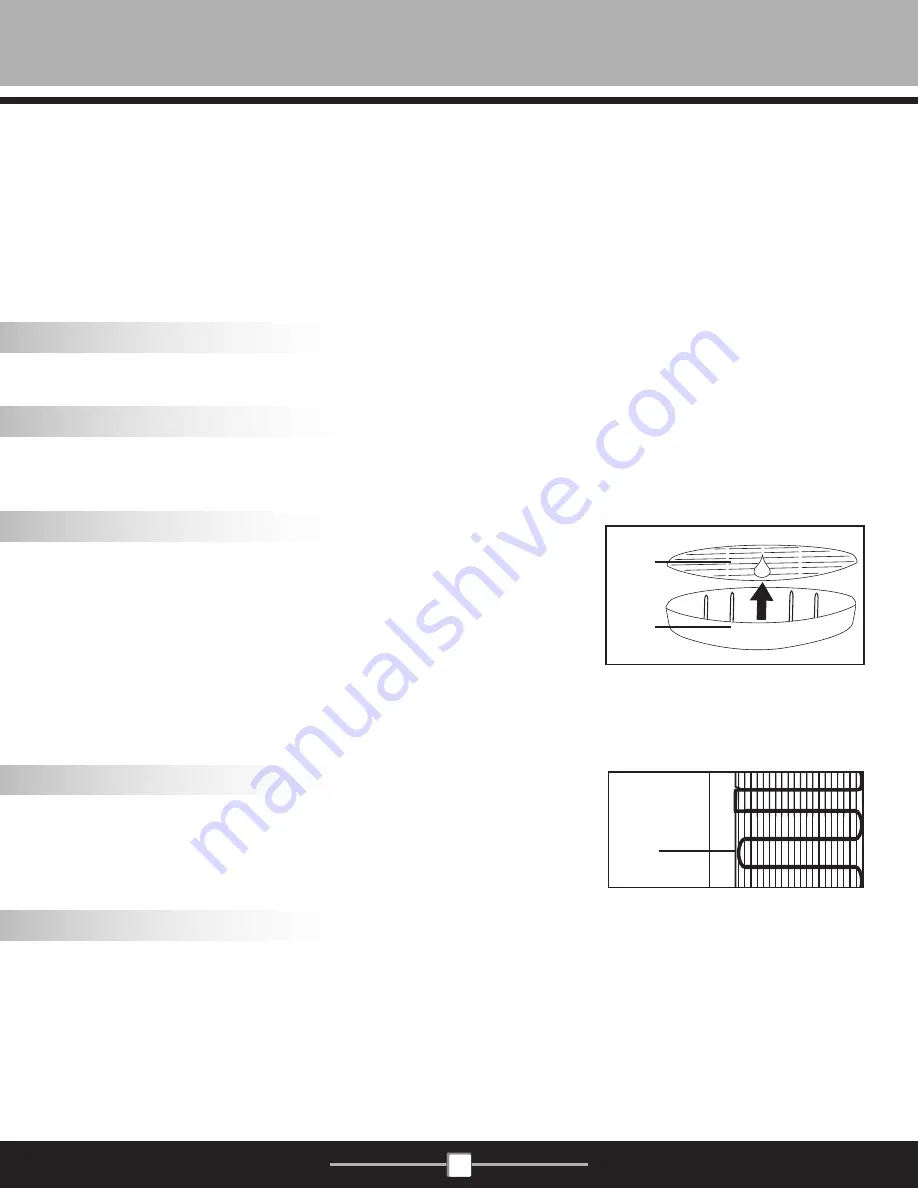
Cleaning the Drip Tray
To remove, take the grill off the tray and firmly lift the tray up, dislodging it from
the guides. Drain and clean.
The drip tray should be emptied and cleaned regularly to remove spotting and
any mineral deposits. Clean with a water dispenser cleaning solution or a mild
soap and water mixture. For tough deposits, add vinegar and let it soak until the
deposits come loose. Then wash, rinse and dry thoroughly (not dishwasher safe).
To replace, put the grill back on the tray and slide the tray onto the guides.
Cleaning the Condenser
Vacuum or sweep away the dust from the condenser coils at the back of the
dispenser. For best results, you can purchase a brush designed specifically
for this purpose from your local appliance store. This will improve cooling and
efficiency.
Draining the Reservoir
Drain the reservoir before and after cleaning, when going on long vacations or if not using the dispenser for long periods
of time.
IMPORTANT! Always unplug the dispenser before performing this procedure.
1.
Remove the water bottle.
2.
Press both dispensing taps until water no longer comes out.
Condenser
coils
Grill
Drip
Tray
5
6


