T-360
Page 34 of 35
Eclipse ES CAFSystem
t
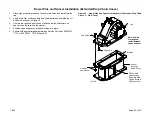
Installation onto PTO (See Figure 1)
To install the Eclipse ES CAFSystem onto the TC10, perform the following
steps:
1.
Support the Eclipse ES unit with a lifting strap placed under the air
compressor. Two other eyeloops are provided for lifting (see Figure 1).
2.
Lift the unit onto the TC10.
3.
Install the compressor bracket that supports the Eclipse ES unit to the
TC10.
4.
Install the five (5) hex hd screws that attach the Eclipse ES unit to the
TC10.
NOTE: Apply anti-seize to shaft before installing air clutch.
5.
Apply Loctite 609 to keyway, install key and align clutch assembly.
Push assembly into place.
NOTE: Locate clutch assembly to ensure proper interface between
set screw and its seating hole.
6.
Lock air clutch assembly into place for final polychain adjustment using
set screw (use Loctite 242).
7.
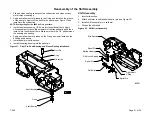
Install the hex hd screw that attaches the air clutch assembly to the
anti-rotation bracket).
8.
Install the Polychain onto the air clutch assembly, driven sprocket and
idler sprocket.
9.
Connect the nylon tube to the air clutch assembly.
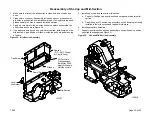
10. Tighten Polychain until taught using the Polychain tensioning screw.
Polychain tension may be checked by applying a 10 lb. load to the
Polychain, mid-span between drive and driven sprocket. The Polychain
should deflect .250 to .313".
11. Tighten the large hex head screw on the idler sprocket.
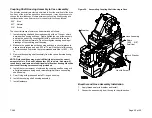
12. Reconnect all electrical and air connections.
13. See Lubrication and Final Checks section for final polychain adjust
ment.

