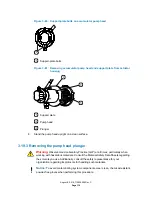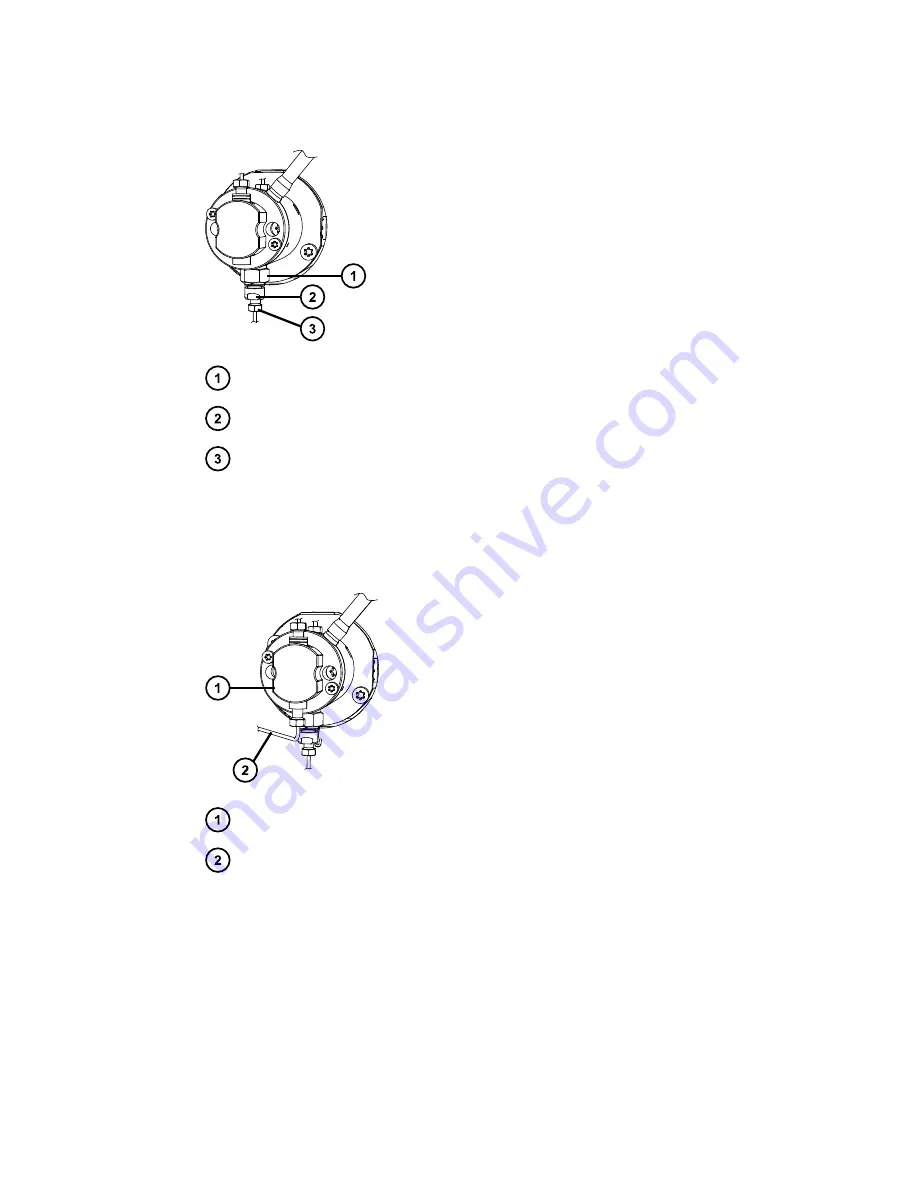
Figure 3–113: Location of check valve tubing connection
Check valve
Place 5/16-inch open-end wrench here
Place 1/4-inch open-end wrench here
7.
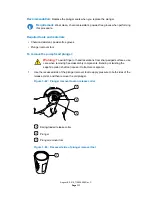
Reattach the outlet-tubing fitting to the transducer, tighten it with your fingers to the extent
possible, and then use the 1/4-inch open-end wrench to tighten the fitting an additional 1/6-
turn, for existing fittings, or 3/4-turn, for new fittings.
Figure 3–114: Location of outlet tubing
Transducer
Outlet tubing
8.
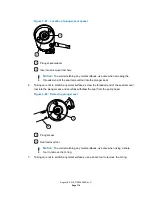
Reinstall the seal-wash tubing on the barbed fittings on the seal wash housing.
August 8, 2016, 715005050 Rev. C
Page 124

