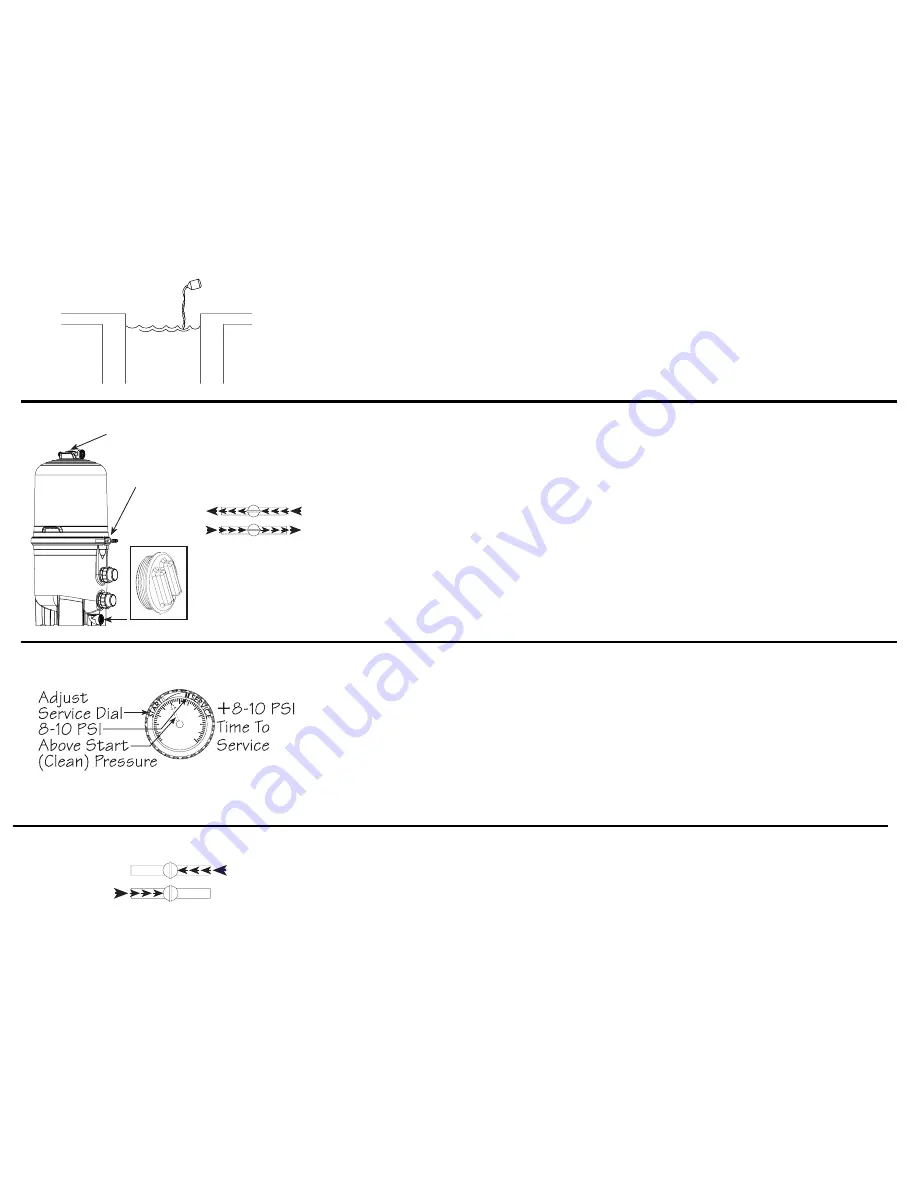
12. TO CLEAN/REPLACE CARTRIDGES:
Before Removing Cartridges Elements:
Shut off pump. If filter is located below water level, close
valves (or block off suction and discharge lines) to prevent
backflow of water from pool.
12. LIMPIEZA/REEMPLAZO DE LOS CARTUCHOS:
Antes De Remover Elementos De Cartucho:
Apague la bomba de agua. Si el filtro se encuentra por debajo del
nivel del agua, cierre las valvulas (o bloquee las tuberias de suc-
cion y desague) para evitar el retorno de agua a la piscina.
Filter
Pool
11. PRESSURE GAUGE:
As the filter removes dirt from the pool water, the accumulat-
ed dirt causes a resistance to flow. As a result, the pressure
gauge will rise and the flow will decrease. When the pressure
rises 8-10 psi above the start (clean) pressure, it is time to
clean the filter(s). NOTE: During initial clean-up of the pool,
particularly with a new pool or a very dirty pool, it may be
necessary to clean more frequently due to the unusually
heavy initial dirt load in the water.
11. MEDIDOR DE PRESION:
La filtracion empieza desde que el filtro este pre-cubierto. Al fil-
tro empezar a remover suciedad del agua de la piscina, la
suciedad acumalada causa resistencia al flujo de agua. Como
resultado la presion del medidor aumentara y el flujo de agua
disminuira. Cuando la presion aumente de 8-10 psi por arriba de
la presion inicial, es tiempo ya de limpiar el filtro. NOTA: Durante
el inicio de la limpieza de la piscina, particularmente una
piscina nueva o muy sucia, tal vez sea necesario de limpiar
el filtro mas frequentemente acausa de la suciedad fuera de
lo usual en el agua.
Drain
Plug
MAR
Filter
Clamp
Filter
Pool
9. OPERATION:
Before Starting the Filter:
Obtain a supply of operating chemicals and a pool test kit.
Balance the pool water by adding chemicals in accordance
with the instructions provided by the chemicals’ manufacturer.
9. EN OPERACION:
Antes De Prender El Filtro:
Obtenga un suministro de quimicos para el funcionamiento, y un
equipo de prueba. Mantega un balance en el agua agregando
quimicos en acuerdo con las instrucciones proveidas por el fab-
ricante de los quimicos.
3
10. INITIAL START-UP OF THE FILTER:
Make sure Filter Clamp and MAR are secure. Be sure Filter
Drain Plug is closed. Open Manual Air Vent Screw at the side of
MAR a few turns. Open suction and return valves (when used).
Follow the manufacturer's instructions to prime and start the
pump. Air in the system will vent out of the Air Relief Valve.
Close Manual Air Vent Screw when a steady stream of water
emerges.
10. PASO INICIAL PARA ENSCENDER EL FILTRO:
Asegurese de que la abrazadera y la MAR esten seguros.
Asegurese de que el tapon de drenaje este cerrado. Abra el tornil-
lo de ventilacion manual con unas cuantas vueltas, que se
encuentra a un costado de la MAR. Abra las coladeras y lineas de
retorno. (Cuando se utilizen.)
Para estimular y enscender la bomba, siga las instrucciones del
fabricante. El aire en el sistema se saldra por la valvula de escape
de aire. Cierre el tornillo de ventilacion manual cuando salga un
buen flujo de agua.


