4 - Standard Tasks - Remove and re-fit the Side-Trimmer Book Supports
Watkiss PowerSquare™224 User Manual
51
Procedure - Refitting
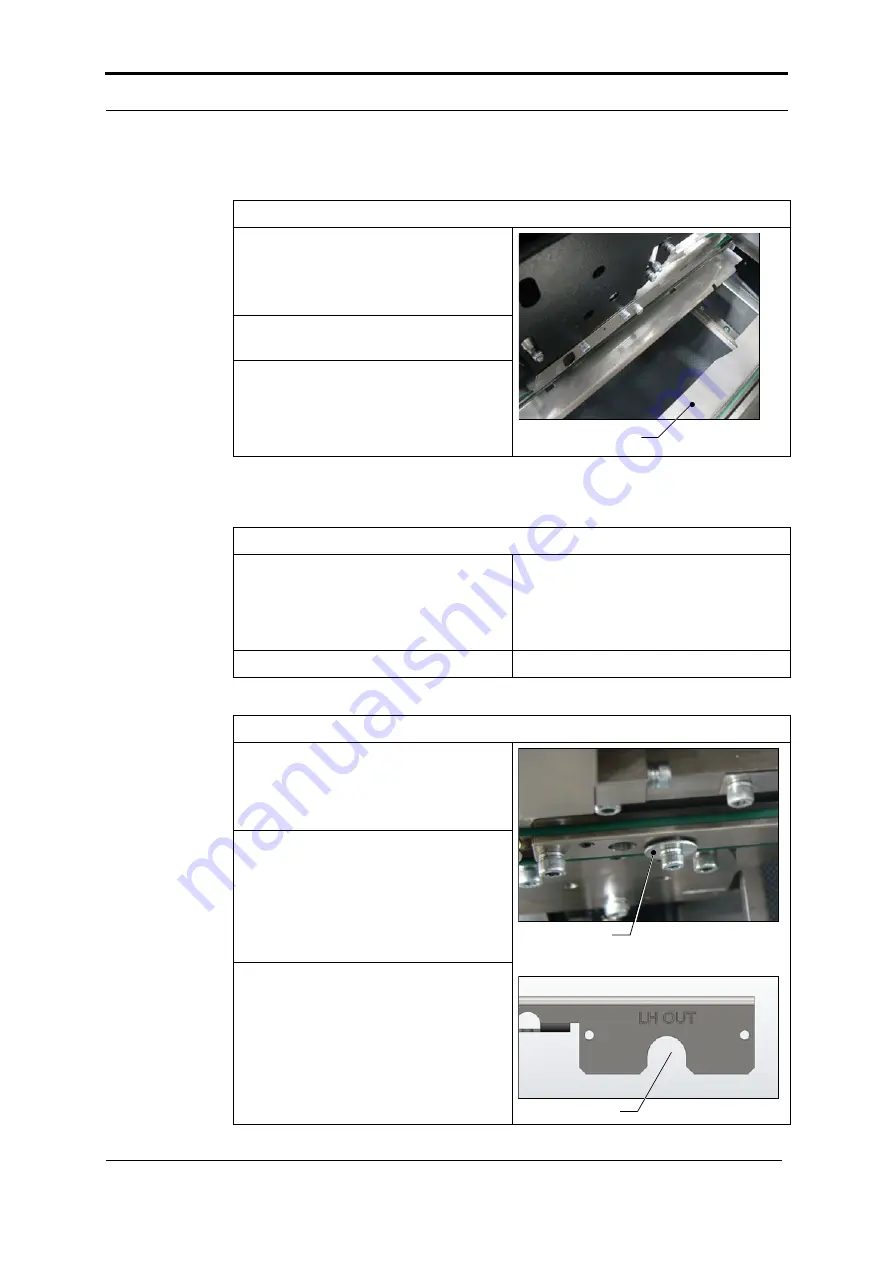
Step 4 - remove the outer book supports
There are two outer book supports.
Remove one at a time.
Hold each end of the outer book support
and lift upwards.
Remove the outer book support through
the top of the machine.
Repeat with the other outer book sup-
port.
Outer book support
Step 1 - preparation
Use
PAPER SIZE
to set the paper width
to 365mm.
Then use
SIDE TRIM
to set the side-trim
dimension to 365mm.
Open the top cover of the Side-Trimmer. See Figure 36 on page 49.
Step 2 - fit the inner and outer book supports
There are two outer book supports and
two inner book supports.
Re-fit one at a time.
Refer to the illustrations on page 48.
On each book support, there are semi-
circular cut outs at each end.
Position the cut-outs over the fixing
points.
Press down on the book support so that
it fits onto the fixing points.
Repeat with the other book supports.
Fixing
Cut-out
Summary of Contents for PowerSquare 224
Page 1: ...Watkiss PowerSquare 224 User Manual with Side Trimming option English Issue 5 June 2013...
Page 32: ...3 The User Interface The MENU Window 28 Watkiss PowerSquare 224 User Manual...
Page 58: ...4 Standard Tasks Operate the PowerSquare offline 54 Watkiss PowerSquare 224 User Manual...
Page 128: ...7 Specifications 124 Watkiss PowerSquare 224 User Manual...
Page 133: ......


