Document #10-32813 Rev A; June 07, 2019
Page
24
of 69
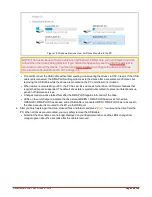
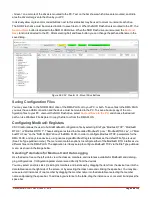
Dashboard displays the progress while it discovers all parameters. If the progress window does not automatically closs,
press the “Close Now” button after the transfer statuses read "complete."
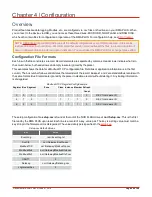
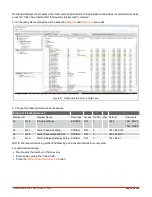
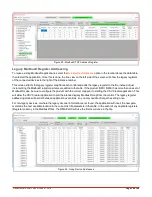
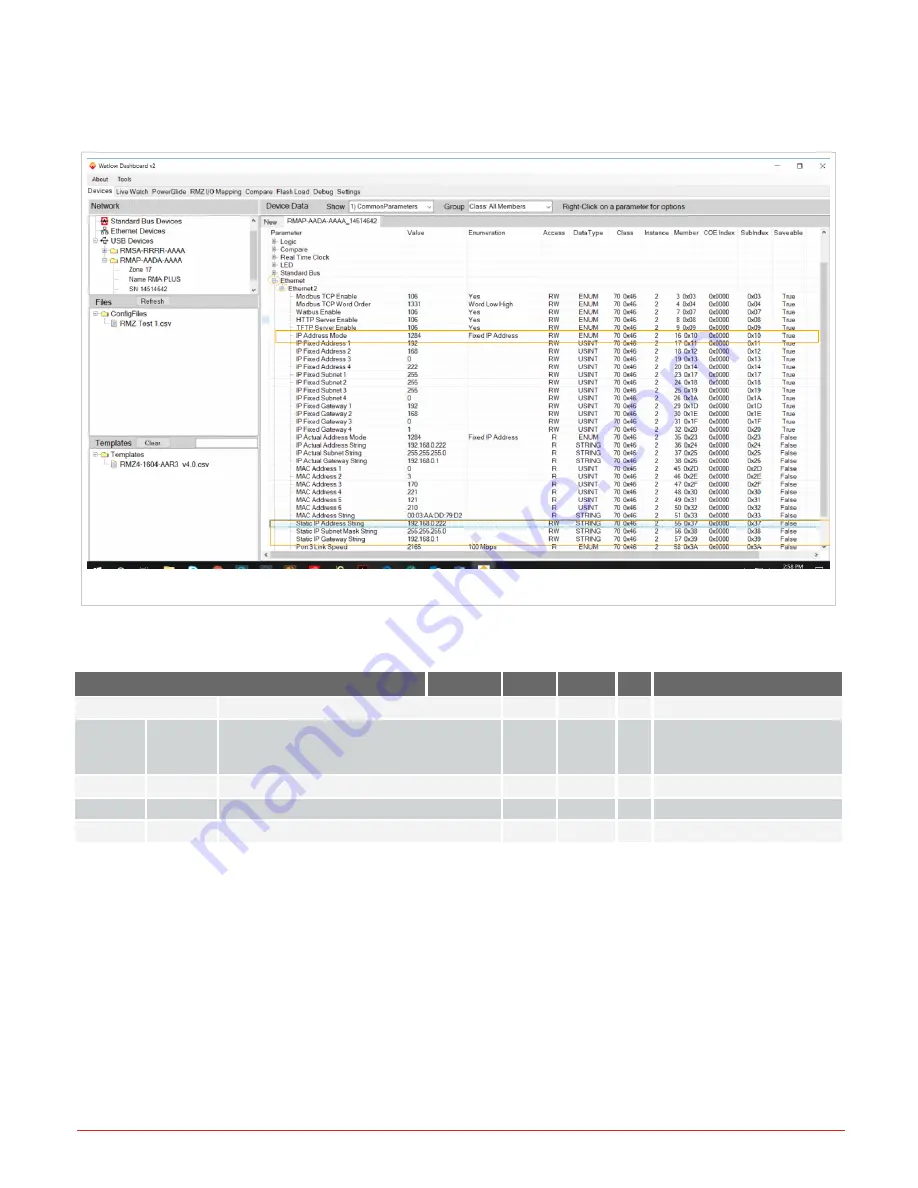
5. On the newly discovered device tab, expand the
Ethernet
and
Ethernet 2
tree nodes.
Figure 21: Dashboard: Ethernet in Data Pane
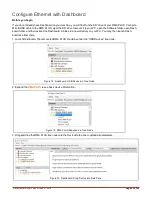
6. Change the following members as necessary:
Ethernet 70 (0x46) Instance 2
Member ID
Member Name
Data Type
Access NV Min Max Default
Comments
16
0x10
IP Address Mode
ENUM16
RW
F
1284
1281: DHCP
1284: FIXED
55
0x37
Statis IP Address String
STRING
RW
F
192.168.0.100
56
0x38
Statis IP Subnet Mask String
STRING
RW
F
255.255.255.0
57
0x39
Static IP Default Gateway String
STRING
RW
F
192.168.0.1
NOTE: We recommend using static IP addressing and a private network for your system.
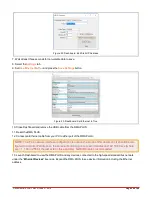
For each desired change…
l
Double-click the member in the tree view.
l
Enter a new value in the “Value“ field.
l
Press the “
Write To Grid and Device
” button.


