6
7
3 UNPACKING
Remove all packaging.
Check for the presence of all parts and for transport damage.
In case of damage or incomplete delivery, please contact your
dealer ( 7. Warranty).
Please keep the packaging. The appliance can be stored, if not
used for a longer period of time.
Place the appliance on a level, stable, clean and dry surface.
Ensure that there is sufficient ventilation. Keep a minimum
distance of 10 cm between the ventilation openings and other
objects or walls.
4 OPERATION
4.1 Setting up the speakers
Place the speakers next to the monitor. Position them slightly
facing towards the monitor.
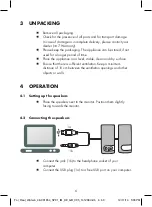
4.2 Connecting the speakers
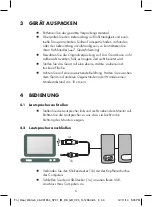
1a
1b
Connect the jack (1b) to the headphone socket of your
computer.
Connect the USB plug (1a) to a free USB port on your computer.
4 OPERATION
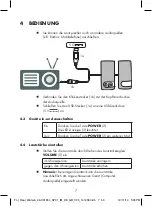
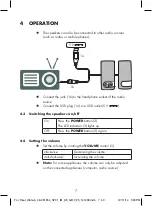
The speakers can also be connected to other audio sources
(such as radios or mobile phones):
1a
1b
5 V
Connect the jack (1b) to the headphone socket of the audio
source.
Connect the USB plug (1a) to a USB outlet (5 V
).
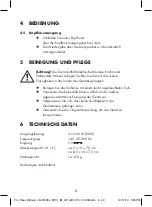
4.3 Switching the speakers on/off
On:
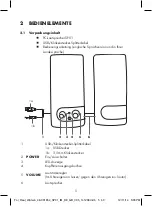
Press the
POWER
button (2).
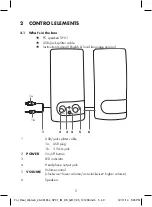
The LED indicator (3) lights up.
Off:
Press the
POWER
button (2) again.
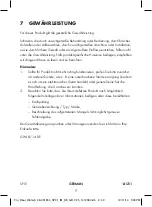
4.4 Setting the volume
Set the volume by rotating the
VOLUME
control (5).
clockwise
Decreasing the volume
anti-clockwise:
Increasing the volume
Note:
For some appliances, the volume can only be adjusted
on the connected appliances (computer, audio source).
For_Real_Watson_46-001654_SP01_IM_DE_GB_V05_141208.indb 7 b0
12/11/14 5:03 PM

