15
For more cool and exciting Wattage products, visit our website at http://watt-age.globalhobby.com
❑
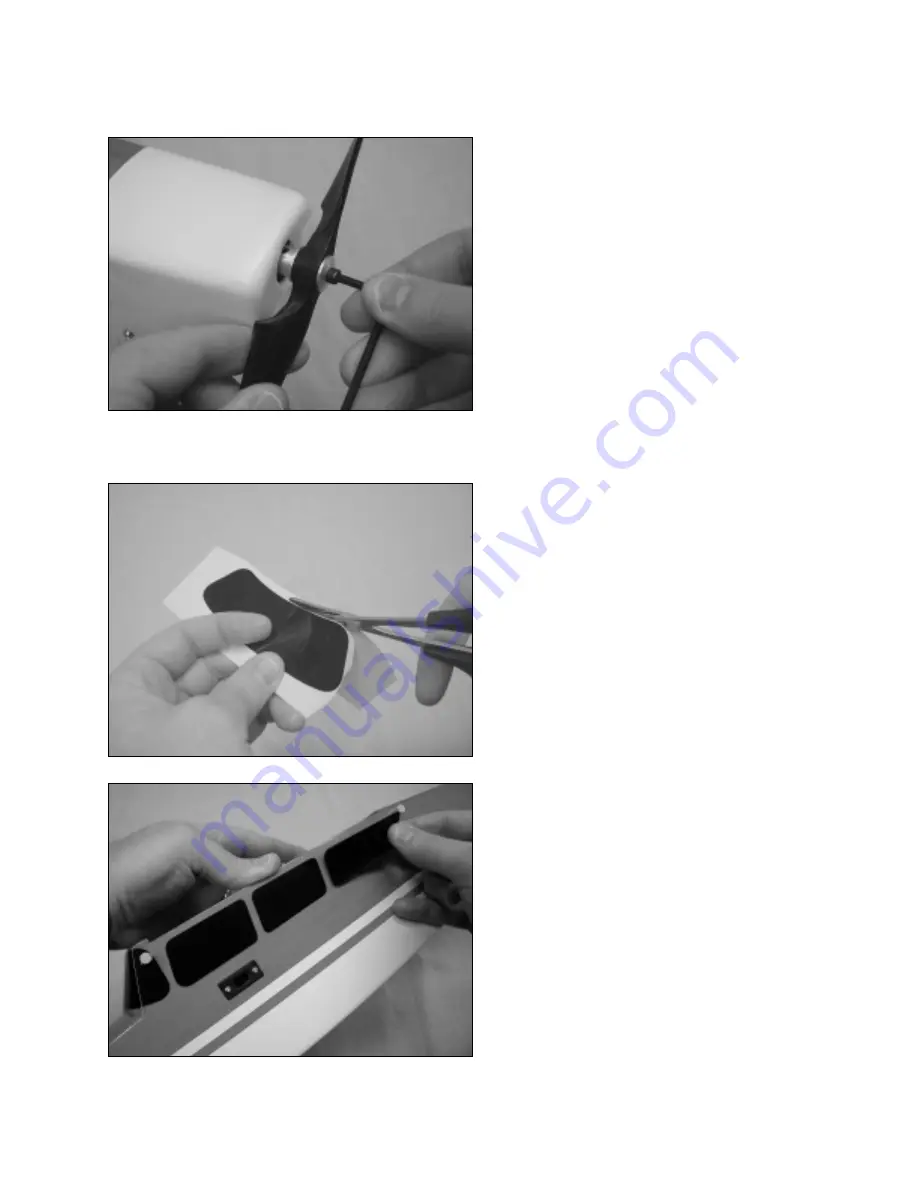
Thread the flat washer and machine screw back into
place.
❑
Tighten the machine screw firmly using a 7/64" hex
wrench.
Spin the propeller by hand. If any part of it touches
the cowling, see page # 27 to readjust the alignment of
the motor.
Step 8: Applying the Decals
❑
Using a pair of scissors, cut out each of the decals
along their outer edges.
❑
Remove the protective backing from the decals and
carefully apply the decals to the airframe.
Use the box cover photos as a reference for the decal
locations.


