12
STEP 3: MOUNTING THE HORIZONTAL STABILIZER
❑
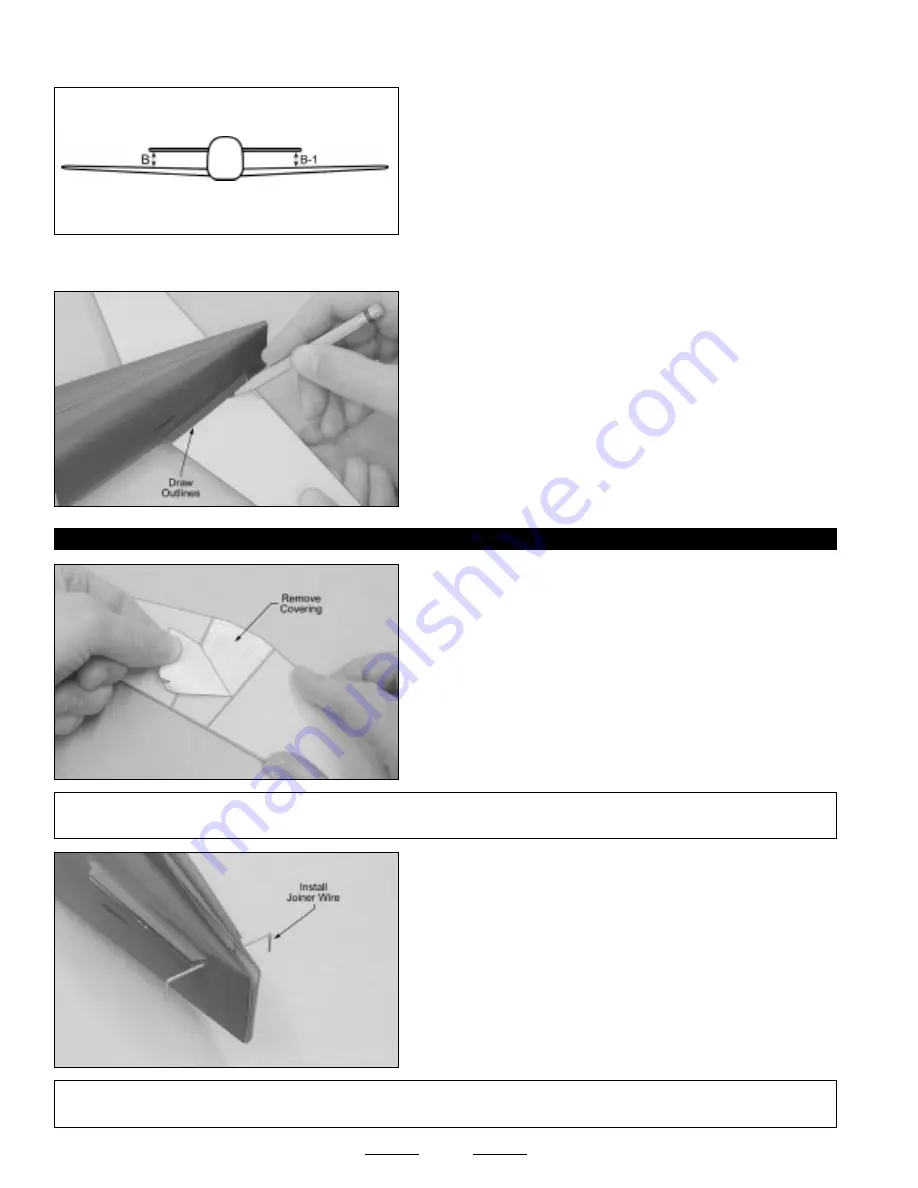
Remove the stabilizer from the fuselage.
❑
Using a modeling knife, carefully cut away and remove the covering
material from between the lines you drew. Do this on both the top and
the bottom.
❑
Slide the elevator joiner wire into the stabilizer mounting slot, as shown.
❑
When satisfied with the alignment, use a pencil to draw a line on
each side of the stabilizer where it meets the fuselage sides. Do this on
both the top and the bottom.
❑
With the stabilizer held firmly in place, look from the front of the
airplane at both the wing and the stabilizer. When aligned properly, the
stabilizer should be parallel to the wing.
❑
Use a couple of pieces of masking tape to hold the front of the stabilizer in place and aligned.
Continued On Next Page
☛
☛
☛
☛
☛
B=B-1
✦
✦
✦
✦
✦
WARNING
✦
✦
✦
✦
✦
When cutting through the covering to remove it, cut with only enough pressure to cut through only the covering
itself. Cutting down into the balsa structure could weaken the stabilizer and cause it to fail during flight.
☞
If the stabilizer is out of alignment, use thin shims cut from scrap plastic, slid between the stabilizer and the fuselage, to
make the stabilizer parallel with the wing.
✦
✦
✦
✦
✦
IMPORTANT
✦
✦
✦
✦
✦
You
MUST
slide the elevator joiner wire into the stabilizer mounting slot
BEFORE
installing the stabilizer. If
you don't, it will be impossible to slide the elevator joiner wire into place after the stabilizer is installed.
Summary of Contents for PT-19 CORNELL EP ARF
Page 30: ...30...


