26
❑
(2) Clear Windscreens
❑
(1) Black Striping Tape
❑
(1) Double-Sided Foam Tape
❑
(1) Decal Set
❑
(1) Plastic Leading Edge Fairing
YOU'LL NEED THE FOLLOWING PARTS FROM THE KIT:
SECTION 14: FINAL ASSEMBLY
❑
Pacer Formula 560 Canopy Glue
❑
# 1 Phillips Head Screwdriver
❑
Wire Cutters
❑
Excel Modeling Knife
❑
Scissors
❑
Electric or Hand Drill
❑
5/64" Drill Bit
❑
220 Grit Sandpaper w/Sanding Block
❑
Masking Tape
❑
Paper Towels
❑
K&S 30 Watt Soldering Iron -Optional
❑
Solder - Optional
❑
Heat-Shrink Tubing (Assorted Sizes) - Optional
YOU'LL NEED THE FOLLOWING TOOLS AND SUPPLIES:
STEP 1: INSTALLING THE WING LEADING EDGE FAIRING
❑
Mount the wing onto the fuselage, then position the fairing onto the
wing, as shown. The sides of the fairing should be even with the sides
of the fuselage and there should be a 1/16" gap between the front of the
fairing and the fuselage.
❑
Using 220 grit sandpaper, sand the edges of the leading edge fairing smooth, making sure to leave about 1/8" of material
around the outer edge to use as a gluing surface.
STEP 2: INSTALLING THE COCKPIT WINDSCREENS
❑
Using a pair of scissors, carefully cut out each of the two clear windscreens along the molded scribe lines.
❑
Using 220 grit sandpaper, lightly sand the edges of both windscreens smooth.
❑
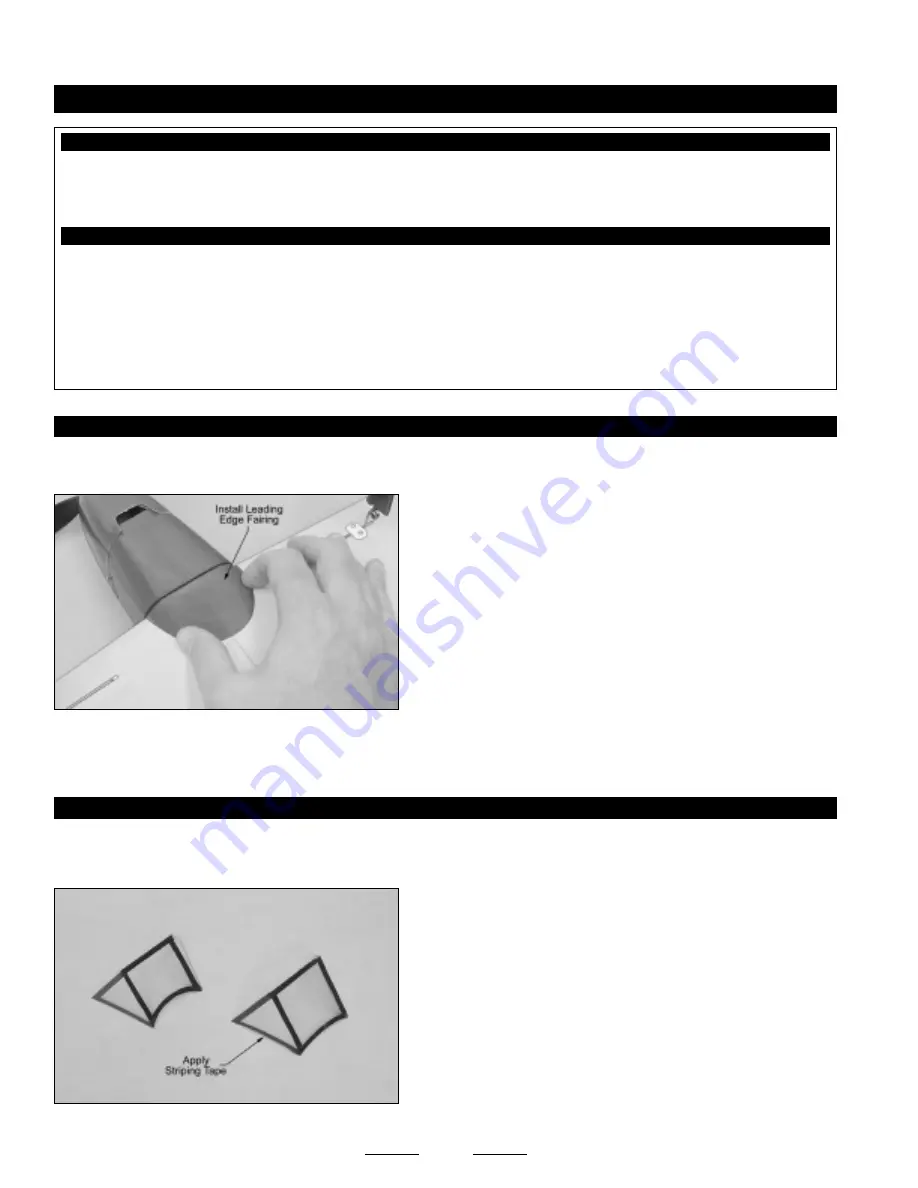
Carefully apply the black striping tape to the outside surface of both
windscreens to simulate the windscreen frames.
❑
When satisfied with the fit and alignment, glue the fairing to the wing, using a thin layer of Formula 560 Canopy Glue. Remove
any excess glue, using a paper towel and water, and use pieces of masking tape to hold the fairing in place until the glue
completely dries.
Continued On Next Page
☛
☛
☛
☛
☛
Summary of Contents for PT-19 CORNELL EP ARF
Page 30: ...30...


