background image

8

Need help or have any questions?  Call us at 1-714-963-0329 or send us an email to service@globalhobby.net

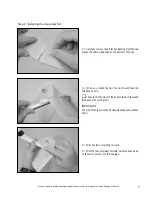
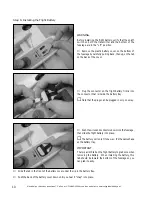
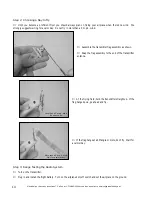
Plug the wire lead from the wing into the wire lead

inside the fuselage.

IMPORTANT

There are white dots on each wire lead.  When plugged in
properly, the white dots should be matched together as
shown.

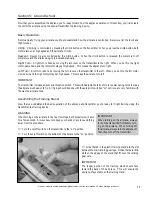
Step 3:  Installing the Wing

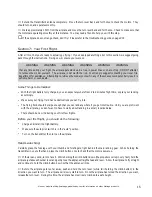
Carefully push the wire lead down and set the wing

on top of the fuselage.

Push the wing down into place

IMPORTANT

The propellers should point toward the front of the fuselage.

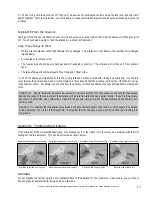
Install and tighten the two wing mounting screws

using the screwdriver provided.

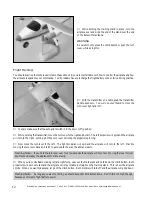
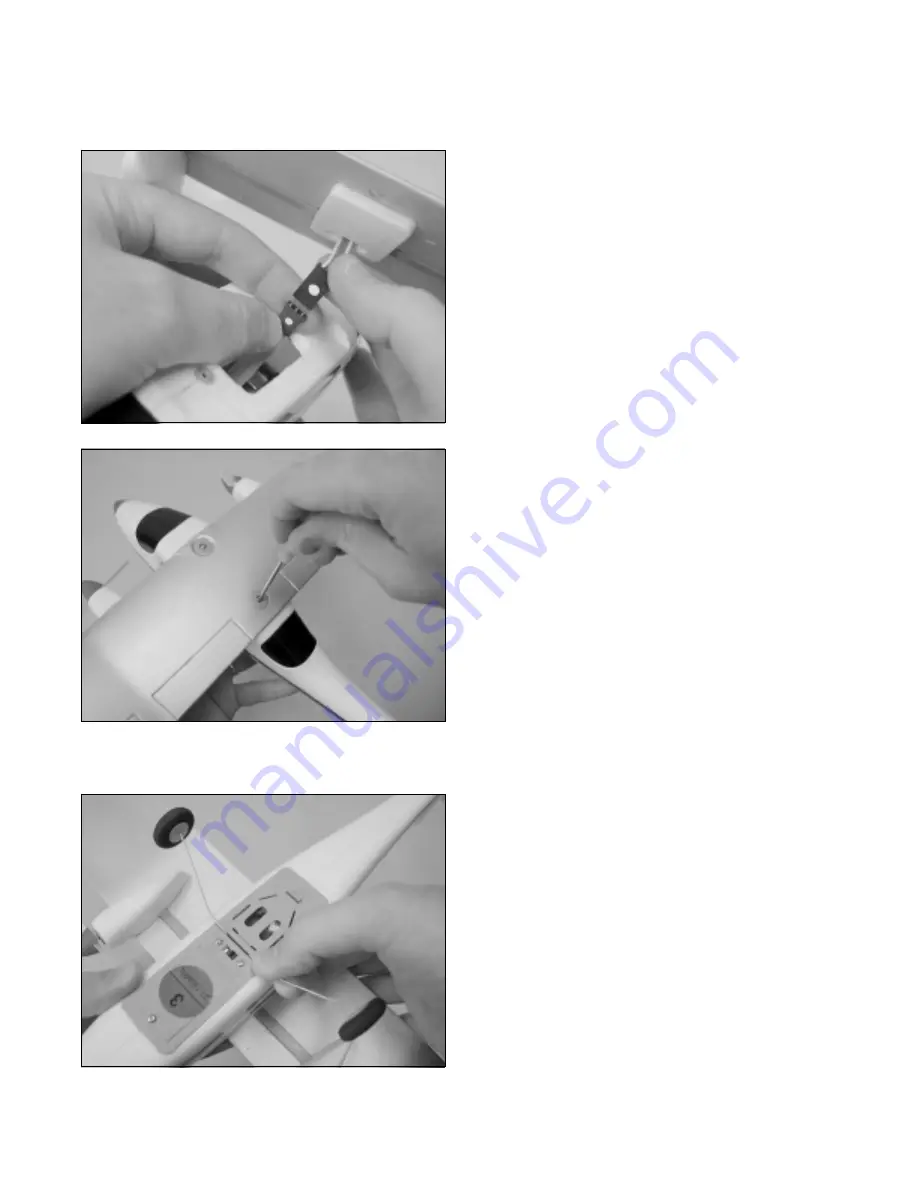
Line up the bend in the main landing gear wire with

the plastic slot in the bottom of the fuselage (right behind
the on/off switch).

Push the landing gear wire firmly down into the slot.

IMPORTANT

When looking from the side of the fuselage, the landing
gear should be angled back.  It should 

not

 be angled

forward.

Step 4:  Installing the Landing Gear

Summary of Contents for 128301

Page 1: ...tarting Doing so will help you become familiar with how your airplane and radio system operate IMPORTANT Before beginning assembly please read and understand the warnings listed on the next page Failu...

Page 2: ...Solvents will damage the foam Use a dry cloth to clean any dirt from the outside of the model If you should have any trouble with any of the steps listed in these Operating Instructions we have provi...

Page 3: ...remove the different parts from the box and use the photos below to verify that your kit contains all of the correct parts If your kit is missing a part please contact us immediately at the address sh...

Page 4: ...olor to be able to fly at the same time Antenna Transmits the signal from the transmitter to the receiver inside the airplane Auto Pilot On Off Switch Turns the auto pilot function on and off Battery...

Page 5: ...er to the propeller which in turn creates thrust and makes the airplane fly The Lightning has two motors Nose Cone Made of foam rubber the nose cones helps prevent damage to the front of the fuselage...

Page 6: ...pushing with your thumb at the mark on the bottom of the battery cover Section 4 Assembling Your Airplane Step 1 Installing the Transmitter Batteries Install 8 fresh AA Alkaline batteries being caref...

Page 7: ...il Step 2 Installing the Horizontal Tail When you install the tail the tail should face the direction shown The cutout in the front of the horizontal tail fits around the base of the vertical tail IMP...

Page 8: ...and set the wing on top of the fuselage Push the wing down into place IMPORTANT The propellers should point toward the front of the fuselage Install and tighten the two wing mounting screws using the...

Page 9: ...the transmitter is off Important Battery Charging Tips The flight battery must be fully charged hot for the airplane to fly properly Never leave the flight battery unattended during the charging proc...

Page 10: ...n the flight battery firmly into the connector that is inside the battery tray Note that the plugs can be plugged in only one way Push the wires and connectors down into the fuselage then slide the fl...

Page 11: ...peed This makes the airplane turn left IMPORTANT The transmitter includes an auto pilot function switch This switch adjusts the ratio of motor power during turns to make the airplane much easier to fl...

Page 12: ...turn lever to the right and hold it The left propeller will spin and the airplane will turn to the right Letting go of the turn lever will stop the propeller spinning Now move the turn lever to the l...

Page 13: ...f Hold the transmitter as usual but turn the airplane so it s facing you Now practice making right and left turns with the airplane facing you You will quickly notice that now the controls are reverse...

Page 14: ...le the transmitter flag assembly as shown Snap the flag assembly to the end of the transmitter antenna At the flying field hold the transmitter straight up If the flag hangs down go ahead and fly Less...

Page 15: ...expect anywhere from 2 to 4 minutes flight time so plan your landing accordingly Make sure your flying field has no obstructions you can fly into The flying field should be large enough that you can l...

Page 16: ...ding should always be done into the wind with the wing level To prepare for landing from normal flight make a shallow turn so that the airplane is now flying into the wind Make small turns to level th...

Page 17: ...limb For safety you should allow the airplane to climb out straight to a safe altitude before making any turns Flight Tip The transmitter and airplane have a built in fail safe system If for any reaso...

Page 18: ...n internal component A Recharge Flight Battery B Replace batteries with new ones C Turn on transmitter D Plug flight battery in securely E Return airplane to Wattage Service following the instructions...

Page 19: ...ny of these chemicals come in contact with the foam parts the parts will be destroyed Use only epoxy or white glue to repair damaged parts Section 11 Replacement Parts Listed below are the replacement...

Page 20: ...ission for Wattage to service your airplane at our discretion Include a method of payment for any service charges Send the unit to us by United Parcel Service Federal Express or by Insured Mail Postag...

Reviews: