15
Visit our website at http://watt-age.globalhobby.com for information on other Wattage products
❑
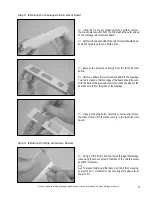
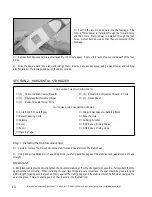
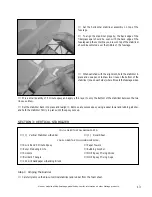
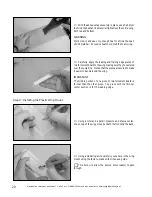
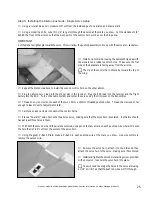
When satisfied with the alignment, remove the vertical stabilizer.
❑
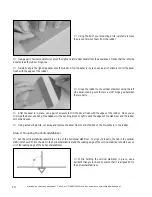
Mix a small quantity of 5 minute epoxy and apply a thin layer to only the bottom edge of the vertical stabilizer.
❑
Set the stabilizer back into place and realign it, double-
checking that it is aligned 90º to the horizontal stabilizer.
❑
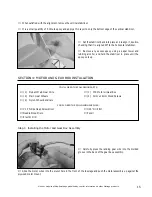
Remove any excess epoxy using a paper towel and
rubbing alcohol, and hold the stabilizer in place until the
epoxy sets up.
❑
# 1 Phillips Head Screwdriver
❑
Needle Nose Pliers
❑
Electric Drill
YOU'LL NEED THE FOLLOWING PARTS:
❑
{1} Prebent Main Gear Wire
❑
{2} Main Gear Wheels
❑
{2} Nylon Wheel Retainers
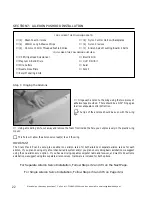
SECTION 4: MOTOR AND GEAR BOX INSTALLATION
❑
{1} 370 Motor w/Gear Box
❑
{3} 3mm x 12mm Wood Screws
YOU'LL NEED THE FOLLOWING SUPPLIES:
❑
1/16" Drill Bit
❑
Pencil
Step 1: Installing the Motor and Gear Box Assembly
❑
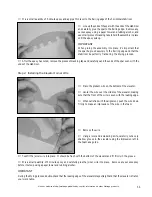
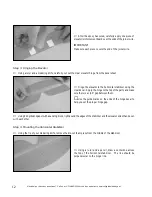
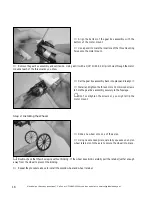
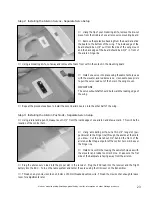
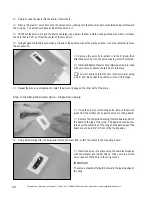
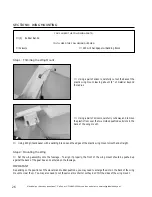
Carefully press the landing gear wire into the molded
groove in the back of the gear box assembly.
❑
Slide the motor wires into the precut hole in the front of the fuselage and push the motor assembly up against the
plywood motor mount.

