21
Visit our website at http://watt-age.globalhobby.com for information on other Wattage products
❑
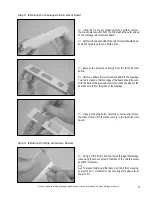
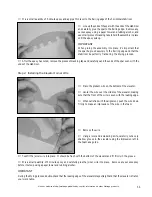
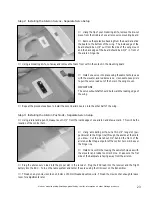
Now align the wing to the wing mount. The centerline
of the wing should be lined up with the centerline marks you
drew on the wing mount and the trailing edge of the wing
should be 1/4" in front of the back edge of the mount as shown.
❑
When satisfied with the alignment, use a couple pieces of masking tape to hold the wing mount securely to the wing.
❑
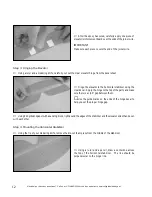
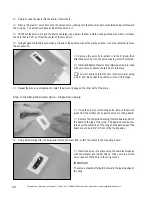
With the wing mount in place and aligned, turn the wing
over and use a pencil to outline the sides of the wing mount
onto the bottom of the wing.
❑
Remove the wing mount from the wing.
❑
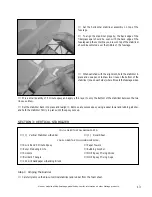
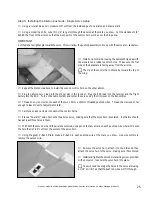
Using 220 grit sandpaper, very carefully lightly roughen the gluing surfaces of both the plastic wing mount and the
bottom of the wing. Use the lines you drew on the wing as your guide.
IMPORTANT
Do not sand through the heat-shrink material on the wing. Be very careful.
❑
Mix a generous amount of 5 minute epoxy and apply a thin layer to the gluing surfaces of the plastic wing mount. Use
enough epoxy to ensure a good bond.
❑
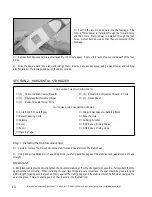
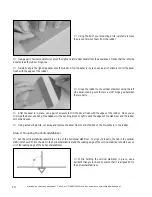
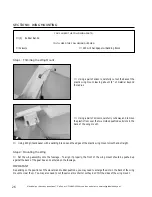
Carefully set the wing back onto the wing mount and
realign it. Remove any excess epoxy using a paper towel
and rubbing alcohol, and hold the wing firmly in place until
the epoxy sets up.
❑
With the plastic wing mount upright on your work table, set the wing on top of the wing mount.

