28
Need help or have any questions? Call us at 1-714-963-0329 or send us an email to service@globalhobby.net
Step 2: Installing the Receiver
❑
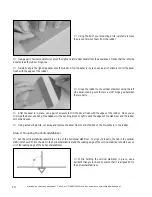
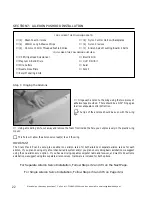
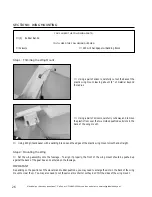
Mount the receiver inside the hole in front of the servos
using a couple of pieces of double-sided tape. Depending on
the size of the receiver you're using, you may need to enlarge
the cutout so that the receiver will fit down into the fuselage.
☛
A Hitec 555 Micro receiver with the case removed is
shown.
❑
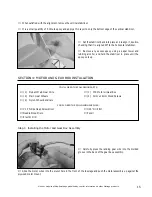
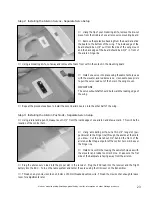
Plug the elevator and rudder servo leads into their proper slots in the receiver.
❑
Uncoil the receiver antenna and feed it into the hole in front of the servos, down through the inside of the fuselage and
out the back.
Step 3: Installing the Electronic Speed Control
❑
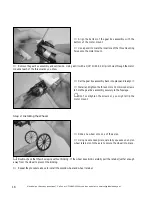
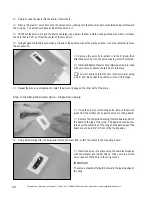
Connect the motor leads on your ESC to the motor leads on the motor. Run the ESC throttle lead through the front
hole in the fuselage and plug it into the proper slot in the receiver.
☛
If the motor leads on your ESC do not match the motor leads on the motor, you will need to remove the motor leads
from the motor and replace them with ones that are compatible with your ESC.
IMPORTANT
Depending on the location of your receiver, you may want to use short aileron extensions to make it easier to plug in the
aileron servo lead(s) when you install the wing.
❑
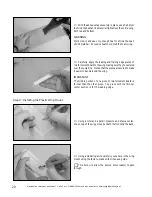
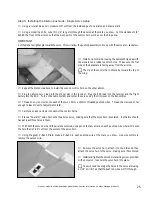
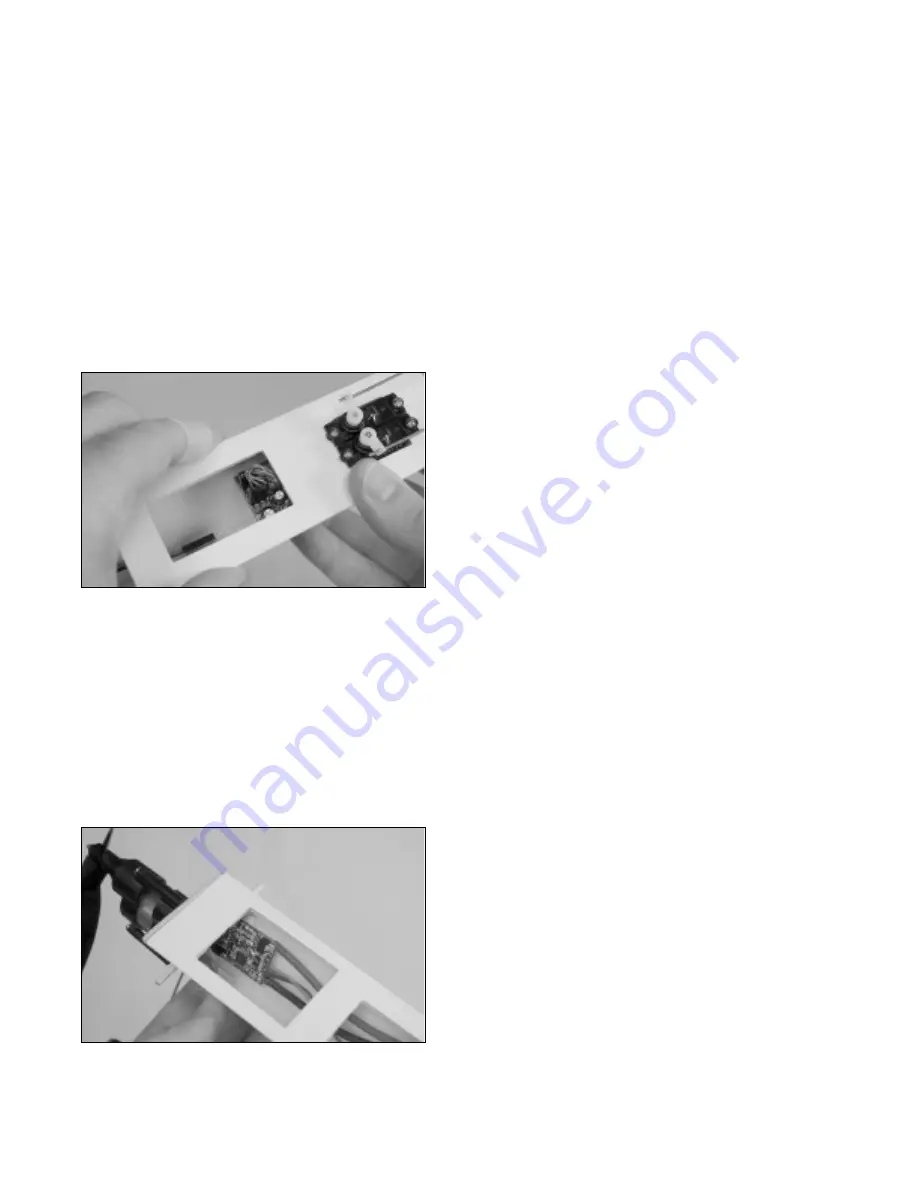
Mount the ESC to the fuselage side, right behind the
motor mount. Use a small piece of double-sided tape to
hold it in place.
☛
To reduce the possibility of radio interference, mount
the ESC as far away from the receiver as possible.
IMPORTANT
The locations of the radio equipment shown in the next few steps is only approximate. This is how our test airplanes were
set up. The locations of your radio equipment could differ and should be dependent on where you balance your airplane.
Balancing will be done in the next section.

