9
❑
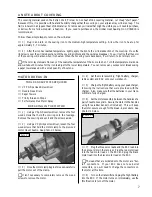
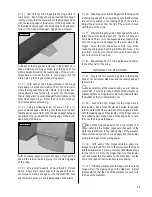
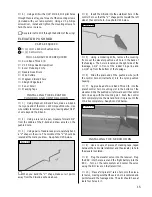
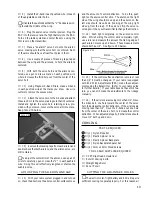
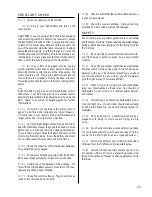
3) Using a ruler and a pen, locate the centerline
of the horizontal stabilizer, at the trailing edge, and draw
a mark. Using a builder's triangle, extend this mark
from front to back across the top of the stabilizer.
See
photo # 6 below.
Photo # 5
Photo # 6
❑
4) Reinstall the wing onto the fuselage and slide
the stabilizer into the stabilizer mounting slot. Push the
stabilizer forward until the leading edge of the stabilizer
is pushed firmly against the front of the slot.
❑
5) Align the centerline mark on the trailing edge of
the stabilizer with the center of the back edge of the fuse-
lage. When that is aligned, hold the trailing edge of the
stabilizer in that position using a couple of pieces of mask-
ing tape.
❑
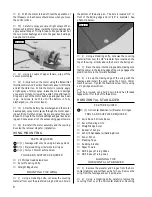
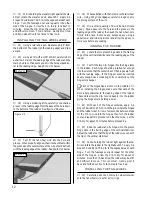
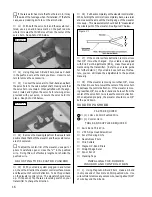
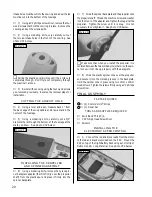
6) With the stabilizer in place, look carefully from
the front of the fuselage at both the wing and the stabi-
lizer. When aligned properly, the stabilizer should be level
with the wing. If it is not level, remove the stabilizer and
use 220 grit sandpaper with a sanding block to sand down
the higher stabilizer mounting side until the correct align-
ment is achieved.
See figure # 1 below.
slot in the back of the fuselage. The slot is 3" long and
1/8" tall, and is located 1-3/4" up from the bottom of the
fuselage.
See photo # 5 below.
Figure # 1
❑
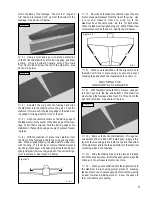
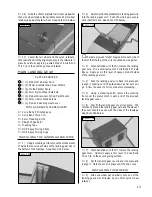
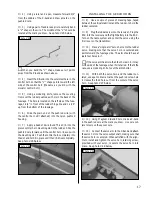
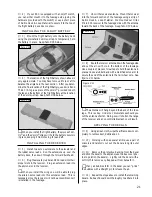
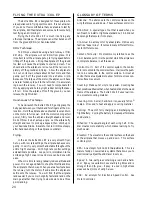
7) Now check to make sure that the tips of the sta-
bilizer are equal distances from the tips of the wing. Use
a ruler and measure from one wing tip to the
stabilizer tip on the same side. Do this for both sides.
When the stabilizer is aligned properly, both of these mea-
surements should be the same.
See figure # 2 below.
Figure # 2
❑
8) When you are satisfied with the alignment, hold
the stabilizer firmly in place using a couple of pieces of
masking tape and check the measurements once more.
❑
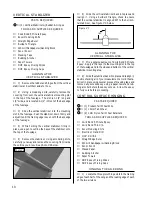
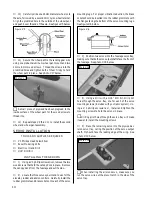
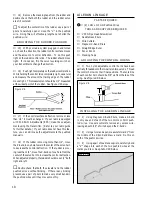
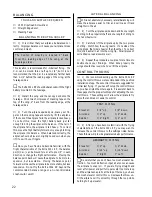
9) With the stabilizer held firmly in place, use a pen
to draw lines onto the top and bottom of the stabilizer
where it and the fuselage sides meet. Do this on both the
right and left sides.
See photo # 7 below.
MOUNTING THE
HORIZONTAL STABILIZER
Photo # 7
❑
10) Remove the horizontal stabilizer. Mix a gener-
ous amount of Kwik Bond 5 Minute Epoxy. Apply a thin
layer to the mounting area on both the top and the bottom
of the stabilizer and to the top and bottom of the stabilizer
mounting sides in the fuselage.
❑
11) Slide the stabilizer back into place and realign
it with the lines you drew. Before the epoxy sets up, double
check all of your measurements once more.
❑
12) When you are satisfied with the alignment, hold
the stabilizer in place using several pieces of masking
tape and remove any excess epoxy before it sets up, using
a paper towel and rubbing alcohol. Allow the epoxy to
fully cure before proceeding.
A=A-1
B=B-1


