9
Need help or have any questions? Call us at 1-714-963-0329 or send us an Email at service@globalhobby.net
❑
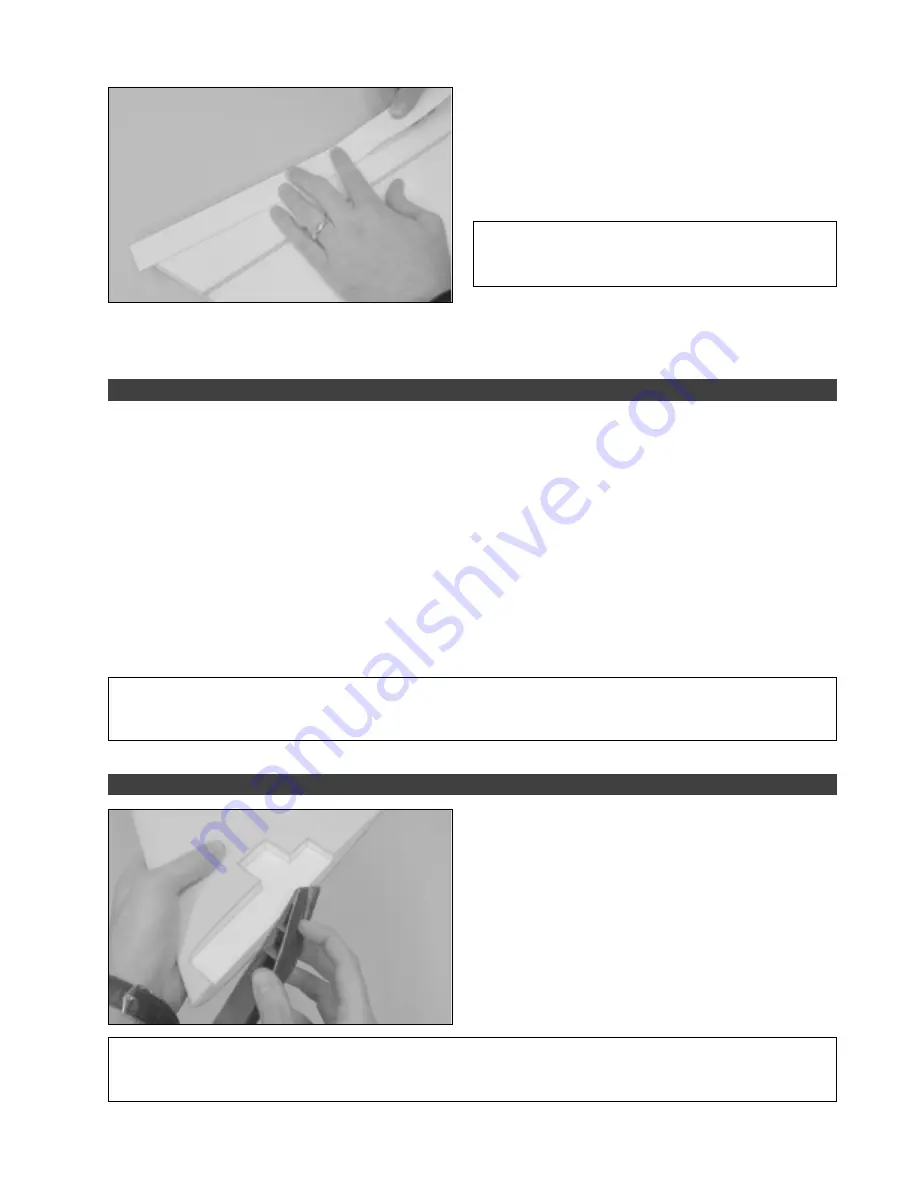
Remove the protective backing from one strip of plastic
reinforcement tape and carefully apply the strip of tape to the
bottom
of one wing panel. To align it properly, the front edge
of the reinforcement tape should be parallel to, and just
behind, the molded radius of the leading edge. The
reinforcement tape should be pressed down firmly, too.
✦
✦
✦
✦
✦
IMPORTANT
✦
✦
✦
✦
✦
Do not attempt to wrap the reinforcement
tape around the leading edge. The tape is too thick and will
only ruin the leading edge airfoil.
❑
Using a pair of scissors, carefully trim the ends of the reinforcement tape flush with the tips of the wing panel, then
repeat the previous procedures to apply the second strip of reinforcement tape to the
bottom
of the other wing panel.
●
If you have decided to apply a covering to your airplane (refer to "Information About Covering Your Hyper Wing 400 EP"
on page # 5), it's easier to do it now than after the wing panels have been glued together. Follow the basic steps outlined
below if you are going to cover your airplane using the included self-adhesive decal "skins".
❑
Remove the protective backing from one bottom skin and carefully apply it to the bottom of one wing panel, making
sure to line up the front edge of the skin parallel to the leading edge of the wing panel. Work slowly and carefully to adhere
the entire skin to the wing panel without introducing any wrinkles, bubbles or creases.
❑
After you have applied the bottom skin, carefully trim away the excess using a modeling knife, being careful not to cut
into the foam.
❑
Repeat the previous procedures to apply one top skin to the top of the wing panel, making sure that the skin wraps
around both the leading and trailing edges and overlaps the bottom of the wing panel about 1/4". After trimming away the
excess, repeat the previous procedures to apply the top and bottom wing skins to the other wing panel.
✦
✦
✦
✦
✦
IMPORTANT
✦
✦
✦
✦
✦
If you are planning on covering your airplane using your favorite materials and methods, just keep in
mind that you don't want to add too much weight with the covering material. You want your airplane to look cool, but you
don't want the covering material to add any unnecessary weight.
❑
Test-fit the two wing panels together
upside down
on
your work table. They should fit together with few or no gaps
between the two, and the leading and trailing edges should
line up evenly.
☞
If the wing panels don't fit together properly, carefully
sand the root ends of each wing panel straight using 220 grit
sandpaper with a sanding block, being careful not to alter
the angle of the root ends.
✦
✦
✦
✦
✦
IMPORTANT
✦
✦
✦
✦
✦
Before gluing the wing panels together in the next procedure, it's important to know that the
top
of the
wing should be straight across (flat). You can easily achieve this by gluing the wing panels together upside down on your
work table. It's imperative to double-check that your work table is perfectly flat, too.
STEP 3: COVERING THE WING PANELS
STEP 4: JOINING THE WING PANELS


