Place a towel under the RO module to catch any excess water that
may drip out from the filters during the changeover.
Step 1
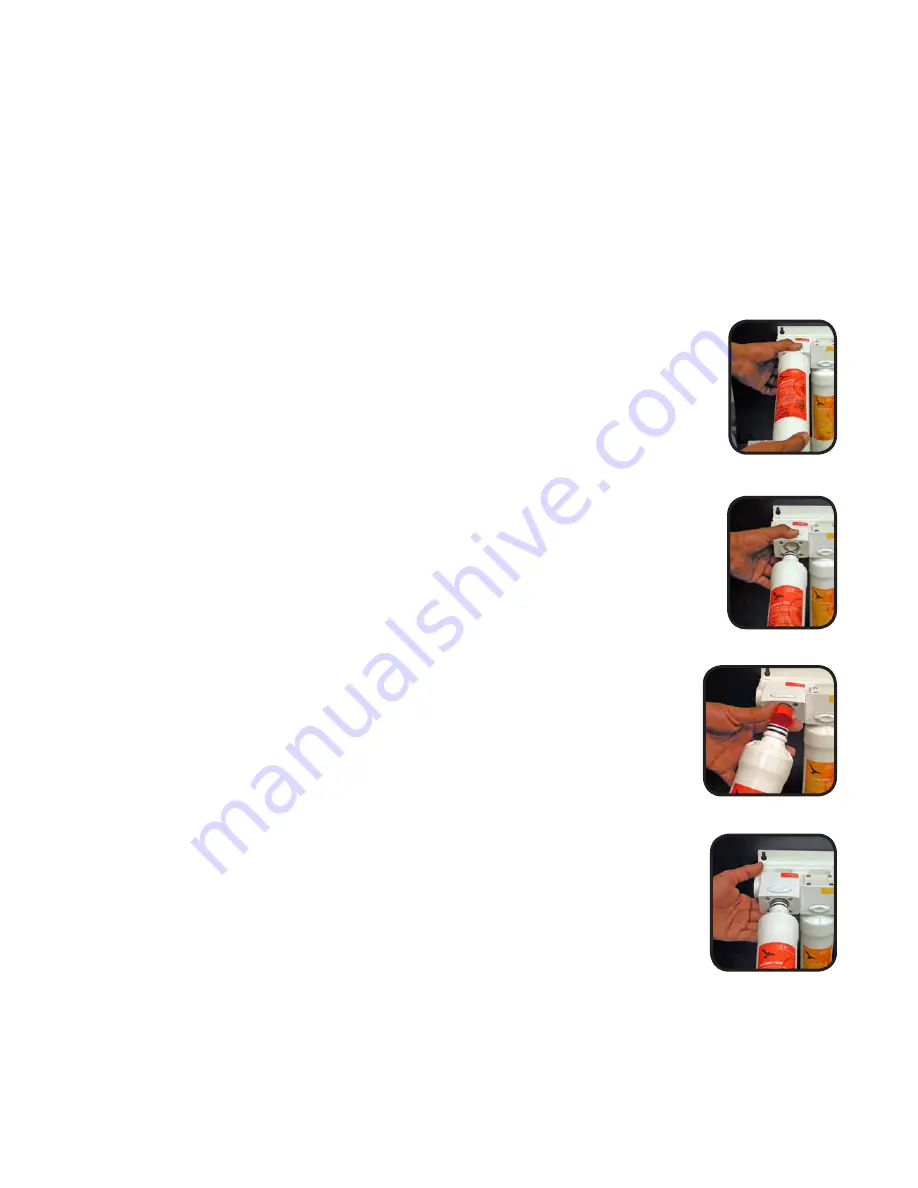
Your system is equipped with valved heads which will automatically turn off the
water supply to each filter when the filter is released, thus you do not need to turn
off the incoming water supply at the Adapt-a-Valve. The faucet must be off when
filters are replaced. To make the removal of the filter cartridges easier, the heads
& cartridges may be swiveled up to 90 degrees as shown in the pictures below.
Step 2
To install a filter cartridge:
Remove the seal cap and insert
the cartridge into the valved head until you hear an audible “click”
(the button does not need to be pressed to install new filters).
Step 3
To remove a filter cartridge:
Push & hold the button on the
valved head above the filter. Pull cartridge downward (from the
head) to remove. Release button and discard old filter.
Changing The Filter Cartridges
√
One sediment filter
(Red Label P/N: 105311)
√
One carbon Block
(Yellow Label P/N: 105351)
Replace:
6 Month System Maintenance
√
UF Membrane Filter
(P/N: 105321)
√
Lead+Chemical Reducing CB (P/N: 105371)
Optional Filters:
9


