AERCO ProtoNode FPC-N34 & FPC-N35 User Manual
CHAPTER 3 – Interfacing ProtoNode to Devices
Page
22
of
108
AERCO International, Inc.
•
100 Oritani Dr.
•
Blauvelt, NY 10913
OMM-0107_0B
03/07/2017
Ph.: 800-526-0288
GF-150
3.5 ACS/BMS II Wiring Connections to ProtoNode FPC-N34 and FPC-N35
•
When an ACS, BMS OR BMS II is being used, an RS-485-to-RS-232 converter will be
required to connect it to the ProtoNode’s RS485 port (6-pin Phoenix connector).
•
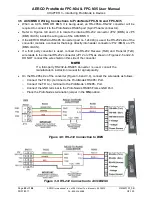
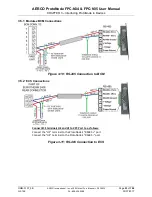
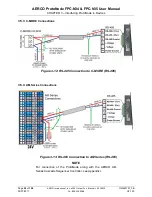
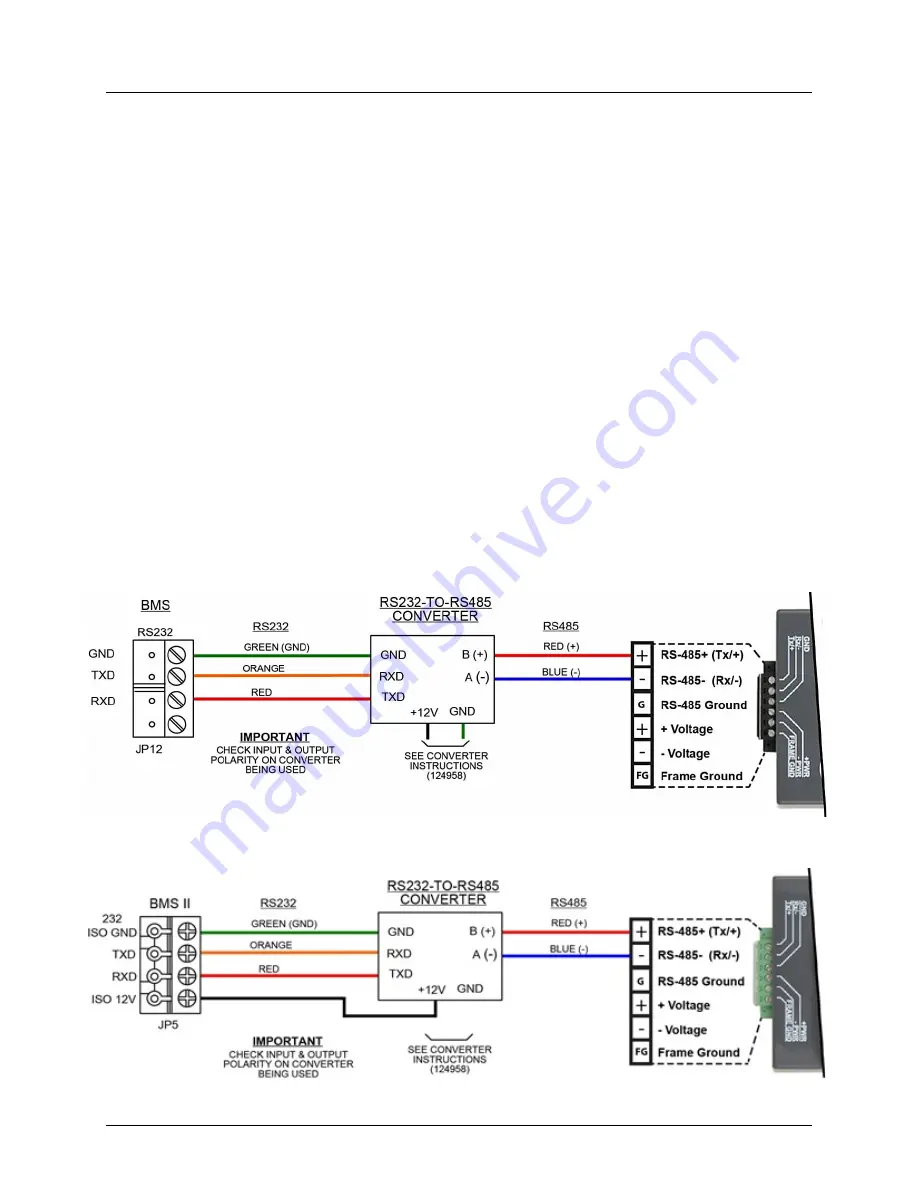
Refer to Figures 3-8 and 3-9 to locate the internal RS-232 connector JP12 (BMS) or JP5
(BMS II/ACS) inside the wiring area of the ACS/BMS II.
•
If the AERCO RS232-to-RS485 Converter (part no. 124943) is used, the RS-232 side of the
converter contains a connector that plugs directly into header connector JP12 (BMS) or JP5
(BMS II/ACS).
•
If a third party converter is used, connect the RS-232 Receive (RxD) and Transmit (TxD)
wire leads to the internal RS-232 connector (JP12 or JP5) as shown in Figures 2-5 and 2-6.
DO NOT connect the wire shield on this side of the converter.
NOTE
If a third-party RS232-to-RS485 Converter is used, consult the
manufacturer’s instruction manual for signal polarity.
•
On the RS-485 side of the converter (Figure 3-8 and 3-9), connect the wire leads as follows:
o
Connect the TD B (+) terminal to the ProtoNode’s RS485+ Port.
o
Connect the TD A (-) terminal to the ProtoNode’s RS485- Port.
o
Connect the GND terminal to the ProtoNode’s RS485 Frame GND Port.
o
Place the ProtoNode’s termination jumper in the
ON
position.
Figure 3-8: RS-232 Connection to BMS
Figure 3-9: RS-232 Connection to ACS/BMS II


