24
Wattsonic AIO ESS | USER MANUAL
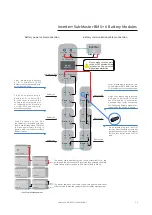
ISub-Master BMS + 4 Battery Modules
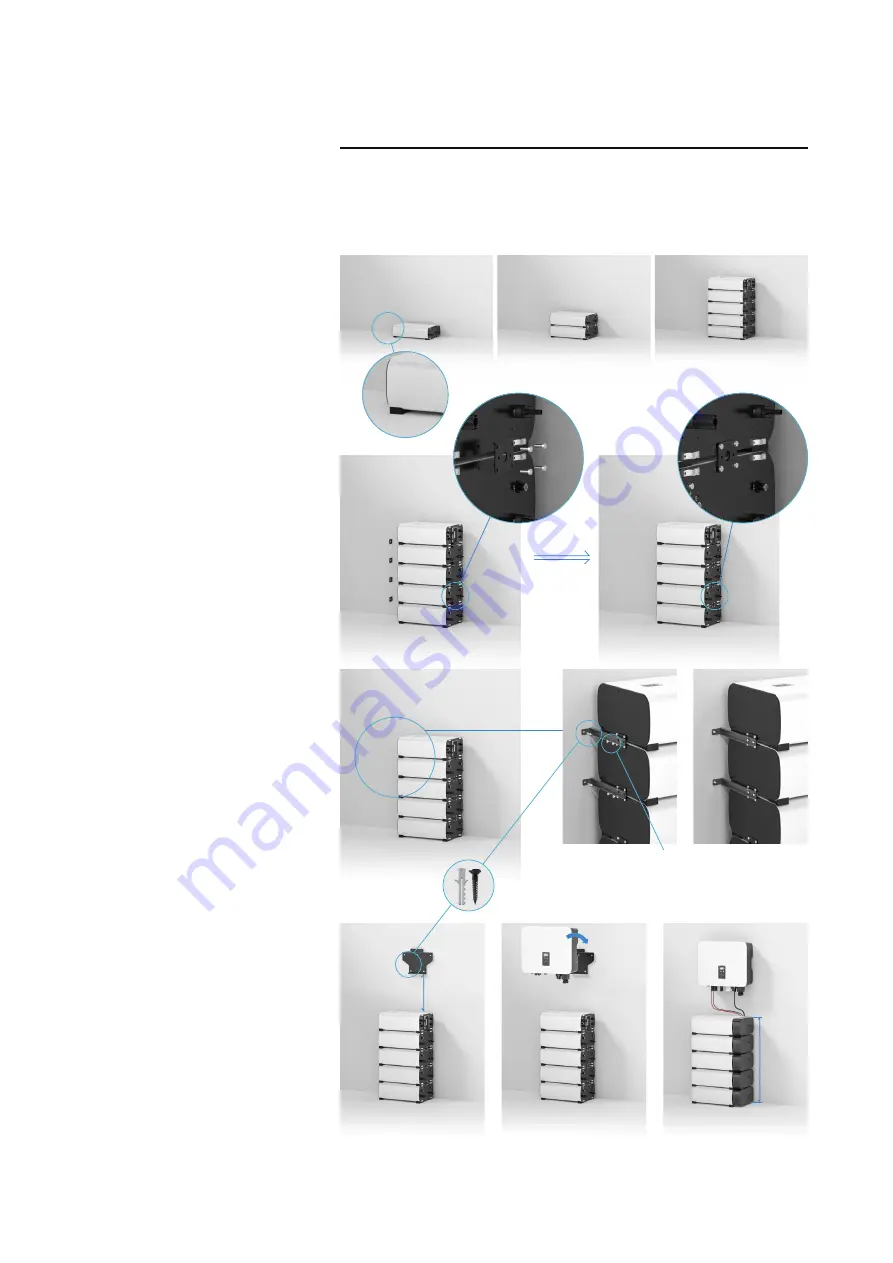
Battery Stack Installation
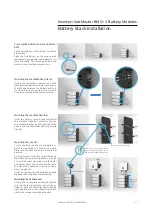
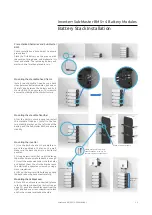
Check installation environment to ensure
ground level.
Place the first battery on the ground, with
the cushion facing down, and make sure it is
level and stable. The remaining battery and
master control are then placed in turn.
After the battery stack is secured, install
the stackble fixed bar. Install in the top
two stability bracket on the left side of the
battery and the Sub-Master BMS, and ensure
stability.
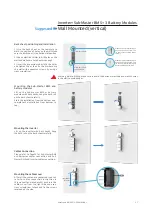
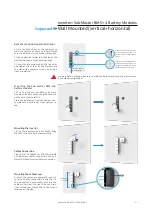
1) Use the back sheet as the template to
mark the position of holes on the wall.
Make sure the back sheet is in a horizontal
position.
2) Use an electrical driller to drill holes on
the wall and make sure hole depth is enough.
3) Insert the expansion tubes into the holes
and tighten them, then fix the bracket onto
the wall with expansion screws by using a
cross screwdriver.
4) Lift up the inverter with both hands, hang
the back rail on the back sheet carefully.
Mounting the cables cover
After all the cables are connected (please
refer to cables connection instruction on
page 39), push into the cables cover from the
right side and use a cross screwdriver to lock
and fix the screws reserved on the side.
Place stacked batteries and Sub-Master
BMS
Mounting the stackble fixed bar
Mounting the inverter
Install two stackable fixed bars on both
sides between battery modules, and one on
the left side between the battery and Sub-
Master BMS. Then secure with screws to
ensure the stability of the stack structure.
Mounting the stackable fixed frame
Please use 7pcs Inverter Back
Sheet expansion screws to fix
the Inverter’s back sheet to wall.
Use two screws to secure.
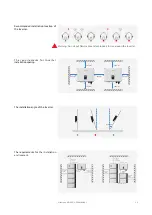
Total height
763mm
minimum 300mm


