Wattsonic AIO ESS | USER MANUAL
45
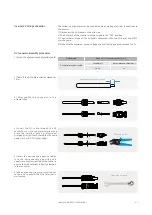
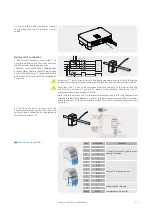
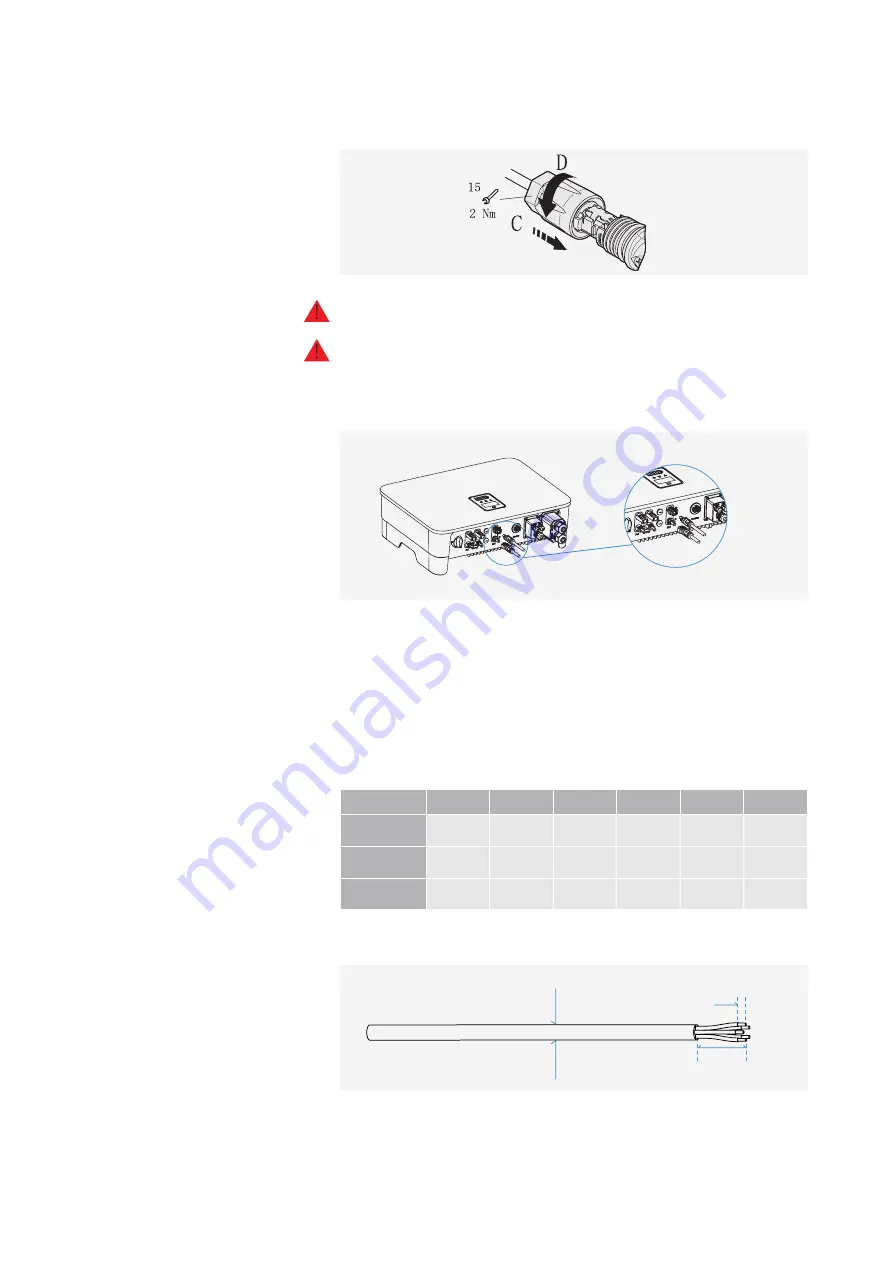
5) Push the battery connector to the thread
joint, and use an open wrench to lock the
connector in a torsion of 2Nm tightly.
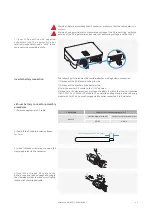
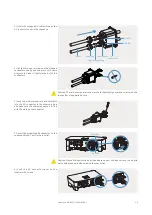
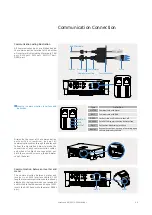
1) According to the table above, select an
appropriate AC cable, peel off the insulation
sleeve of AC cable for 40~60mm, and peel
off the sleeve in the conductor core of 3L/
PE/N wires for 8mm.
6) Insert the positive and negative connector
i n to t h e i nve r t e r b a t t e r y t e r m i n a l s
respectively, and a “click” sound represents
the assembly in place.
AC output connector connection
The following principles must be considered
when making AC output connection.
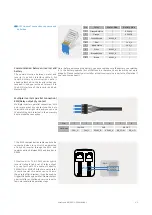
AC connector assembly procedures
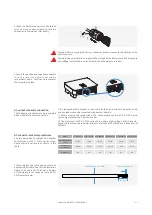
The recommended AC cable and AC breaker
for Wattsonic WTS 6~12kW series three-
phase hybrid inverter are as shown in the
table.
1) An independent AC breaker is required in both on-grid and back-up output side,
and any loads cannot be connected with inverter directly.
2) Before making the connection of AC cable, please confirm all DC & AC power
source are disconnected from the inverter.
3) The Wattsonic WTS 6~12kW series three-phase high voltage hybrid inverter
applies to the three-phase power grid with a voltage of 230/400V and a frequency of
50/60Hz.
Warning: Before making the battery connector, please make sure the polarity of the
cable is correct.
Warning: Use a multimeter to measure the voltage of the battery pack and make sure
the voltage is within the inverter limitation and the polarity is correct.
Model
WTS-4KW-3P WTS-5KW-3P WTS-6KW-3P WTS-8KW-3P WTS-10KW-3P WTS-12KW-3P
Outside diameter
(mm)
12-18
12-18
12-18
12-18
12-18
12-18
Conductor core
section(mm²)
2.5-10
2.5-10
2.5-10
3.2-10
4-10
6-10
Breaker (A)
20
20
20
32
32
40
Wire Diameter:12-18mm
Strip Length:8mm
40-60mm

