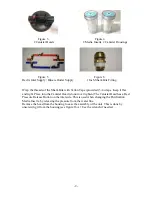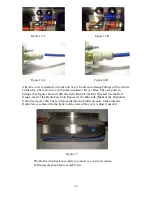
CONNECTION NOTES
:
1.
Turn off your water supply
2.
Turning off your water heater is recommended
3.
Release water pressure by opening a faucet
4.
Attach water source to the Red pipe (Inlet)
5.
Blue is for the Purified water to your home (Outlet)
6.
Shutting off valves for ease of insert changes is recommended
7.
Mount the Unit to a solid surface to prevent falling. (cover is drilled for 16 inch
on center)
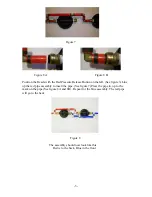
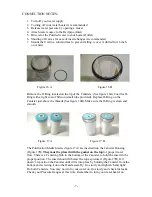
Figure 16 A Figure 16 B
Remove the O-Ring located on the lip of the Canisters. (See figure 16A) Coat the O-
Ring with a light coat of Silicon (small tube provided). Replace O-Ring on the
Canister just above the threads (See figure 16B). Make sure the O-Ring is clean and
smooth.
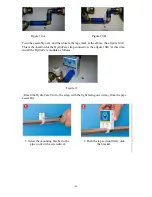
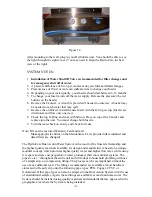
Figure 17 A Figure 17 B
The Purification Media Inserts (figure 17A) are inserted into the Canister Housing.
(Figure 17B)
They must be placed with the gasket on the top
for proper water
flow. There is a Centering Nub in the bottom of the Canister, to hold the insert in the
proper position. The insert should fit below the top as pictured. (Figure 17B) If it
doesn’t, reposition the Canister until it fits into place by holding the Canister from the
bottom and screwing it onto the Head assembly. Go slowly and tighten ‘hand tight’.
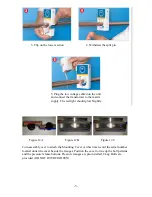
Do both Canisters. You may now turn your water on. Go slowly and check for leaks.
Check your Pressure Gauges at this time. Remember to turn your water heater on.
- 7 -


