13
Inserting a sensor and s
tarting a session
/
English
4.4
Select a transmitter
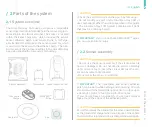
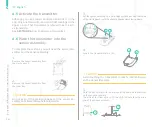
Identify the transmitter you want to use. Make sure the
transmitter is fully charged by placing it in the charger
and checking that the light on the charger is solid green.
See
SECTION 8.4
for details about charging the tran-
smitter.
CAUTION
•
If the transmitter is not fully charged, the app will display
a message at the start of the session, that lets you know
the transmitter might not last for the full 14-day session.
You cannot switch transmitters in the middle of a session.
If the transmitter battery dies, you will need to insert a new
sensor to start a new session.
• Check the transmitter for any visible defects, such as
cracks. Do not use the transmitter if you see any defects.
CAUTION
•
You should only insert the sensor on your abdomen
or lower side, roughly between your ribs and beltline.
Ask your healthcare professional about the best sensor
insertion site for you. Bleeding, swelling, bruising, or in-
fection at the sensor insertion site are possible risks of
sensor use. If any of these conditions occur, get treat-
ment advice from your healthcare professional.
• You should choose a new insertion site every time you
insert a new sensor. Using the same site may cause irri-
tation at the insertion site.
4.3
Clean the sensor insertion site
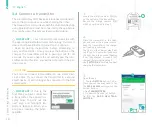
Clean the chosen insertion site before inserting the sen-
sor. Careful cleaning of the insertion site disinfects the
skin and helps the sensor adhesive patch to stick tightly
to your skin.
CAUTION
•
Do not allow anything to touch the insertion site after
cleaning and before you insert the sensor.
• The insertion site must be dry before applying a SKIN-
PREP
TM
wipe and MUST be completely dry before inser-
ting the sensor.
• Failure to clean the insertion site, or improper cleaning
technique may result in an infection.
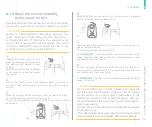
1.
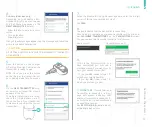
Remove the SKIN-PREP™ wipe from its sealed package.
If you do not have a SKIN-PREP™ wipe, use an alcohol wipe.
2.
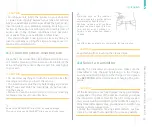
Place the wipe on the insertion
site and wipe in a circular pattern
outward, away from that spot.
Continue cleaning until you have
cleaned the area about 15-20 cm
(6-8 inches) across without re-
turning to any areas you already
cleaned.
3.
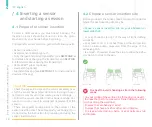
Allow the cleaned area to dry completely, for two minutes.
CAUTION
Keep clothing from touching the cleaned area.
Summary of Contents for A.MENARINI diagnostics GlucoMen Day CGM
Page 1: ...User Guide...
Page 65: ......


