118
CHAPTER 10
•
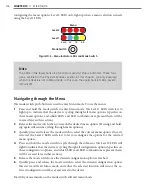
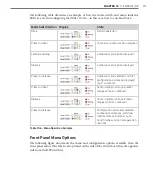
CLICK 112/114
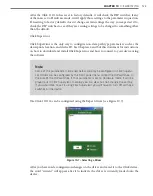
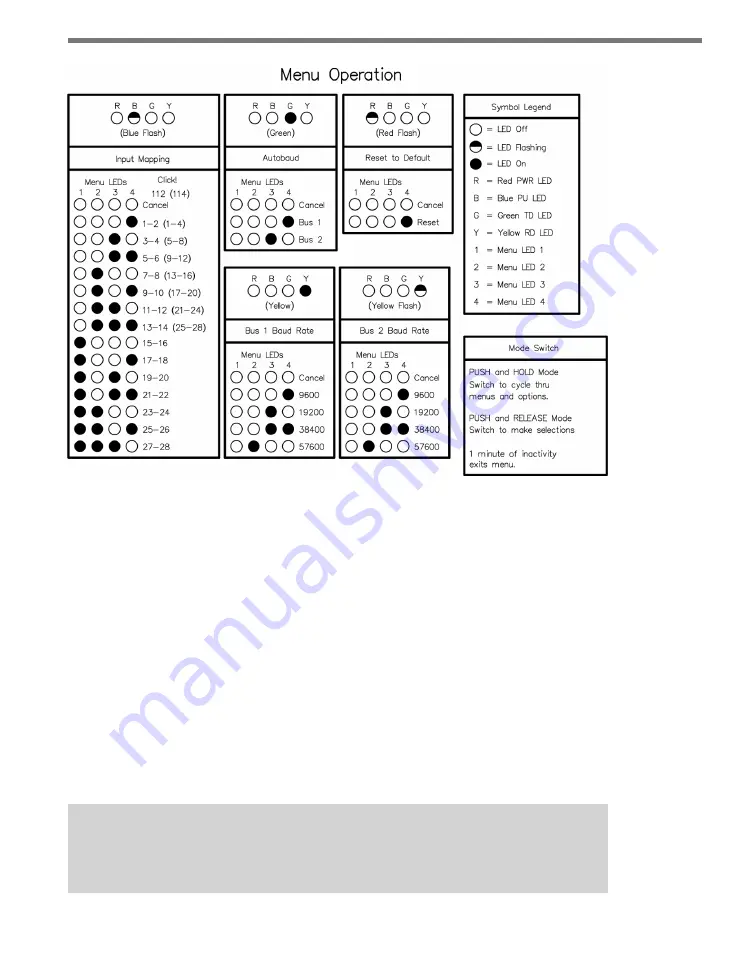
Figure 10.6 – Front Panel Menu Label
As shown above, the menu options are displayed on the Level 1 LEDs (multicolored) and
the configuration parameters are displayed on the Level 2 LEDs (all red).
If a configuration parameter has been set using the DIP switches (meaning that parameter
is currently set to Hardware mode), you cannot change it using the front panel menu. After
selecting that particular menu option from the Level 1 LEDs, the Level 2 LEDs will display
the configuration option set in the DIP switches but will not allow you to modify the set-
ting. When you have finished reviewing the setting, press the mode switch once to leave
Menu mode and return to normal operation.
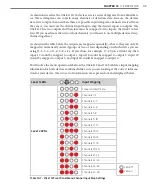
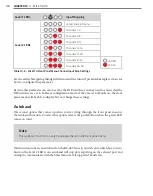
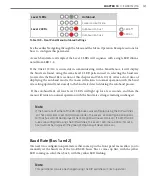
Channel Input Map
The first configuration parameter that comes up when you’re cycling through the front
panel menu is the channel input map. To select this parameter, release the push-button
when the blue LED flashes.
Note
This parameter can also be changed using the DIP switches or Click Supervisor.
Summary of Contents for Click 100
Page 1: ...Click 100 400 Series USER GUIDE...
Page 11: ......
Page 17: ......
Page 27: ......
Page 41: ......
Page 43: ......
Page 79: ......
Page 129: ......
Page 145: ......
Page 161: ......
Page 175: ......
Page 183: ......
Page 187: ......
Page 207: ......
Page 219: ......
Page 225: ......
Page 245: ......
Page 259: ......
Page 260: ...www wavetronix com...


