13 of 23
WX-501-0552 • 01.22
and LED combinations represent them, will be covered later).
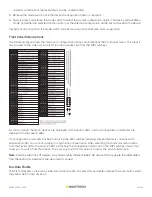
5. Release the mode switch once the desired configuration option is reached.
6. Quickly press and release the mode switch to select the current configuration option. The device will exit Menu
mode, and either the selected function will run or the selected configuration will be set and saved to the device.
Inactivity of one minute on the mode switch will exit menu mode and resume normal operation.
Front Panel Menu Options
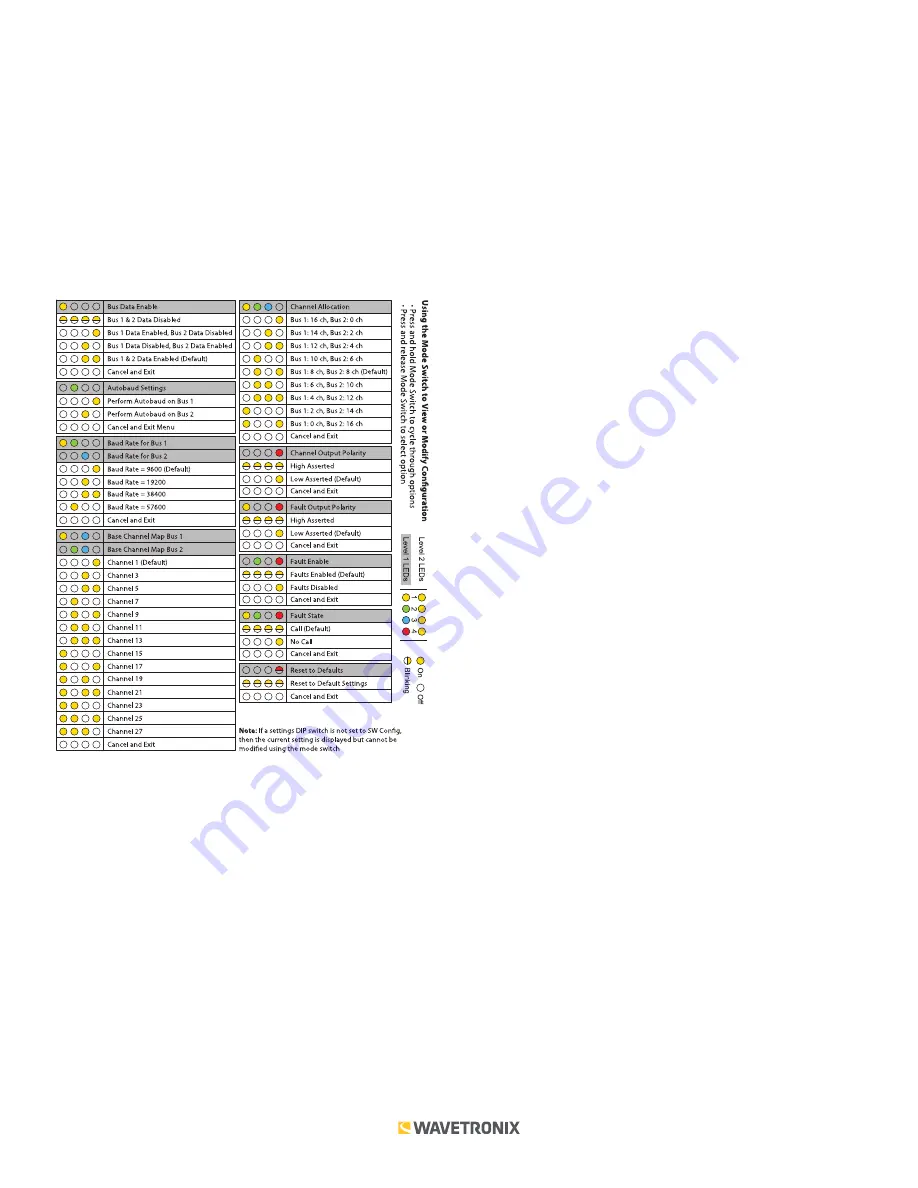
The following figure shows the menu and configuration options available from the front panel menu. This label is
also printed on the side of the Click 111 (on the opposite side from the DIP switches).
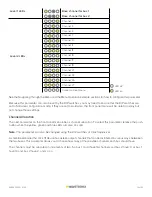
As shown above, the menu options are displayed on the Level 1 LEDs and the configuration parameters are
displayed on the Level 2 LEDs.
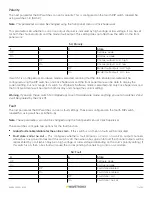
If a configuration parameter has been set using the DIP switches (meaning that parameter is currently set to
Hardware mode), you cannot change it using the front panel menu. After selecting that particular menu option
from the Level 1 LEDs, the Level 2 LEDs will display the configuration option set in the DIP switches and will not
allow you to switch from that option. The only way to exit at this point is to press the push-button once.
Note.
Certain older Click 111 devices may have slightly different labels; be aware that anywhere the label differs
from the text in this document, the document is correct.
Bus Data Enable
The first parameter on the menu label is bus data enable. To select this parameter, release the push-button when
the yellow LED in the comes on.


