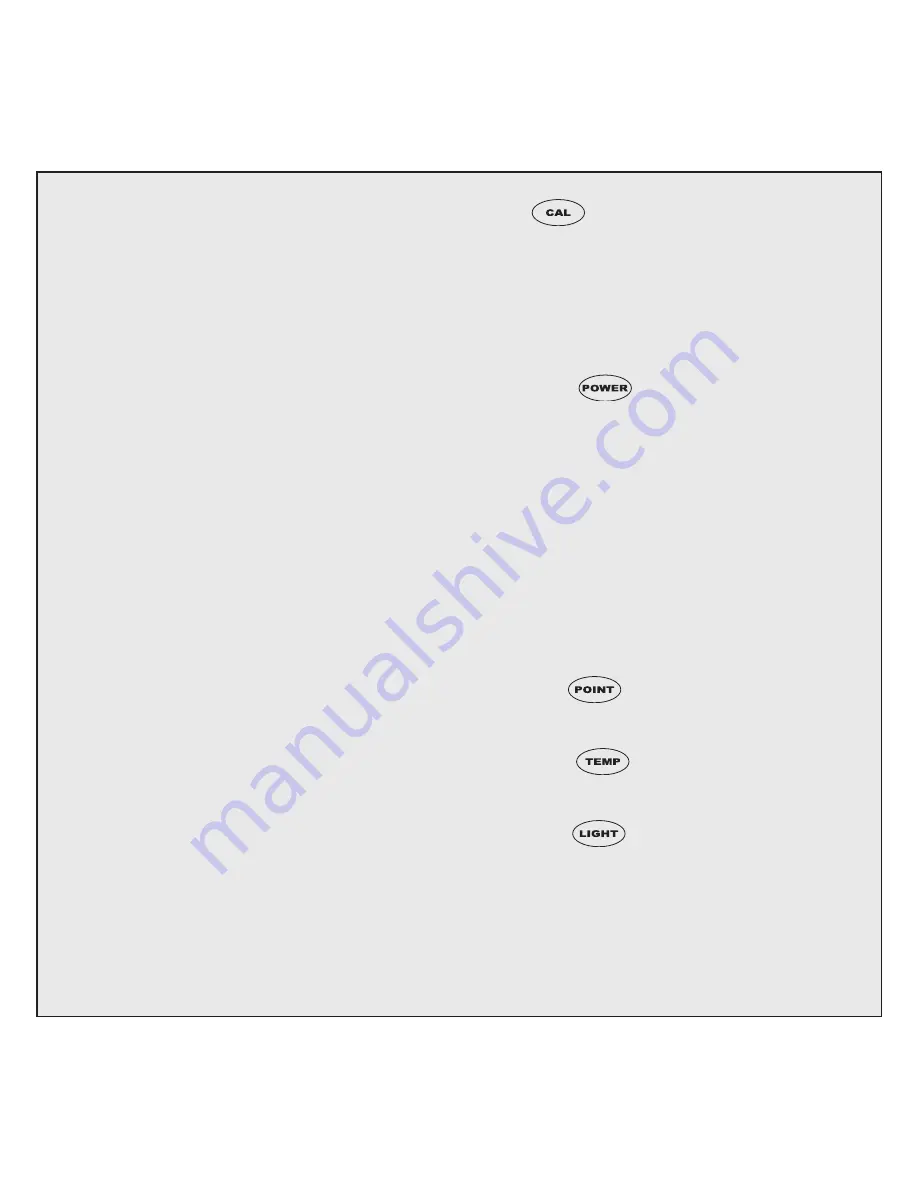
QUICK REFERENCE GUIDE
Getting started:
1. Install battery, observing dia-
grammed polarity (page 1).
2. Plug 12-volt adapter into “POWER”
jack and your vehicle lighter socket
(page 1).
3. Adhere peel-and-stick temperature
sensor to interior or exterior loca-
tion, and plug into “TEMP” jack
(page 2)
4. Mount compass to windshield with
suction cups in a position that does
not block driver’s view, is more than
5” away from a speaker, and puts
the controls within reach (page 3).
5. Adjust compass so it is level and facing
rear of vehicle (not toward driver).
Never loosen pivot screw! To adjust,
simply pull to right against spring-
loaded pivot (page 3).
Before first use:
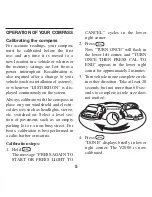
Calibrate compass to your vehicle:
Hold
button and follow on-screen
directions. You simply turn your vehi-
cle in one complete circle, taking 20 to
60 seconds to complete (page 5).
Using your compass:
• Press
button to switch on;
unit shuts off automatically about
10 minutes after your vehicle stops
moving.
• Read your compass heading three
ways: by any of 16 cardinal points,
numerically in 5° increments, and
graphically by an arrow on the com-
pass rose.
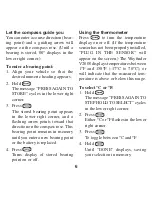
• Hold
button to store a bearing
and follow a desired course (page 6).
• Press
button for a tempera-
ture reading (page 6).
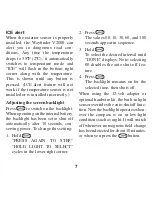
• Press
button to switch screen
backlight on or off (page 6).
Note:
Be sure to read the manual
for detailed instructions.


