background image

1

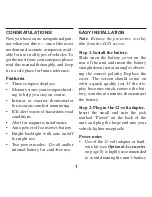
CONGRATULATIONS!

Now you have a new navigational part-

ner when you drive — one of the most 

modern and accurate compasses avail-

able for use in all types of vehicles. To 

get the most from your compass, please 

read this manual thoroughly, and keep 

it in a safe place for future reference.

Features

•  Three compass displays.

•  Memory stores your compass head-

ing to help you stay on course.

•  Interior  or  exterior  thermometer 

for accurate comfort monitoring.

•  ICE alert warns of hazardous road 

conditions.

•  Alert for magnetic interference.

•  Auto power off conserves battery.

•  Bright backlight with auto on/off 

for night use.

•  Two power modes: 12-volt and/or 

internal battery for cord-free use.

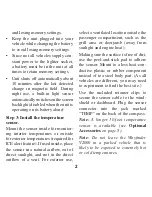
EASY INSTALLATION

Note

: Remove the protective overlay 

film from the LCD screen.

Step 1: Install the battery.

Slide  open  the  battery  cover  on  the 

rear of the unit and insert the battery 

straight down (not at an angle), observ-

ing  the  correct  polarity.  Replace  the 

cover.  The  screen  should  come  on 

with  a  quick  quality  test.  If  the  dis-

play becomes stuck, remove the bat-

tery, wait about a minute, then reinsert 

the battery.

Step 2: Plug in the 12-volt adapter.

Insert  the  small  end  into  the  jack 

marked  “Power”  on  the  back  of  the 

unit, and plug the large end into your 

vehicle lighter receptacle.

Power notes

•  Use of the 12-volt adapter or hard-

wire kit (see 

Optional Accessories 

on page 8) is highly recommended 

to avoid draining the unit’s battery 

Summary of Contents for V2000

Page 1: ......

Page 2: ...o adjust simply pull to right against spring loaded pivot page 3 Before first use Calibrate compass to your vehicle Hold button and follow on screen directions You simply turn your vehi cle in one com...

Page 3: ...use Two power modes 12 volt and or internal battery for cord free use EASY INSTALLATION Note Remove the protective overlay film from the LCD screen Step 1 Install the battery Slide open the battery co...

Page 4: ...the sensor in a natural airflow out of direct sunlight and not in the direct outflow of a vent For exterior use select a ventilated location outside the passenger compartment such as the grill area o...

Page 5: ...on cups firmly against the windshield For accurate readings the compass can be tilted up or down no more than 20 from horizontal road level 20 max 20 max Dashboard W i n d s h i e l d To adjust the an...

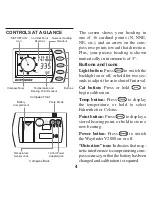
Page 6: ...Temp button Press to display the temperature or hold to select Fahrenheit or Celsius Point button Press to display a stored bearing point or hold to store a new bearing Power button Press to switch t...

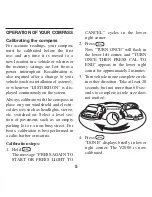
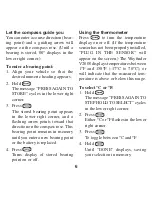
Page 7: ...as headlights stereo etc switched on Select a level sec tion of pavement such as an empty parking lot or a non busy street For boats calibration is best performed in a calm harbor or marina Calibratio...

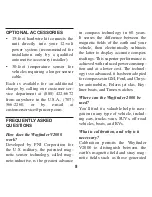
Page 8: ...mains in memory until you enter a new bearing point or the battery is replaced 4 Press Turns display of stored bearing point on or off Using the thermometer Press to turn the temperature display on or...

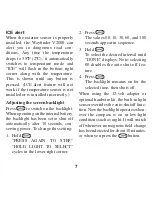
Page 9: ...as been set to shut off automatically after 10 seconds con serving power To change this setting 1 Hold PRESS AGAIN TO STEP HOLD LIGHT TO SELECT cycles in the lower right corner 2 Press The values 00 1...

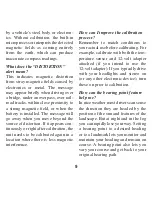
Page 10: ...ve is the greatest advance in compass technology in 60 years It senses the difference between the magnetic fields of the earth and your vehicle then electronically subtracts the latter to display accu...

Page 11: ...librated again in a location where there is less magnetic interference How can I improve the calibration process Remember to match conditions to your actual use before calibrating For example calibrat...

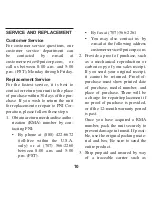
Page 12: ...n the U S A only or at 707 566 2260 between 8 00 a m and 5 00 p m PST By fax at 707 566 2261 You may also contact us by e mail at the following address customerservice pnicorp com 2 Provide a proof of...

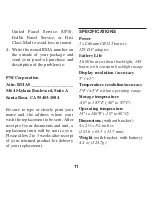
Page 13: ...After receipt of your documents and unit a replacement unit will be sent to you Please allow 2 to 3 weeks after receipt of your returned product for delivery of your replacement SPECIFICATIONS Power 1...

Page 14: ...uct This warranty is extended only to the original retail purchaser who is also the original user and may not be transferred or assigned to subsequent owners In order to validate your warranty you mus...

Page 15: ...n Matters Please take a few minutes to register and let us know about yourself It will help us serve you better in the future and all information will remain confidential To register log on to www pni...

Page 16: ......

Reviews: