
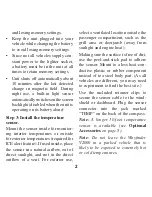
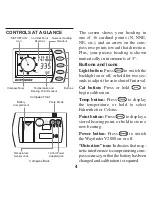


3
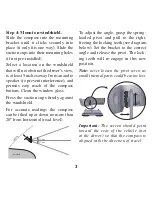
Step 4: Mount on windshield.
Slide the compass into the mounting
bracket until it clicks securely into
place (it only fits one way). Slide the
suction cups into their mounting holes
(if not pre-installed).
Select a location on the windshield
that will not obstruct the driver’s view,
is at least 5 inches away from an audio
speaker (to prevent interference), and
permits easy reach of the compass
buttons. Clean the window glass.
Press the suction cups firmly against
the windshield.
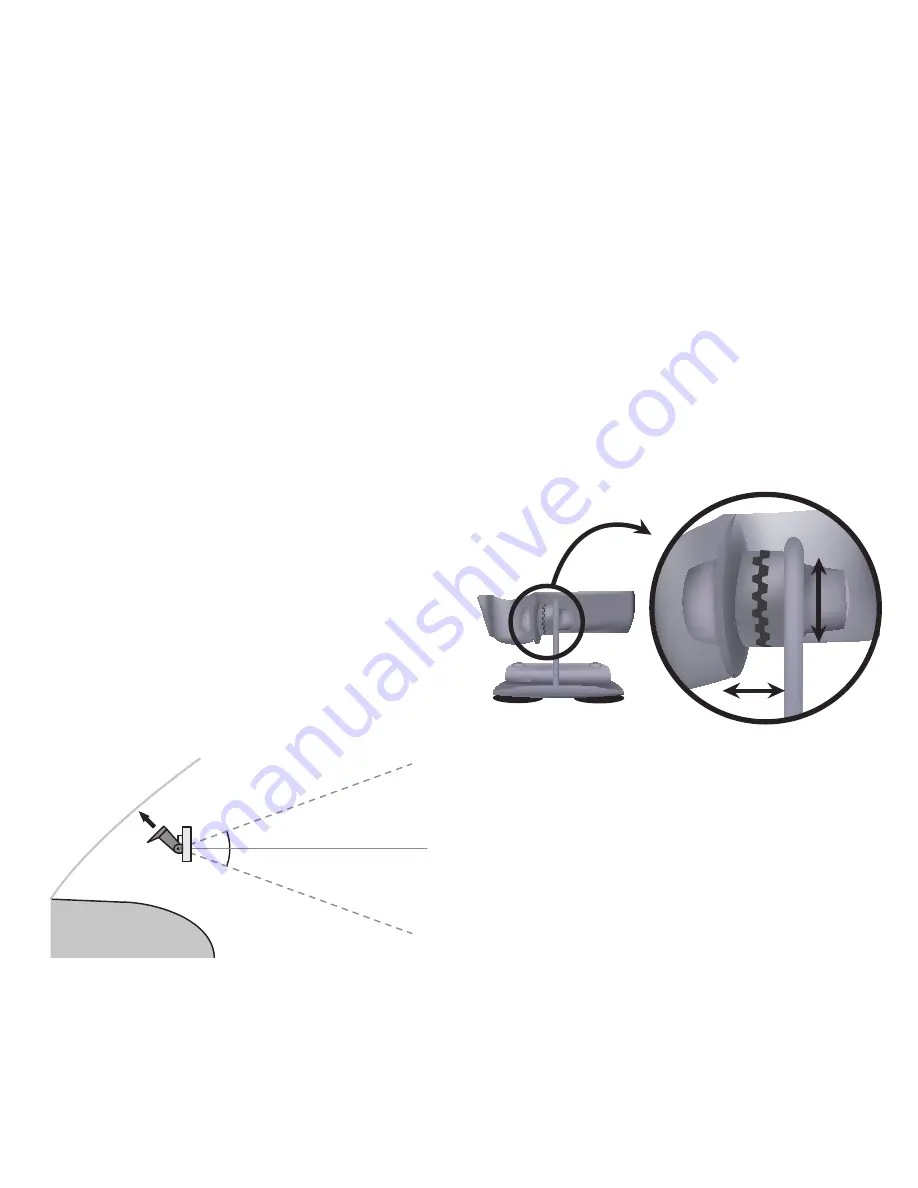
For accurate readings the compass
can be tilted up or down no more than
20º from horizontal (road level).
20° max
20° max
Dashboard
Windshield
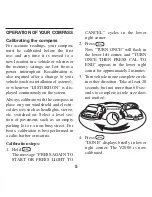
To adjust the angle, grasp the spring-
loaded pivot and pull to the right,
freeing the locking teeth (see diagram
below). Set the bracket to the correct
angle and release the pivot. The lock-
ing teeth will re-engage in this new
position.
Note:
never loosen the pivot screw as
small internal parts could become lost.
Important:
The screen should point
toward the rear of the vehicle (not
at the driver) so that the compass is
aligned with the direction of travel.


