Dosing Device Foamdos V6
Index: 01
Date modified: 26/08/2019
OI No.: BA DW 025-00 Foamdos V6 EN.DOCX
Page 13 of 37
4
Installation
The tasks described here must only be performed by appropriately qualified personnel belonging to a specialist
company.
4.1
Select the installation site
The installation site must have the following properties:
1.
The installation site must be frost-proof.
2.
The system must be protected from direct sunlight.
3.
An electrical power connection with a safety contact is required.
4.
A waste water connection must be available (for system separation), at least d40mm.
5.
Water supply ½”
6.
Space for foam concentrate 10l canister 320x240x190 (HxWxD)
4.2
Installation instructions (suggested installation)
The device is installed at a wall in the technical room or below the massage table. The foam concentrate is
located under the Foamdos. Note the space required for operation and maintenance of the device, see
Chapter
3.4 Technical data
.
Warning and information notices must be installed in compliance with locally applicable accident
prevention regulations at the locations provided!
Do not bend the dosing lines
4.3
Mechanical installation
4.3.1
Install mounting plate with control unit
Install the FOAMDOS dosing device at working level in the technical room. It is also possible to install the
dosing device below the massage table.
1.
When selecting the installation site, make sure it is easily accessible.
2.
Attach the mounting plate to the wall using 4 screws.
Tip!
During installation, ensure short connection paths for the water connections. The
longer the foam line, the more the foam is compressed in the line. This reduces the
foam volume.
4.3.2
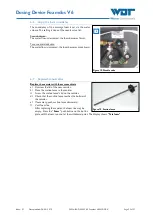
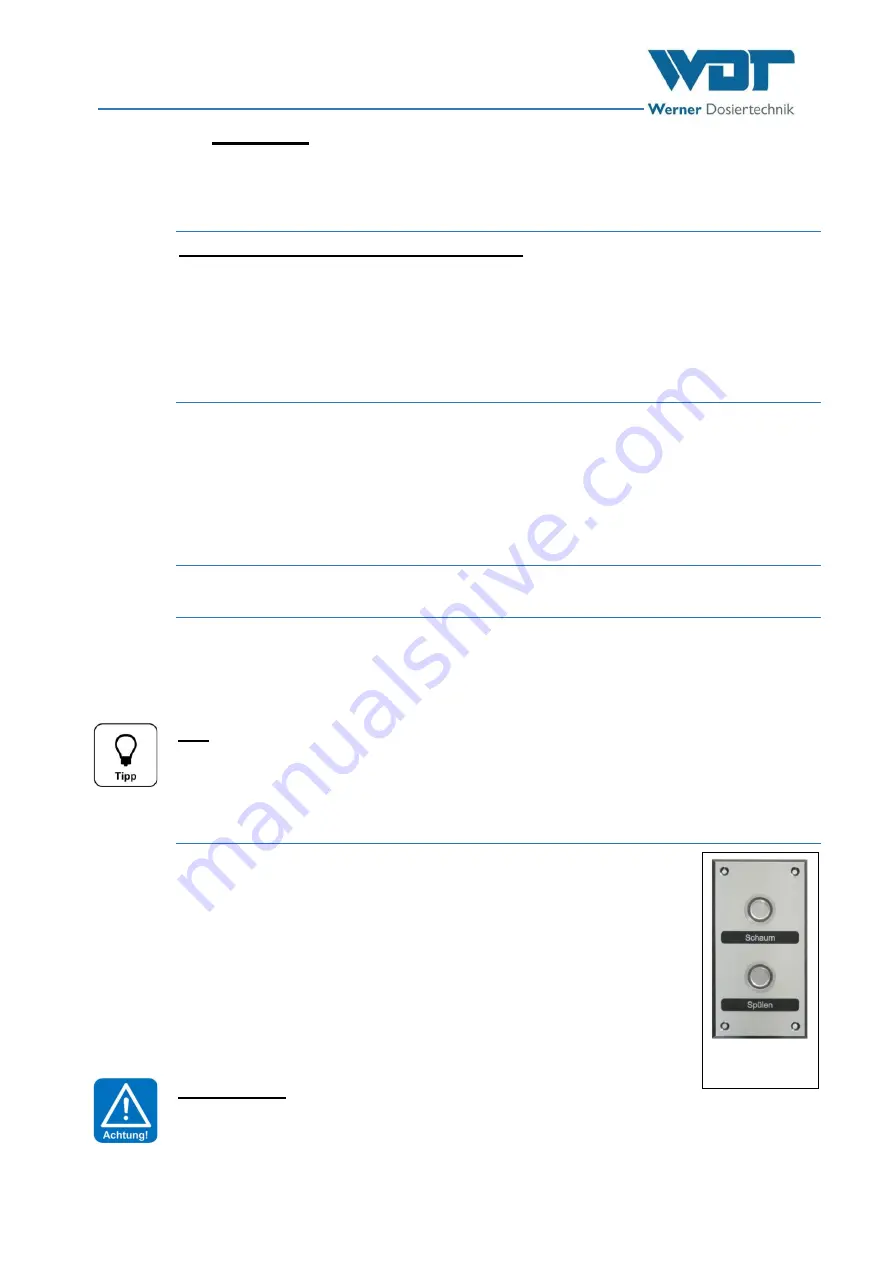
Install the button plate
Install the button plate on or next to the hammam bench. In the vicinity of the foam
dispenser/shower head.
Install the flush-mounted box for the button plate. For installation details,
see
supplementary sheet “BB DW 001 Installation flush-mounted box V2
” in
Chapter
The push button cable (standard 7m) is equipped with a plug. In order to be
able to lay the cable, we recommend laying an empty pipe with a diameter of
32 mm from the dosing device to the button plate.
During installation, make sure that the empty pipe is not angled, but laid in
bends with a radius of at least 30cm.
Pull in the plug-ready push button cable.
ATTENTION!
Seal the button plate against the wall with a suitable sealant to prevent any
condensation moisture from penetrating behind the button plate.
Figure 7,
Button plate 2x


