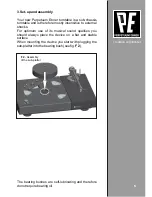
10
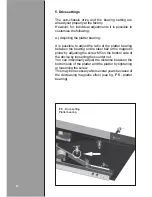
F 7
- Adjusting the
tracking force
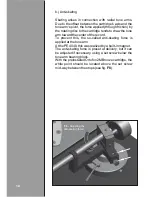
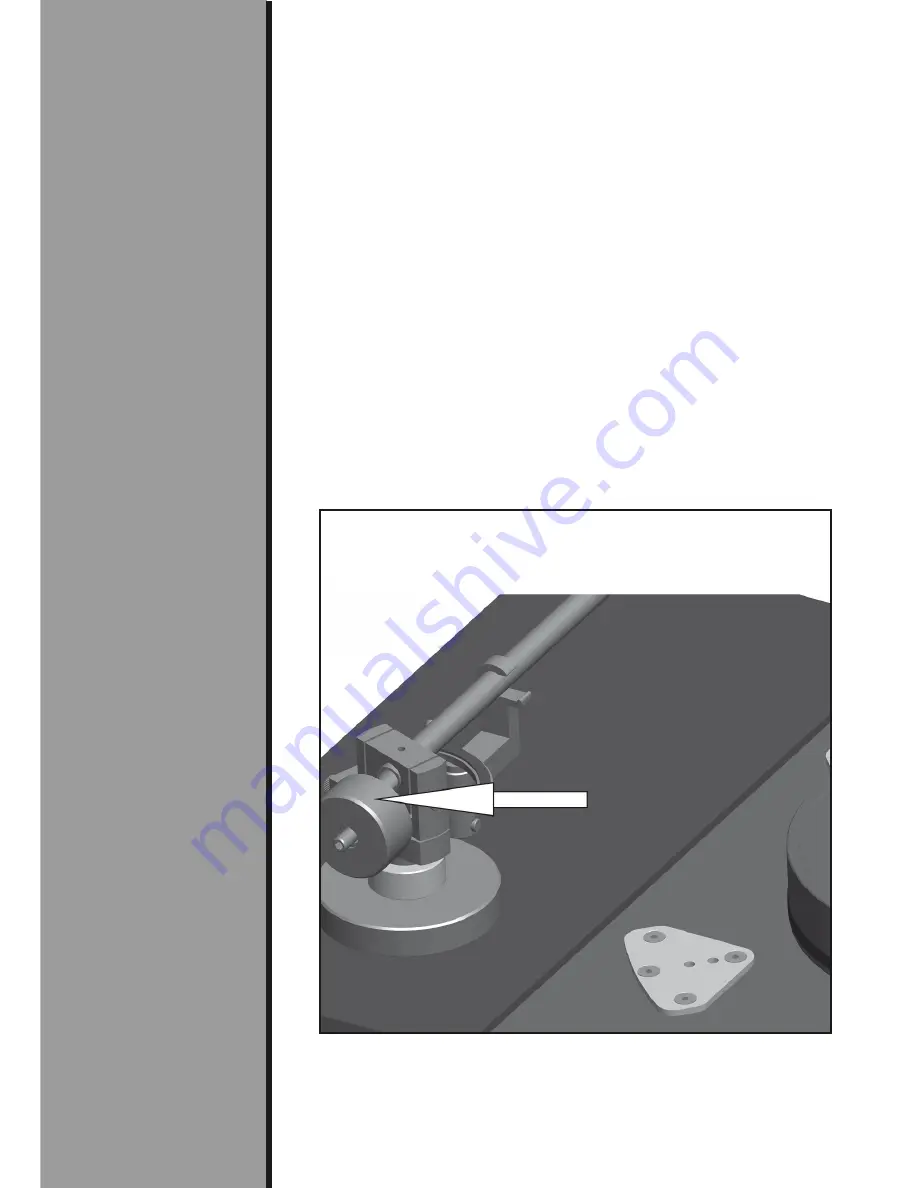
6. Tone arm and pick-up cartridge
The PE 4040 is delivered with a preinstalled tone arm
of the producer THORENS, model TP 92, as well as
with an installed ORTOFON pickup, model 2M
Bronze.
All settings have already been made at the factory.
The weights to balance the tone arm have been
removed for transport.
Further details can be found in the following chapters.
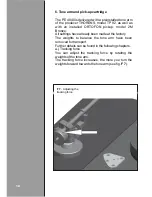
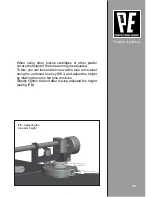
a.) Tracking force
You can adjust the tracking force by rotating the
weights of the tone arm.
The tracking force increases, the more you turn the
weights forward towards the tone arm (see fig.
F 7
).