Chapter 7
Adjustment and initial operation
32708885 Geset 100
Version: 16.07.13
Page 48 of 77
GB
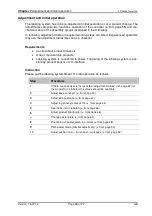
Please exchange the peeler plate as follows.
Step
Procedure
1
Remove the label material from labeler.
2
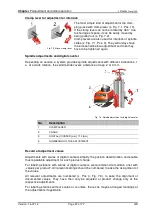
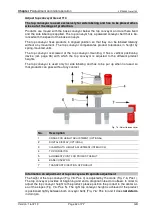
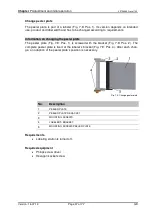
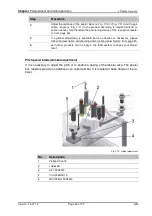
Loosen the screws (Fig. 7-9: Pos. 1) of the peeler plate (Fig. 7-9: Pos. 2)
and remove the complete peeler plate.
3
Change the peeler plate. Unscrew screws (Fig. 7-9: Pos. 5), put the new
peeler plate onto the peeler plate’s bracket and fix it with the screws.
Observe during installation that the beveled part of the peeler plate shows to
the product.
4
Put the complete peeler plate into the bracket (Fig. 7-9: Pos. 4) and fix it with
the screws (Fig. 7-9: Pos. 5).
5
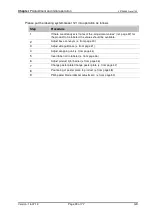
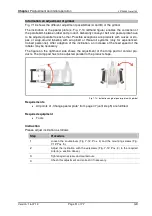
Position the peeler plate to the product (s. next section).
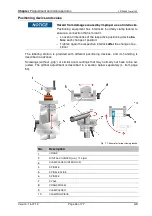
Positioning of peeler plate to product
After a product change, the position of the peeler plate to the product may be adapted.
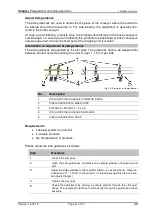
Use for adjustment of the peeler bar the positioning device of the labeler (s. page 36). Ad-
just thus the height, distance and angle from peeler bar to product.
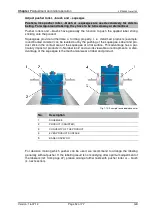
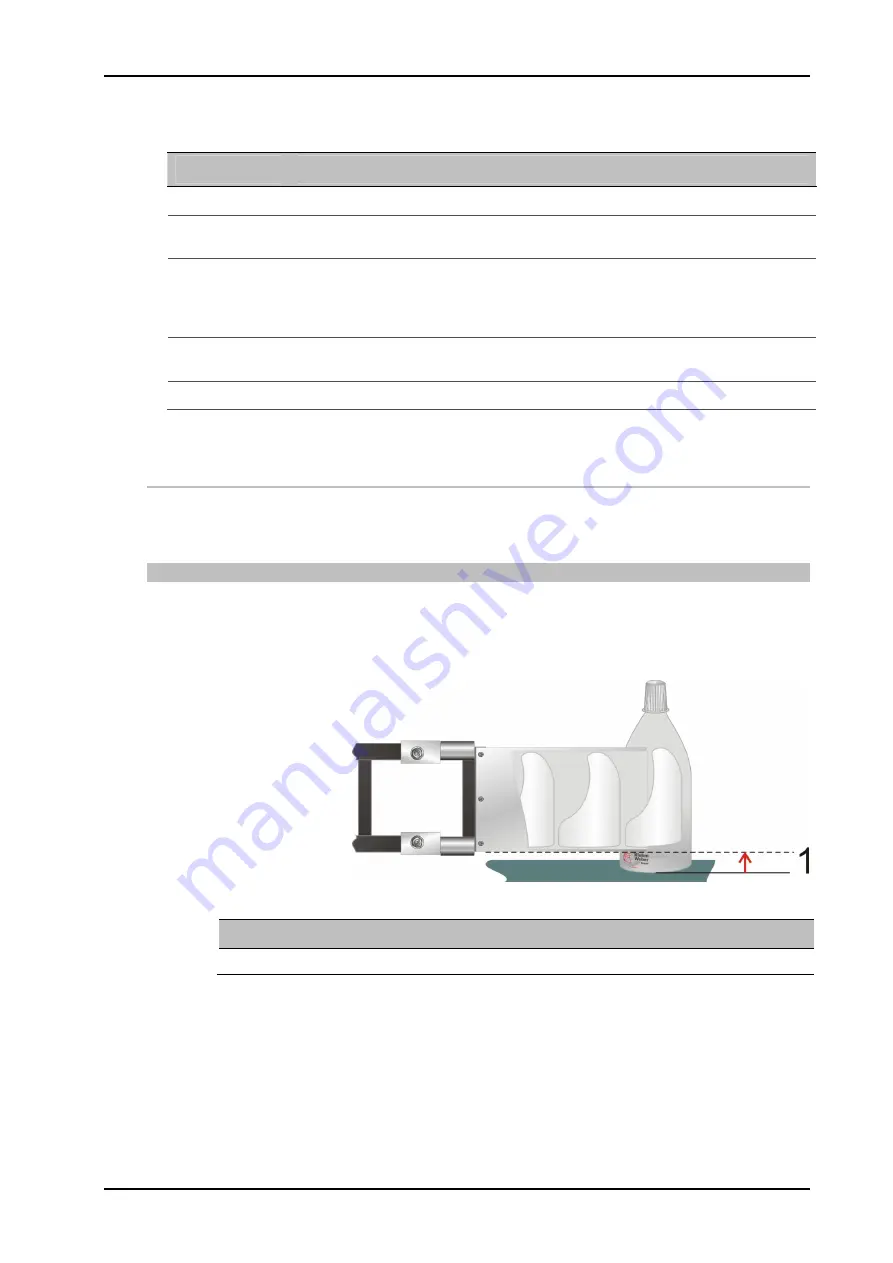
Information on adjustment of peeler plate’s height
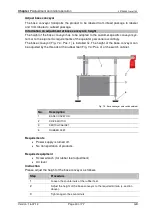
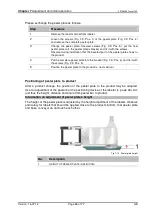
The height of the peeler plate is adjusted by the height adjustment of the labeler. Observe
particulary for labels that should be applied close to the product’s bottom, that peeler plate
and base conveyor do not touch each other.
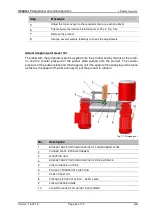
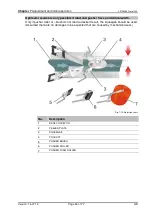
Fig. 7-10: Peeler plate height
No.
Description
1
HEIGHT OF PEELER PLATE (DEFINITION)
Summary of Contents for Geset 100
Page 2: ...Blank page ...

