Setting Up Websense V-Series Appliances
24
Websense V-Series Appliances
manufacturer’s documentation for configuration instructions). For non-HTTP/
HTTPS protocols, the N interface can also be used to send block information to
enforce policy.
To configure the N interface:
a.
Under
Send blocking information for non-HTTP/HTTPS traffic via
,
select whether non-HTTP/HTTPS blocking information is sent via the C or N
interface.
b.
Enter IP address, subnet mask, default gateway (only if you select interface N
for sending blocking information), and DNS IP addresses for the N interface.
c.
Click
Save
in the
Network Agent Interface (N)
area.
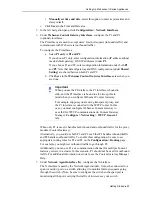
8.
Under
Expansion Interfaces (E1 and E2)
, choose whether to bond to P1 and P2
interfaces. (E1 and E2 interfaces are not present on the V5000 G2.)
Interfaces E1 and E2 can be cabled to your network and then bonded through
software configuration to P1 and P2 (the Websense Content Gateway interfaces).
If you choose to bond the interfaces, E1 must be bonded to P1 and E2 to P2. No
other pairing is possible.
You can choose to bond or not bond each Websense Content Gateway interface
(P1 and P2) independently. You do not have to bond at all. You do not have to
bond both. Also, you can choose different bonding modes for P1 and P2 (for
example, P1/E1 could be
Active/Standby
while P2/E2 could be
Load
balancing
).
Make sure all interfaces are cabled properly before configuring bonding.
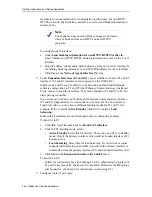
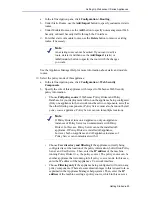
To bond E1 to P1:
a.
Under
E1
, select the check box for
Bond to P1 interface
.
b.
Under E1/P1 bonding mode, select:
•
Active/Standby
: Select this for failover. P1 is active, and E1 is in standby
mode. Only if the primary interface fails would its bonded interface (E1)
become active.
•
Load balancing
: Select this for load balancing. If your switch or router
supports load balancing, then traffic to and from the primary interface is
balanced between the primary interface (P1) and its bonded interface (E1).
c.
Click
Save
in the
Expansion Interfaces (E1 and E2)
area.
To bond E2 to P2:
Follow the instruction above for bonding E1 to P1, substituting E2 in place of
E1 and P2 in place of P1. Make sure P2 is enabled. Otherwise the
E2
options
will be inactive. (See Step 6 for instructions on activating P2.)
9.
Configure routes if necessary:
Note
The appliance does not send block messages to end users
who are blocked from non-HTTP and non-HTTPS
protocols.


