`çãéäÉíÉ=háí==^`qolp=
`çãéäÉíáçå=çÑ=~ëëÉãÄäó=Öêçìéë
109
109
742
742
1046
1046
742
1046
14
12
14
14
1
1
1
1
1
996
713
1000
998
997
995
994
993
992
742
2
2
12
75
12
76
13
13
75
14
13
76
13
12
4,5
m
m
4
4
568
15
26
707
707
26
14
14
1386
15
Q
^ëëÉãÄäáåÖ=íÜÉ=êççÑ=ëÉÅíáçå=
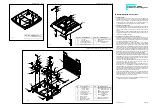
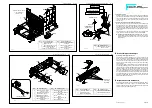
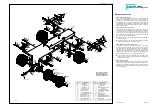
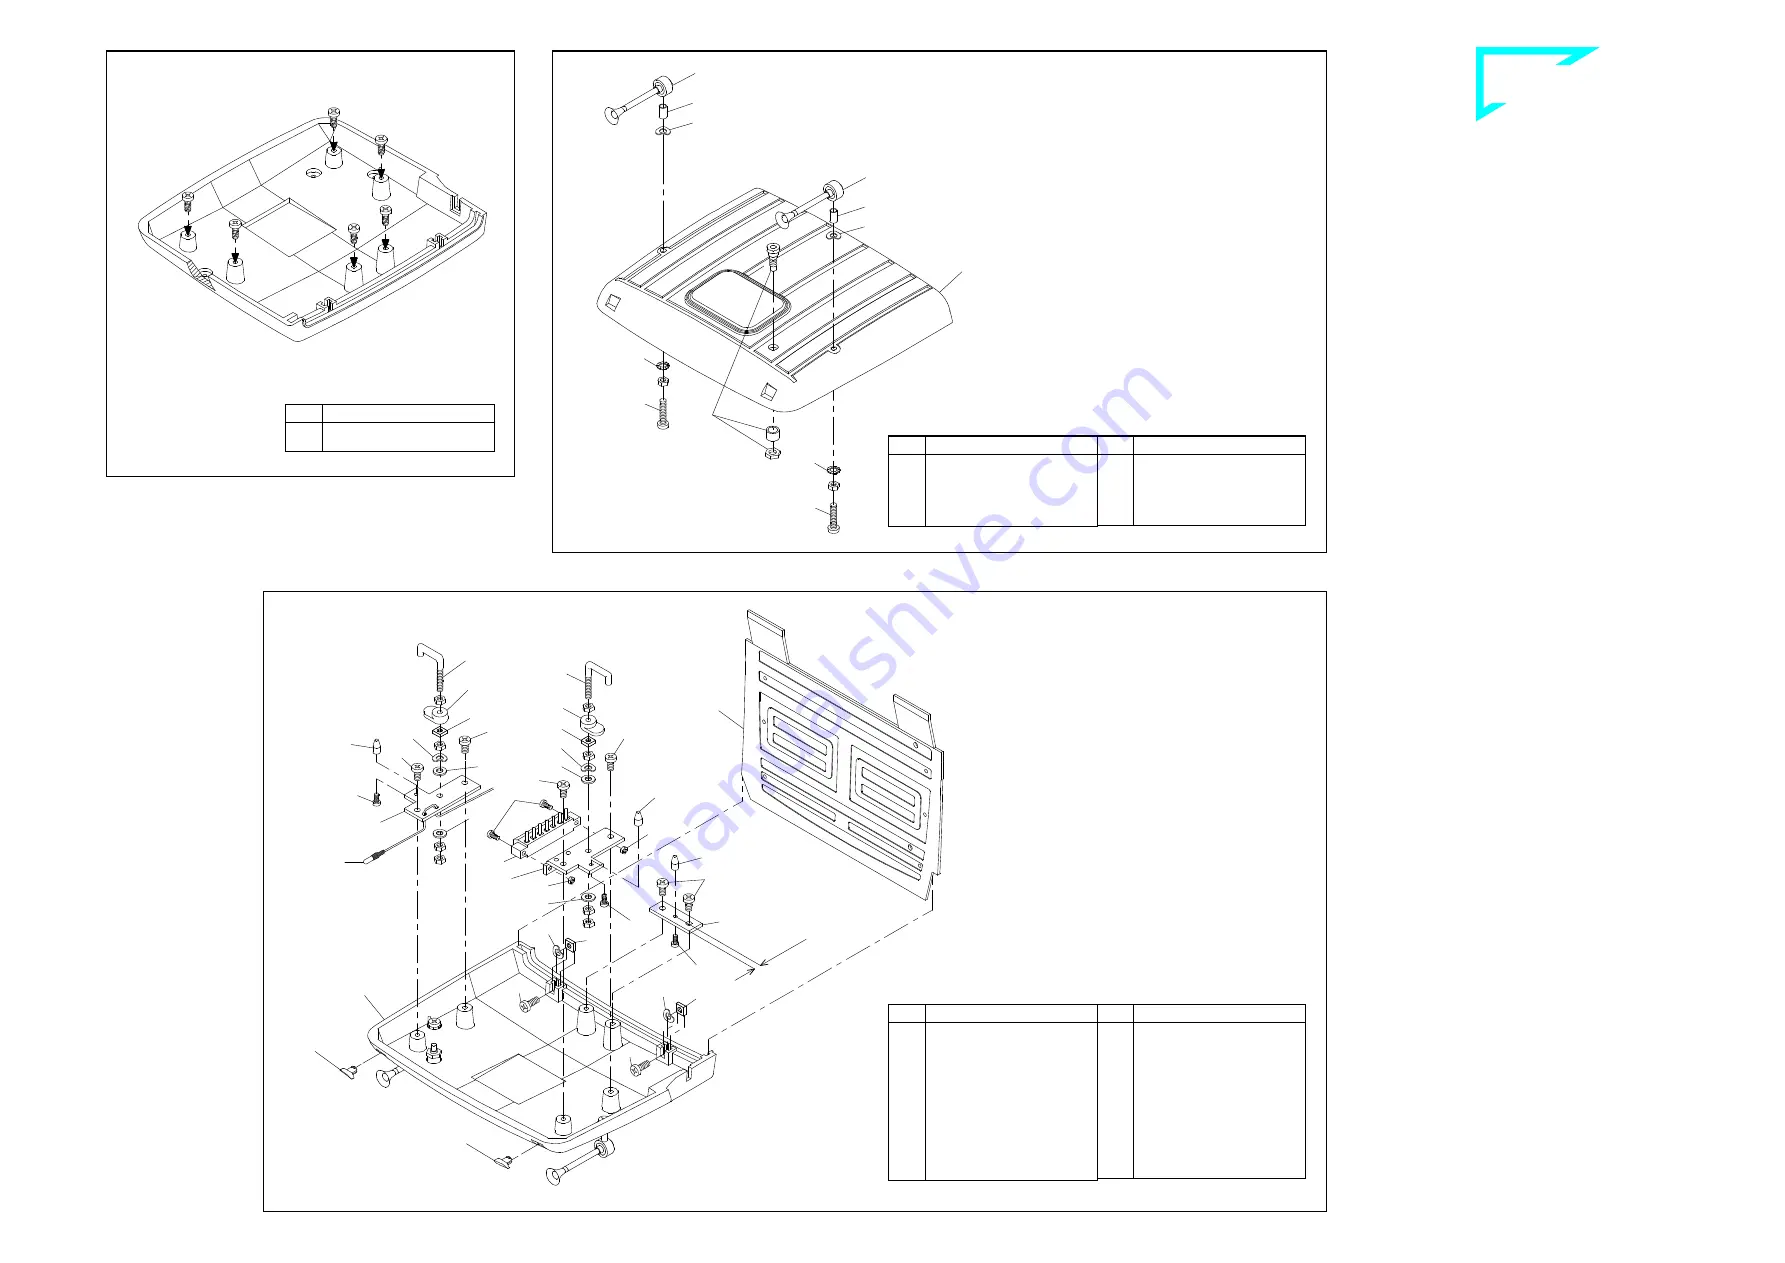
4.1 Cutting threads
Threads have to be cut into six screw holes on the roof. Before you
start the proper assembly, use self-cutting screws 111 supplied with
this kit to cut these threads. You should lubricate the screw and the
screw holes (using a little petroleum jelly, for instance) before doing
so and afterwards use a soft cloth to remove excess lubricant.
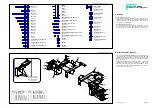
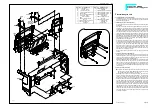
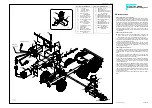
4.2 Antenna socket and horns
Affix the components for the antenna socket 568 to the roof 1386 as
shown in the illustration. Please note that the antenna cable from the
remote control receiver will have to be soldered to the antenna
socket.
The horns 707 are fitted with bushings 26 and spring washers 14 and
then affixed, through the holes provided in the roof, using screws 4,
nuts M3 and serrated washers 15.
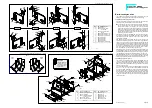
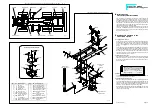
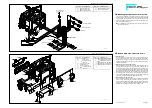
4.3
Assembly of roof, locking device and rear panel
When adding the assembly of the roof and upper rear panel to the
cab, do not tighten the fasteners as both units have to be detachable.
For locking the roof, two door locks catch behind those metal sheets
specially provided for that on the side panels.
To a door handle 75 add one nut M3 and tighten it. Then slide the
door lock 76 over it and screw on one square nut 12. Fix door handle
and door lock that way that they are facing same direction. When
fastening the door lock it is advisable securing it with pliers. Afterwards
add a further nut M3. Once you have added one spring washer 14
and one washer 13, slide the handle through that hole provided for
on the left-hand roof locking plate 994. From behind add now one
washer 13 and fasten the unit using two nuts M3. By the same way
add a door handle to the right-hand side roof locking plate 995.
Now provide a guide post on each locking sheet by using each one
bolt 1046 and screws 742. Build another similar post onto the guide
sheet 996; as the hole is not central please note the correct side (di-
mension in the illustration is of 4.5) when adding it. Use two screws 1
to fix the guide sheet underneath the roof.
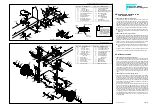
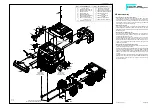
Press now the lenses 997 and 998 into those holes provided in the
front of the roof. Feed the wires from each bulb 713 through the
holes provided on both roof locking sheets
.
Fix the left hand roof locking sheets onto the underside of the roof
with screws 1. Use screws 742 and nuts 109 to add the 7-pole pin
terminal 1000 to the right hand roof locking sheet. Once all wires
have been connected (see chapter 4.5), similarly to the left-hand one
fix the right-hand roof locking sheet underneath the proper roof
.
Af-
terwards insert the bulbs into the roof lamp lenses.
Fixing the rear panel 993 to the roof: For this purpose slide each one
square nut 12 with one spring washer 14 into those slots on the two
fixing links underneath the roof. Set the rear panel into the guide
groove and squeeze it by tightening screws 2.
Note: Those free holes on the rear panel 993 are provided for the at-
tachment of the side spoilers (accessories).
80-e.DOC / K-Actros
Page 4
Qty.
No. Assembly part
2
111 Self-cutting screw M3 x 8
Qty.
No. Assembly part
2
--- Nut M3
2
4 Screw M3 x 16
2
14 Spring washer 3.2
2
15 Serrated washer 3.2
2
26 Bushing 4 x 0.5 x 7
Qty.
No. Assembly part
1
568 Antenna socket, compl.
2
707 Horn
1
1386 Roof, Complete Kit
ACTROS “C“
Antenna socket and horns ill. 4.2
Qty.
No. Assembly part
8
--- Nut M3
6
1 Screw M3 x 6
2
2 Screw M3 x 8
4
12 Square nut M3
4
13 Washer 3.2
4
14 Spring washer A 3.2
2
75 Door handle
2
76 Door lock
2
109 Nut M2
2
713 Bulb 3V, 100mA
5
742 Screw M2 x 5
Qty.
No. Assembly part
1
993 Rear panel, top ACTROS
1
994 Locking sheet / roof, -lh-
1
995 Locking sheet / roof, -rh-
1
996 Guide sheet for roof
1
997 Lens, roof lamp -lh-
ACTROS
1
998 Lens, roof lamp -rh-
ACTROS
1
1000 7-pole pin terminal
3
1046 Bolt with thread
Assembly of roof, locking device and rear panel ill. 4.3
B-80-2
B-80-1
B-223-1
Cutting threads ill. 4.1

