6
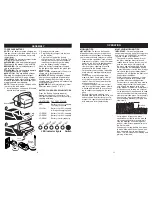
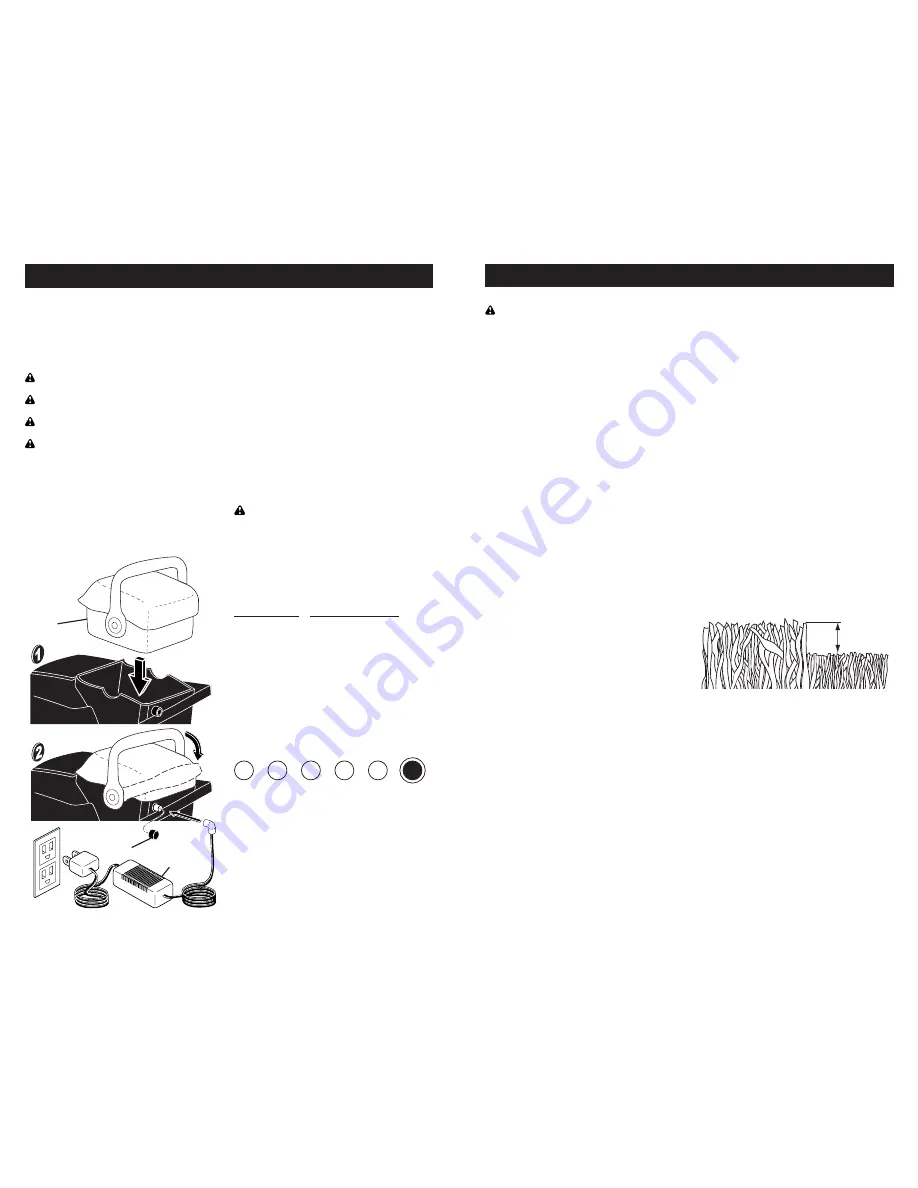
Battery
Battery
charger
Jack
cover
LED indicator lights
Switch
Red Yellow Green Green Green
ASSEMBLY
TO PREPARE BATTERY
NOTE:
Your battery must be charged be-
fore you can start your lawn mower. Avoid
charging battery in extremely hot or cold
temperatures.
IMPORTANT:
Do not store charger inside
of motor or on top of battery.
WARNING:
Use only the battery pack
supplied with this mower (Type: 438740).
WARNING:
Do not charge battery in
rain or wet locations.
WARNING:
Do not attempt to operate
mower while battery is charging.
CAUTION:
Only use battery charger
approved by the manufacturer of your
mower (Type: 438734). Using a charger
not approved by the manufacturer of your
mower is hazardous, could damage your
mower and void your warranty.
NOTE:
The battery can be charged while
in or out of the lawn mower.
1. Install battery as shown and tilt handle
back to lock into position.
2. Remove the jack cover.
3. Plug the battery charger into the jack
on the battery.
4. Plug the other end of the battery
charger into a 120 volt A.C. outlet. The
red light on the charger will illuminate
indicating that the charger is working
and the battery is being charged.
When the battery is completely charged,
the red light will go out and the green light
will illuminate.
NOTE:
It takes approximately 15 hours to
charge a fully discharged battery.
IMPORTANT:
Battery should be charged
after each use regardless of power level.
Battery should always be stored in a fully
charged state. This battery will not develop
a charging memory.
WARNING:
Do not store battery in tem-
peratures lower than 32° F (0° C).
BATTERY CHARGER LED INDICATORS
Press the Battery Capacity Indicator
Switch (on the back of the battery). The
LED lights will indicate the current battery
capacity as follows:
LIGHT MODE BATTERY
STATUS
RED
Battery is at 20% capacity,
charging is required
YELLOW
Battery is at 25% capacity,
will require charging soon
1 GREEN
Battery is at 45% capacity
2 GREEN
Battery is at 60% capacity
3 GREEN
Battery is at full capacity
11
MAX 1/3
MOWING TIPS
CAUTION:
Do not use de-thatcher
blade attachments on your mower. Such
attachments are hazardous, will damage
your mower and could void your warranty.
• Under certain conditions, such as when
mowing very tall grass, raise the mower
height on the fi rst cut to avoid overheat-
ing the motor, and to avoid leaving
clumps of grass clippings. Make the
sec ond cut to the desired height.
• For extremely heavy cutting, re duce the
width of cut by over lap ping previously
cut path.
• When using a rear discharge lawn
mower in moist, heavy grass, clumps
of cut grass may not enter the grass
catcher. Run the lawn mower over the
area a second time.
• If a trail of clippings is left on the right
side of a rear discharge mow er, mow in
a clockwise direction with a small over-
lap to collect the clippings on the next
pass.
• Pores in cloth grass catchers can
become fi lled with dirt and dust with use
and catchers will collect less grass. To
prevent this, reg u lar ly hose catcher off
with water and let dry before using.
OPERATION
MULCHING MOWING TIPS
IMPORTANT
: For best performance,
keep mower housing free of built-up grass
and trash. See "CLEANING" in the Main-
tenance section of this manual.
• The special mulching blade will recut
the grass clip pings many times and
reduce them in size so that as they fall
onto the lawn they will disperse into
the grass and not be noticed. Also, the
mulched grass will bio de grade quickly
to provide nu tri ents for the lawn. Always
mulch with your highest motor (blade)
speed as this will provide the best recut-
ting action of the blades.
• Avoid cutting your lawn when it is wet.
Wet grass tends to form clumps and
in ter feres with the mulch ing action.
• For best results, adjust the lawn mower
cutting height so that the lawn mower
cuts off only the top one-third of the
grass blades. If the lawn is overgrown it
will be necessary to raise the height of
cut to reduce pushing effort and to keep
from over load ing the motor and leaving
clumps of mulched grass. For ex tremely
heavy grass, reduce your width of cut
by overlapping previously cut path and
mow slowly.
• Certain types of grass and grass
con di tions may re quire that an area be
mulched a second time to com pletely
hide the clip pings. When doing a sec-
ond cut, mow across (per pen dic u lar) to
the fi rst cut path.
• Change your cutting pattern from week
to week. Mow north to south one week
then change to east to west the next
week. This will help prevent matting and
graining of the lawn.

