WM 66
611 07/
202
1
OXYWAY
EN
139
Repairs to OXYWAY Fast II
11.Loosen the bottom part of the counter tool
from the vise
and remove.
12.Fit the O-ring
in the connecting bolt
(see "15.8.2 Fitting the O-ring in the connecting bolt", page 134)
.
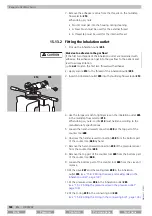
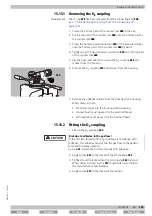
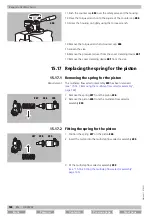
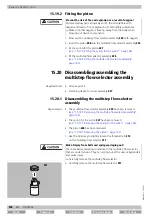
15.13 Replacing the inhalation outlet
Required tools
• Counter tool with fastening handle
• Vise
• Loctite
15.13.1
Removing the inhalation outlet
Requirement
• The O-ring
has been removed from the connecting bolt
(see "15.8.1 Removing the O-ring from the connecting bolt",
page 134)
.
• The pressure screw
has been removed from the inhalation
outlet
(see "15.5.1 Removing the pressure screw from the
• The sieve
and the sealing disks
have been removed from
the inhalation outlet
(see "15.6.1 Removing the sieve and
nozzle plate from the inhalation outlet", page 133)
1. Clamp the bottom part of the counter tool
in the vise.
2. Put the top part of the counter tool
onto the bottom part of
the counter tool
.
3. Screw the hand-screwed connection
of the pressure reducer
onto the bottom part of the counter tool
by hand.
4. Tightly screw the hand-screwed connection
onto the top part
of the counter tool
.
5. Use the open-end wrench to loosen the inhalation outlet
from the multistep flow selector
6. Remove the inhalation outlet
selector
Back
Forward
Previous page
Next page
Summary of Contents for OXYWAY Click
Page 271: ......


