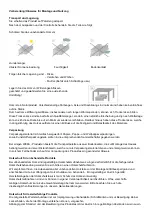
Once the ground has been successfully height-adjusted, the height and horizontal position of the foundations must be
marked out.
A prerequisite for assembly is an expertly laid, level and square foundation.A prerequisite for assembly is an expertly
laid, level and square foundation. We recommend a raft foundation. A foundation plan can be obtained from your
specialist dealer.
In order to avoid rising damp, we recommend that a barrier layer be laid between the foundation and the floor beams
using the packaging film, roofing paper or similar.
Roofing paper for a barrier layer is not included in the scope of this delivery.
In order to avoid wind damage, anchor the floor beams of the cabin to the foundation and fix the vertical studs from
the extension to the foundation.
Concrete anchors or steel angles and heavy-duty dowels available from specialist dealers are suitable for this.
The anchors are not included in the scope of this delivery.
This must be considered during installation!
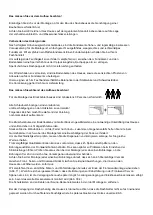
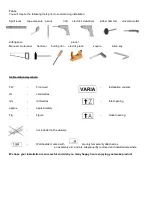
At least three people are required to assemble the log cabin.
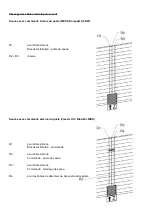
All screw connections are to be predrilled,
in order to avoid damaging the wood parts.
The following symbol in the instructions
will remind you to do this:
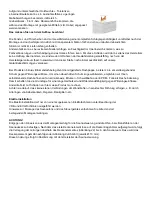
The intermediate spaces between the floor beams of log cabins guarantee the necessary subfloor ventilation for the
cabin and should therefore not be sealed.
Fit the wall boards together, with the tongue pointing upwards. If necessary, use a rubber mallet. The assembly timber
will prevent any damage to the tongue.
In order to check the right angles, measure the diagonals and make any necessary corrections until you have the
same values.
Despite careful quality controls, chips or splinters may be found at the drill holes of the front wall boards. This may
later lead to problems when inserting the silicone cables. So, when installing each individual layer of boards, check
that the drill holes are free and sit precisely on top of each other without misalignment.
So, when installing each individual layer of boards, make sure that there is no height offset between the front, side and
rear walls. Immediately level out minor deviations that become visible inside at the cabin corners.
We recommend that you insert all silicone and sensor cables as soon as the front wall is installed (fig. 11). Once you
have ensured that the drill holes for cable routing in the front wall are free of chips, etc., it is also possible to lay them
later. The cables must be laid and the electrical connection made before the second ceiling panel is installed (fig.
30.4).
The protective strips on the edges of the sauna ceiling panels are to be removed before installation.
When laying the roof boarding of the cabin, care should be taken to ensure that the roof boards are not pressed too
tightly into each other. Subsequent swelling of the wood as a result of moisture is unavoidable.
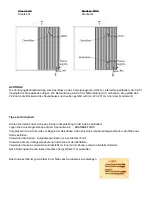
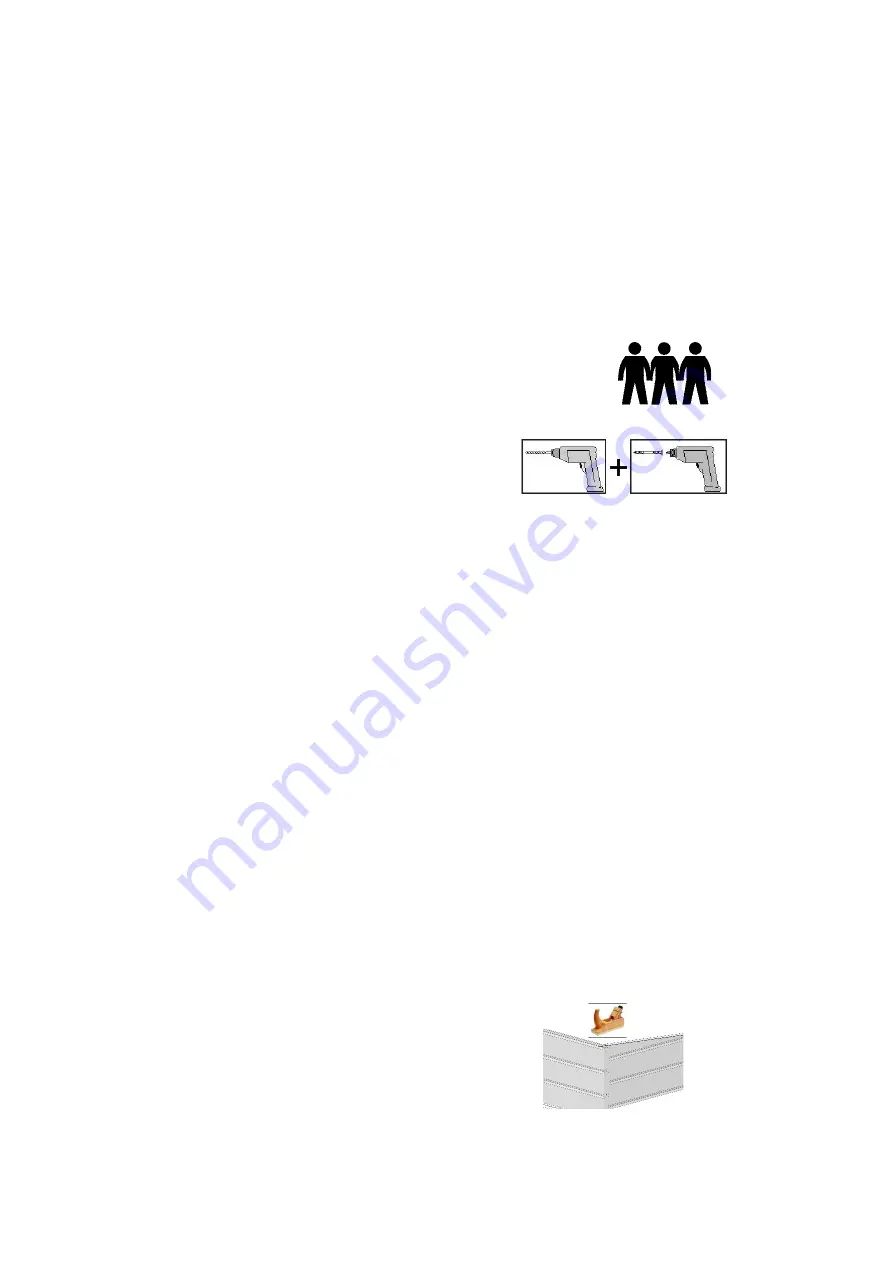
The differing wood mo tolerances
in individual components may in exceptional cases lead to minor
variations in dimensions, particularly in the area
of the pediment
– front or rear wall height, which
must be adjusted during installation using appropriate means
(e.g. plane).
This must be considered after installation!
In order to guarantee complete resistance to driving rain, the window and door panes are to be sealed around the
edges with transparent silicone for window construction immediately after assembly and after painting is completed.
Silicone is not included in the delivery.


