background image

TitanMig 200D Operators Manual   

Issue. A 1216 


TitanMig 

200D


OPERATING MANUAL 


Operating manual 

EN


Brugsanvisning 

DA


Gebrauchsanweisung 

DE


Manual de instrucciones 

ES


Käyttöohje 

FI


Manuel d’utilisation 

FR


Manuale d’uso 

IT 

Gebruiksaanwijzing 

NL


Bruksanvisning 

NO 

Instrukcja obsługi 

PL 

Manual de utilização


PT


Инструкции по эксплуатации 

RU 

Bruksanvisning 

SV


操作手册


CN


English 


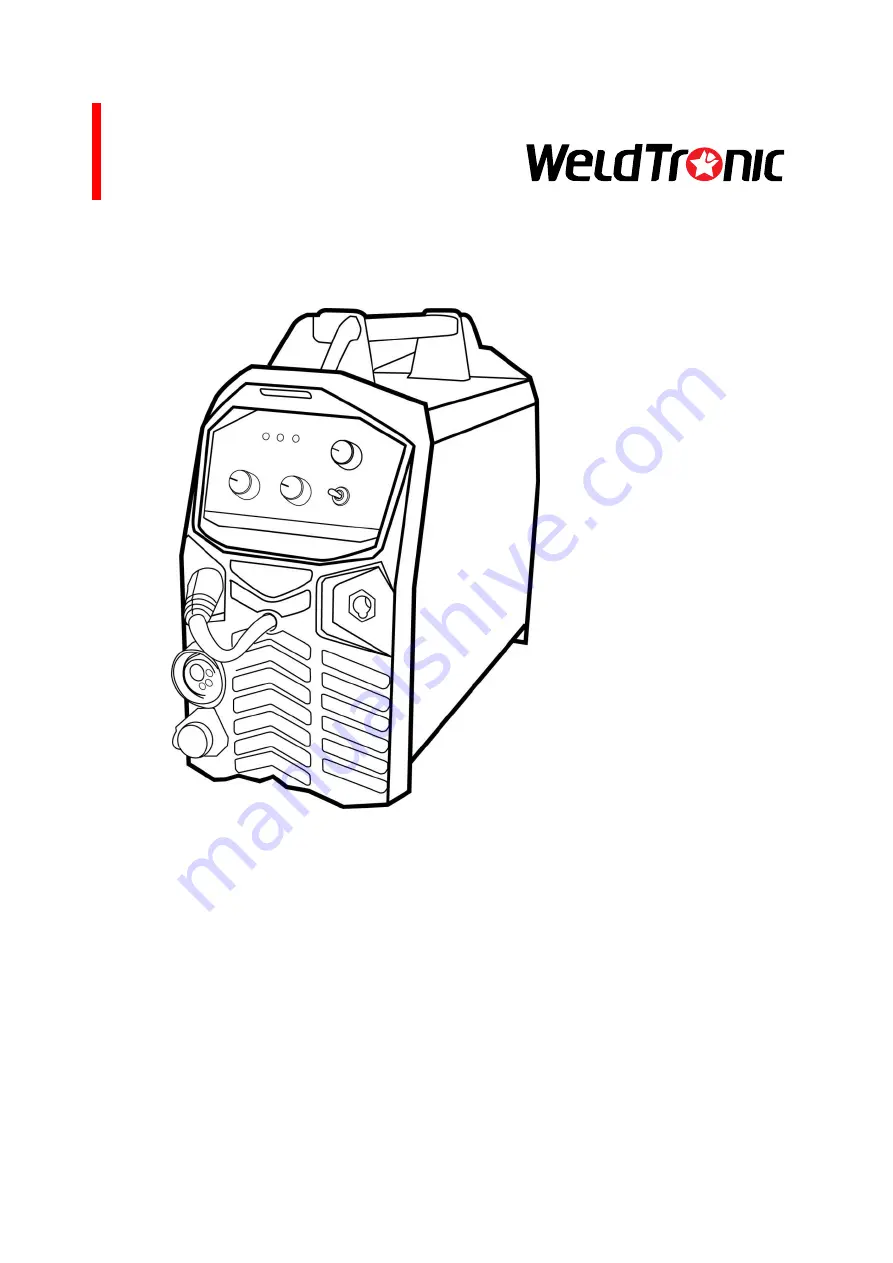
TitanMig 200D MIG/Stick/TIG Welder


Model No.

 TM200D 

Issue.

 A 12/16 


Summary of Contents for TitanMig 200D

Page 1: ...brauchsanweisung DE Manual de instrucciones ES Käyttöohje FI Manuel d utilisation FR Manuale d uso IT Gebruiksaanwijzing NL Bruksanvisning NO Instrukcja obsługi PL Manual de utilização PT Инструкции по эксплуатации RU Bruksanvisning SV 操作手册 CN English TitanMig 200D MIG Stick TIG Welder Model No TM200D Issue A 12 16 ...

Page 2: ...TitanMig 200D Operators Manual Issue A 1216 ...

Page 3: ...ead the entire manual paying particular attention to the Safety Precautions They will help you to avoid potential hazards that may exist when working with this product 2 Year Warranty Statement This product is covered by a 2 Year Warranty Parts Labour Warranty This warranty does not cover freight or goods that have been interfered with All goods in question must be repaired by an authorized repair...

Page 4: ...ating Label Compliance Plate 14 1 5 Overview of Power Source 15 1 6 Overview of Wire Feed Assembly 16 2 0 Installation 17 3 0 Operation 19 3 1 GMAW MIG Welding 20 3 2 MMAW Stick Welding 32 4 0 Trouble Shooting 33 4 1 Mig Trouble Shooting 33 4 2 MMAW Stick Trouble Shooting 35 4 3 Electrical Trouble Shooting 36 5 0 Maintenance 38 6 0 Warranty Terms Conditions 39 ...

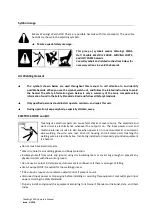
Page 5: ...ts or covers big enough to prevent any physical contact with the work ground Never touch the electrode if you are in contact with the work ground or another electrode from a different machine Do not wrap cables over your body Ensure that you take additional safety precautions when you are welding in electrically hazardous conditions such as damp environments wearing wet clothing and metal structure...

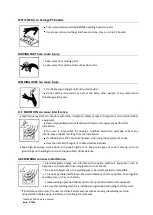
Page 6: ...from moving parts When the machine is in operation keep away from moving parts such as motors and fans Moving parts such as the fan may cut fingers and hands and snag garments Protections and coverings may be removed for maintenance and controls only by qualified personnel after first disconnecting the power supply cable Replace the coverings and protections and close all doors when the intervention ...

Page 7: ...evated absorbance of the primary current from the power supply network high power systems affect the quality of power provided by the network Consequently connection restrictions or maximum impedance requirements permitted by the network at the public network connection point must be applied to these systems In this case the installer or the user is responsible for ensuring the equipment can be con...

Page 8: ...o electromagnetic fields when welding or cutting To reduce magnetic fields in the workplace use the following procedures Keep cables close together by twisting or taping them Arrange cables to one side and away from the operator Do not coil or drape cables around your body Keep welding power source and cables as far away from operator as practical Connect work clamp to work piece as close to the w...

Page 9: ...ts are also live when power is on In semi automatic or automatic wire welding the wire wire reel drive roll housing and all metal parts touching the welding wire are electrically live Incorrectly installed or improperly grounded equipment is a hazard Do not touch live electrical parts Wear dry hoIe free insulating gloves and body protection Insulate yourself from work and ground using dry insulati...

Page 10: ...e to any single weld output terminal SIGNIFICANT DC VOLTAGE exists after removal of input power on inverters Turn off inverter disconnect input power and discharge input capacitors according to instructions in Maintenance Section before touching any parts FUMES AND GASES can be hazardous Welding produces fumes and gases Breathing these fumes and gases can be hazardous to your health Keep your head...

Page 11: ... is safe before doing any welding Protect yourself and others from flying sparks and hot metal Do not weld where flying sparks can strike flammable material Remove all flammables within 35 ft 10 7 m of the welding arc If this is not possible tightly cover them with approved covers Be alert that welding sparks and hot materials from welding can easily go through small cracks and openings to adjacen...

Page 12: ...s supply when not in use Always ventilate confined spaces or use approved air supplied respirator HOT PARTS can cause severe burns Do not touch hot parts bare handed Allow cooling period before working on gun or torch MAGNETIC FIELDS can affect pacemakers Pacemaker wearers keep away Wearers should consult their doctor before going near arc welding gouging or spot welding operations NOISE can damag...

Page 13: ...hoses and fittings designed for the specific application maintain them and associated parts in good condition Turn face away from valve outlet when opening cylinder valve Keep protective cap in place over valve except when cylinder is in use or connected for us FIRE OR EXPLOSION hazard Do not install or place unit on over or near combustible surfaces Do not install unit near flammables Do not over...

Page 14: ...roblem resulting from the installation If notified by the FCC about interference stop using the equipment at once Have the installation regularly checked and maintained Keep high frequency source doors and panels tightly shut Keep spark gaps at correct setting and use grounding and shielding to minimize the possibility of interference ARC WELDING can cause interference Electromagnetic energy can i...

Page 15: ...y instructions in the manual For more information on our products contact us consult an authorized dealer or visit our website The specifications presented in this manual are subject to change without prior notice Important notes Items in the manual that require particular attention in order to minimize damage and personal harm are indicated with the NOTE notation Read these sections carefully and...

Page 16: ...ipped The stick welding MMA capability delivers easy electrode welding with high quality results including cast Iron stainless and low hydrogen An additional feature is the Spool gun ready function that allows the simple connection of the Spool Gun for the use of thin or softer wires that don t have the column strength to feed through standard MIG torches such as aluminum wire This is an industria...

Page 17: ...ower Source 13 5KGS General Information Do not operate or install this equipment without thoroughly reading this manual and the safety precautions contained throughout Save this manual and keep it handy for reference Disconnect mains of the semi automatic welding machine after finishing work or before a long break DO NOT make any modifications to the machine It may cause changes in the features an...

Page 18: ...o upgrade the input power plug and lead to a minimum of 32A if sustained usage at maximum amperage is desired WARNING With the 15A plug supplied it is recommended that the operator does not exceed more than 180Amps as use of higher amperages over this amount may lead to failure and overheating of the 15A plug and circuit which may result in electrical supply component damage and ultimately electri...

Page 19: ... Voltage Arc Force Downslope Adjustment Knob 6 Output terminal 7 Euro Mig TIG Torch Connector 8 Spool Gun Power Supply Connection 9 2T 4T Selector Switch 10 MIG TIG MMA Synergic SET Selector Knob 11 Output terminal 12 Weld Power Lead Rear View 13 Power switch 14 Input cable 15 Gas inlet Inside View 16 Push Pull Torch Switch 17 Wire Inch Button 18 Wire Feed Assembly 1 2 3 13 14 15 16 17 18 4 5 6 7 ...

Page 20: ...ay 2 Amperage Display 3 Amperage Set 4 Down Slope Time Set 5 TIG Function Select 6 2T 4T Trigger Select MIG Function 1 Voltage Display 2 Wire Feed Amperage Display 3 Wire Speed Set 4 Voltage Set 5 MIG Function Select 6 2T 4T Trigger Select SYNERGIC SET MIG Function 1 Voltage Display 2 Wire Feed Amperage Display 3 Wire Speed Set 4 Voltage Set 5 Synergic Set Program Function Select 6 2T 4T Trigger S...

Page 21: ... 10 10 0 6 0 8mm Steel FR301010V0608 Feed Roll 30 10 10 0 9 1 0mm Steel FR301010V0910 Feed Roll 30 10 10 0 9 1 0mm Aluminum FR301010U0910 Feed Roll 30 10 10 0 8 0 9mm Flux Cored FR301010K0809 1 2 3 4 5 6 Drive System 1 Drive Roller 2 Pressure Rollers 3 Inlet Guide 4 Pressure Adjustment Screw 5 Feed Housing 6 Pressure Rocker Arm 7 Drive Motor ...

Page 22: ...purities to enter the machines cooling air flow Preferably site the machine above floor level for example on a suitable carriage unit Notes for positioning the machine The surface inclination should not exceed 15 degrees Ensure the free circulation of the cooling air There must be at least 20 cm of free space in front of and behind the machine for cooling air to circulate Protect the machine again...

Page 23: ...al when using the machine for MMAW Stick the electrode holder is connected to the positive terminal and the work return to the negative terminal In general when using the machine for GMAW Mig the MIG Torch should be connected to the positive terminal Euro Connector and the work return to the negative terminal In general when using the machine Gasless Mig the Mig Torch should be connected to the ne...

Page 24: ...le at 180A Overheating Welding machine must be used according to technical data from this manual If the machine is overloaded failures may occur that are not be covered by warranty Overload control Thermal protection is built in the machine s main transformer and Inverter Bridge If the machine overheats thermal fuse will prevent further use and control lamp on the front panel will light up In this...

Page 25: ...ront panel of the welding machine and tighten it clockwise Insert the quick plug of the gas no gas selector into the output terminal of the welding machine and tighten it clockwise Ensuring that the groove size in the feeding position on the drive roll matches the contact tip size of the welding torch and the wire size being used Release the pressure arm of the wire feeder to thread the wire throu...

Page 26: ...pool on the spindle adapter ensuring that the groove size in the feeding position on the drive roll matches the contact tip size of the welding torch and the wire size being used Release the pressure arm of the wire feeder to thread the wire through the guide tube and into the drive roll groove Adjust the pressure arm ensuring no sliding of the wire Too high pressure will lead to wire distortion w...

Page 27: ...2 welding It uses CO2 as the shield gas and is usually used in globular transfer and short circuit transfer to implement welding It can be used to weld in different positions As compared with other welding methods CO2 welding has many advantages though it produces more spatters CO2 welding is widely used for general metal structure welding The correct shielding gas can alter productivity in GMAW by...

Page 28: ...by producing a uniform oxide layer on the electrode and work piece It also reduces the surface tension of the metal droplets and the molten weld pool The benefits of these two functions are reduced wire losses as a result of spatter and the more efficient use of deposited metal due to reduced reinforcement weld metal build up Penetration Profiles Different shielding gas formulations produce quite ...

Page 29: ...setting Set the welding current after the above preparation Short circuiting transfer is mainly fit for electrode wires of diameter 0 6 1 2mm As a guide for short circuit welding set the welding current according to the table below Wire Diameter mm Welding Current Range A Optimal Current A 0 8 50 120 70 100 1 0 70 180 80 120 1 2 80 350 100 200 Welding speed selecting The welding quality and product...

Page 30: ...hnique all determine joint type Around the groove work pieces should be dry and clean free of rust metallic coating dirt colour or grease Joint type Groove shape Weld shape Metal thickness mm Work piece spacing mm Square butt joint single sided up to 1 5 from 1 5 0 to 2 Square butt joint double sided 2 to 4 up to 2 V butt joint 3 to 6 up to 1 3 to 6 up to 1 Square T joint single sided from 0 6 Squ...

Page 31: ...tip of wire positioned correctly on seam 1 Hold torch and control trigger with one hand 2 Work piece 3 Earth clamp 4 Electrode extension Stickout to in 5 Cradle torch with the other hand and rest it on work piece Heat distribution and weld material flow are specific for groove welds and fillet welds Optimal torch position differs from one to another Weld bead shape differs depending on electrode e...

Page 32: ...r at higher speeds Dragging the torch results in deeper penetration and narrower weld Arc strength prevents slag to enter the molten material When pushing the torch penetration will be shallower and the weld wider This movement is suitable for thin plates because of smaller heat input 1 Stringer bead steady movement along seam 2 Wave bead side to side movement along seam 3 Wave patterns Use weave ...

Page 33: ...roubleshooting GOOD WELD BEAD 1 Fine spatter 2 Uniform bead 3 Moderate crater during welding 4 No overlap 5 Good penetration into base material POOR WELD BEAD 1 Large spatter deposits 2 Rough uneven bead 3 Slight crater during welding 4 Bad overlap 5 Poor penetration ...

Page 34: ...il or lubricant on welding wire from feeder or liner Porosity Small cavities or holes resulting from gas pockets in weld material Possible causes Corrective actions Wrong gas Use welding grade shielding gas change to different gas Welding wire extends too far out of nozzle Be sure welding wire extends no more than in beyond nozzle Work piece dirty Remove all grease oil moisture rust paint undercoa...

Page 35: ... maintaining correct welding wire extension and arc characteristics Improper welding technique Maintain normal gun angle of 0 to 15 degrees to achieve maximum penetration Keep arc on leading edge of weld puddle Be sure welding wire extends no more than in beyond nozzle Insufficient heat input Select higher wire feed speed and or select higher voltage range Reduce travel speed Distortion Contractio...

Page 36: ... Keep arc on leading edge of weld puddle Use correct gun angle of 0 to 15 degrees Insufficient heat input Select higher wire feed speed and or select higher voltage range Burn through Weld metal melting completely through base metal resulting in holes where no metal remains Possible causes Corrective actions Excessive heat input Select lower voltage range and reduce wire feed speed Increase and or...

Page 37: ...you check that you have the electrode polarity correct Please see below a guide to amperages required Electrode Diameter mm Welding Current A Electrode Diameter mm Welding Current A 2 0 40 60 4 0 130 180 2 5 60 95 5 0 180 220 3 2 95 130 6 0 220 260 Average Thickness of Material mm Suggested Electrode Diameter mm Average Thickness of Material mm Suggested Electrode Diameter mm 1 0 2 0 2 5 5 0 8 0 4...

Page 38: ...oting 4 1 Mig Welding Trouble Shooting The following chart addresses some common problems during MIG Welding In the event of equipment malfunction contact an authorized service agent Possible Reason Suggested Solution The Welding current is unstable The pressure arm on the wire feeder is not properly adjusted Adjust it to get proper pressure The drive roll does not match the wire size being used M...

Page 39: ...age range adjust wire speed No wire Speed Wrong Mode selected Check that the selector switch is set to MIG position Inconsistent Wire Feed Adjusting wrong dial Adjust Wire Speed Voltage for Mig Amp dial is used for MMA TIG Wrong Polarity Select the correct polarity for the wire being used Incorrect Wire Speed Adjust Speed setting Voltage Setting Incorrect Adjust Volt setting Torch too long Replace...

Page 40: ...ected Porosity Arc length too long Shorten arc length Contaminated base metal Remove any paint grease oil dirt Damp or Contaminated Electrodes Dry Electrode or replace Lack of Penetration Insufficient heat input Increase amperage Contaminated base metal Remove any paint grease oil dirt Excessive Spatter Amperage set to high Reduce Amperage Arc length too long Shorten arc length Excessive penetrati...

Page 41: ... well connected Reconnect it The wire feeder or welding torch fails Repair the wire feeder or welding torch No response when pushing the torch trigger and the protection LED is off The welding torch is not well connected with the wire feeder Reconnect it The control cable of the wire feeder is not well connected with the welding power supply Reconnect it The torch trigger fails Repair or replace t...

Page 42: ...t if required Check the quick plug is connected Refit if required Check the Euro connector is intact Repair or replace Check Welding Torch for Damage Repair or Replace Welding can be carried out when pushing the torch trigger but the voltage cannot be adjusted Check the Voltage feedback inside the machine is in good condition If check Ok PCB may be defective Welding current is unstable Check the p...

Page 43: ...s after disconnecting the mains cable before removing the machine s case Perform the following cleaning and maintenance at least every six months 1 Clean the interior of the machine and the fan grill s net of any dust and stains for Example with a soft brush and vacuum cleaner Do not use pressurized air The stain may become compressed into the grooves of the coolers Do not use a pressure washing d...

Page 44: ...inal found to be faulty freight free to the customer The obligation of Weldtronic International P L under this warranty is limited to the circumstances set out above and is subject to The customer being able to provide proof of purchase of the product and the purchase price paid for the product The relevant defect in materials or workmanship The product not having been altered tampered with or oth...

Page 45: ... to and covered by the manufacturer s individual warranty Clause 4 1 2 Year warranty on ADF Lens 3 Month warranty on Helmet shell harness fittings Warranty Returns Exchanges 1 Subject to the conditions of warranty set out in the warranty period Weldtronic International P L warrants that if any defect in any workmanship on any product has occurred then the conditions applicable to the warranty peri...

Page 46: ...you are entitled to reject Weldtronic International P L liability is limited to either at Weldtronic discretion replacing the goods or repairing the goods except where you have acquired goods as a consumer within the meaning of the Trade Practices Act 1974 or the Fair Trading Acts of the relevant state or territories of Australian and is therefore also entitled to at the consumers discretion eithe...

Page 47: ...r external factors i Failure orbreakage causedbyoverload droppingorabusive treatmentorusebythecustomer j Repair modifications or other work carried out on the product other than by an authorized Weldtronic service dealer 14 This warranty does not cover the following parts a MIG TIG Stick MMA WeldingTorches Consumablessuchas Gas nozzles Gas diffusers contact tip holder contact tip swan necks trigge...

Page 48: ...6 Weldtronic International P L ABN 99 149 754 263 42 46 Micro Circuit Dandenong Sth Victoria 3175 Australia P O Box 2096 Rowville Victoria 3178 Australia Tel 03 9702 9366 Fax 03 9702 9766 Email sales weldtronic com au Web www weldtronic com au ...

Reviews: