Contact us for assistance: (866) 985-7877 | www.wtliving.com
5
ASSEMBLY
4
I
Turn to lock.
5
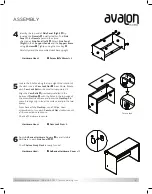
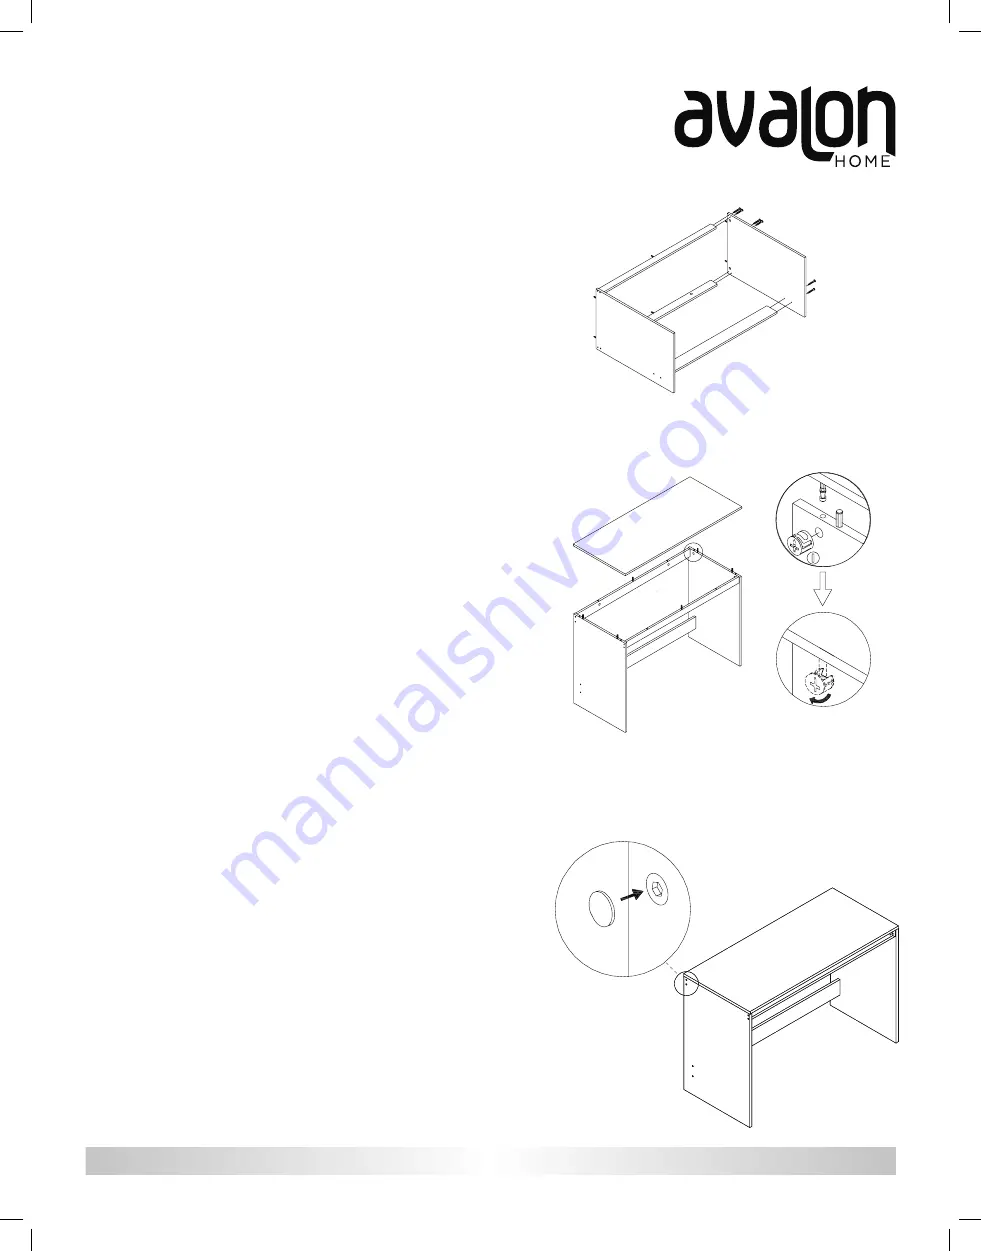
Locate the 8 holes along the top edge of the interior of
the desk. Insert a Cam Lock Nut
I
in each hole. Rotate
each Cam Lock Bolt so the small arrow points UP.
Align the Cam Bolts
H
previously installed in the
bottom of Desktop
E
with the holes in the top edge of
the assembled desk base and lower the Desktop into
place. Press gently to level the surface
and join the two
pieces
.
From beneath the Desktop, use a Phillips-head
screwdriver to turn each Cam Lock Nut clockwise until
all 8
connections are secure.
Check all hardware is secure.
Identify the top end of
Side Panel (
Right
)
B
by
locating the
Dowels
G
installed earlier. Turn
S
ide
Panel
so the
Dowels
point in
the same
direction as Side Panel (Left)
A
. Attach Side Panel
(Right) to the 2 Support Panels and the Support Brace
using 6 Screws
F
. Tighten using the Hex Key
K
.
Carefully stand the assembled desk base upright.
Hardware Used:
F
Screw (M7x48mm)
x
6
Hardware Used:
I
Cam Lock Nut
x
8
A
A
D
C
C
F
F
F
D
6
Apply
Adhesive Hardware Covers
J
over all visible
hardware in each
Side Panel
A
/
B
.
Your
Chelsea Study Desk
is ready for use!
I
H
Hardware Used:
J
Adhesive Hardware Cover
x
12
A
B
J

