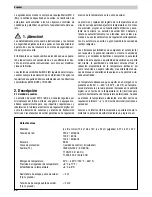
Important:
The soldering tool becomes hot during the calibration
process. Never leave combustible materials near the hot
soldering tool.
Calibration of the control unit (without soldering iron) can also
be carried out by a calibration laboratory. Here, the calibrati-
on values for the soldering iron are simulated.
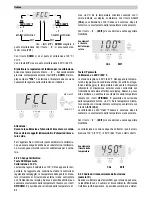
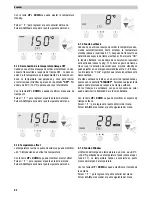
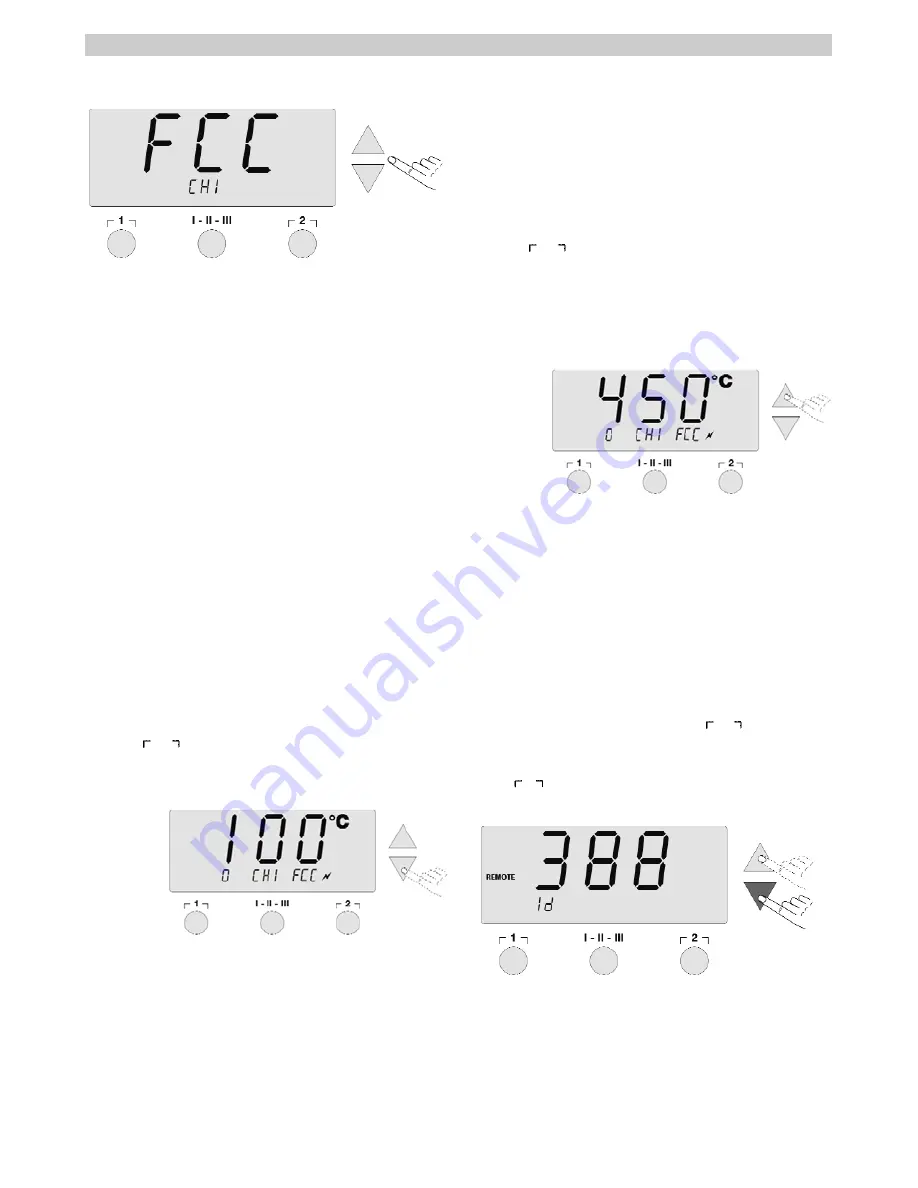
5.2.2 Change Calibration
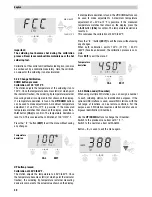
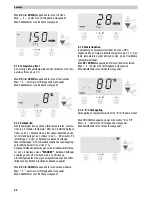
DOWN button pressed
Calibration at 100 °C/212°F.
The station adjusts the temperature of the soldering iron to
100°C. Once the temperature becomes static (at which point
the indicator flashes), the soldering tip temperature (external
measuring device) is compared to that shown on the display.
If a temperature deviation is found, the
UP/DOWN
buttons
can be used to make adjustments. A maximum temperature
adjustment of ±40°C/±72°F is possible. If the measured
temperature matches that shown on the display, press the
I-
II-III
button
(CAL)
to confirm. The temperature deviation is
reset to 0. This concludes the calibration at 100°C/212°F.
Press the
2
button
(EXIT)
to exit the menu without saving
any changes.
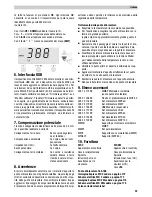
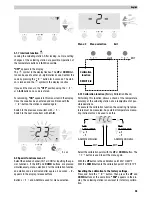
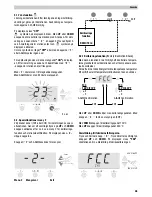
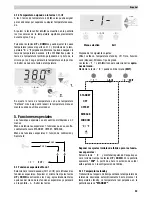
UP button pressed
Calibration at 450°C/842°F.
The station adjusts the temperature to 450°C/842°F. Once
the temperature becomes static (at which point the indicator
flashes), the soldering tip temperature (external measuring
device) is compared to the actual value shown on the display.
If a temperature deviation is found, the UP/DOWN buttons can
be used to make adjustments. A maximum temperature
adjustment of ±40°C/±72°F is possible. If the measured
temperature matches that shown on the display, press the
I-II-III
button
(CAL)
to confirm. The temperature deviation is
reset to 0.
This concludes the calibration at 450°C/842°F.
Press the
2
button
(EXIT)
to exit the menu without saving
any changes.
When both calibration points 100°C (212°F) / 450°C
(842°F) have been balanced, the calibration process is com-
plete.
Press
EXIT
to exit the menu 2.
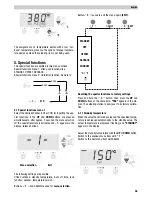
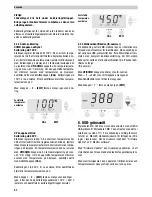
5.2.3 Station code (ID number)
When using multiple WD stations, you can assign a number
to each soldering station for identification purposes. If the
optional USB interface is used, several WD stations, with the
full range of functions, can be remote-controlled. For this
purpose, each WD station requires a station code for unam-
biguous identification (ID number).
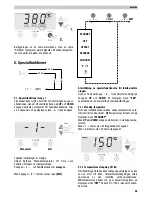
Use the
UP/DOWN
buttons to change the ID number.
Switch to the previous menu item with
1
.
Switch to the next menu item with
I-II-III
.
Button
2
is used to exit the menu again.
English
39
CAL EXIT
450°C/842°F
100°C/212°F
Temperature
deviation
Temperature
deviation
CAL EXIT
Summary of Contents for WD 1M
Page 8: ...WD 2 ...
Page 9: ...WD 2M ...
Page 179: ...170 Setback function ...
Page 180: ...171 USB interface ...
Page 181: ...172 Exploded Drawing WD 2 WD 2 ...
Page 182: ...173 Circuit Diagram WD 2 ...
Page 183: ...174 Exploded Drawing WD 2M WD 2M ...
Page 184: ...175 Circuit Diagram WD 2M ...

