background image


6 of 13 

                             Wellness Supply Group 


           V002 

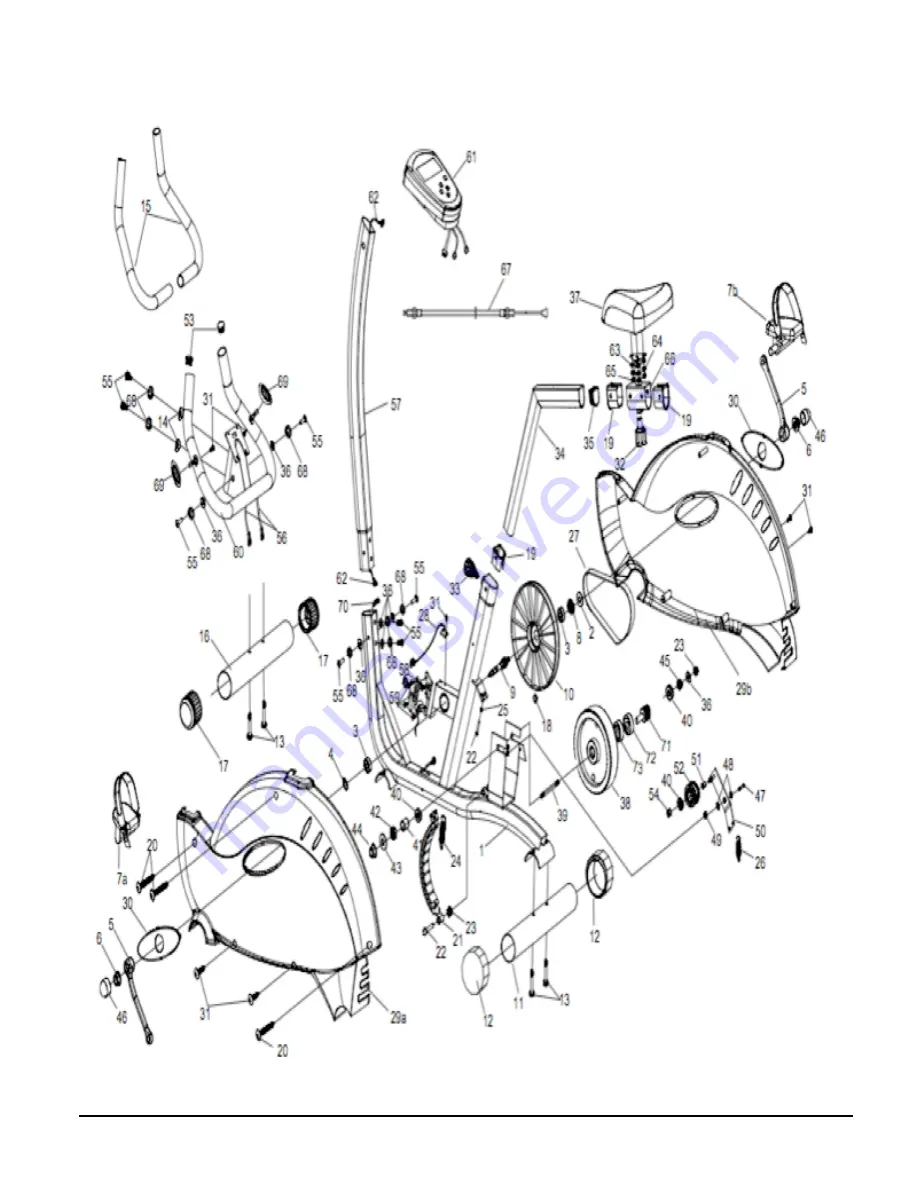
4.  Exploded Drawing 


Summary of Contents for Rx BD525U

Page 1: ...1 of 13 Wellness Supply Group V002 Upright Bike BD525U Wellness Supply Group LLC 1685 Woodland Avenue Columbus OH 43219 Tel 800 653 8037 Fax 614 474 1483 E mail info wellnessSG com...

Page 2: ...g 2 Assembly Parts List 4 3 Assembly Hardware List 5 4 Exploded Drawing 6 5 Assembly Instructions 7 6 Computer Console Instructions 10 i Main Display ii Key Board iii Functions iv Profile Charts v Key...

Page 3: ...f you are experiencing pain or pressure 5 Keep children and pets away from the machine while in use 6 Only one person can use the machine at a time 7 Make sure your machine is correctly assembled befo...

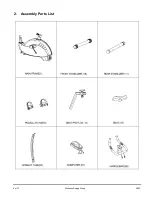
Page 4: ...4 of 13 Wellness Supply Group V002 2 Assembly Parts List...

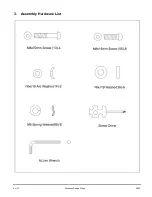
Page 5: ...5 of 13 Wellness Supply Group V002 3 Assembly Hardware List...

Page 6: ...6 of 13 Wellness Supply Group V002 4 Exploded Drawing...

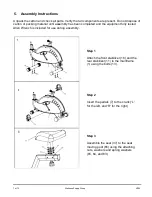
Page 7: ...has been completed and the equipment fully tested Allen Wrench is included for use during assembly Step 1 Attach the front stabilizer 16 and the rear stabilizer 11 to the mainframe 1 using the bolts 1...

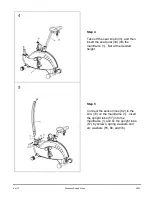
Page 8: ...hen insert the seat post 34 into the mainframe 1 Set at the desired height Step 5 Connect the sensor lines 62 to the end 70 on the mainframe 1 Insert the upright tube 57 into the mainframe 1 and fix t...

Page 9: ...spring washers 68 and arc washers 14 and washers 36 Step 7 Insert the male end of sensor wire 62 into the computer 61 Connect the pulse wires 56 with the wires on the computer 61 Attach the computer o...

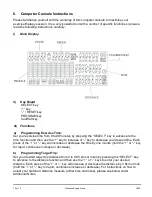
Page 10: ...o the time function and then use the key to increase or key to decrease your desired time Each press of the or key will increase or decrease the time by one minute hold the or key for rapid continuous...

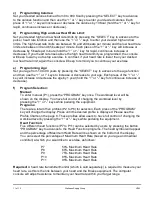
Page 11: ...Each press of the or key will increase or decrease the age by 1 year hold the or key for continuous increase or decrease f Program Selection Manual To enter manual P1 press the PROGRAM key once The w...

Page 12: ...Press this key to increase the values of the setting mode or increase the level of the workload c RESET key Press this key to decrease the value of the setting mode or decrease the level of the workl...

Page 13: ...until the display stops flashing and then continue with the set up procedure as per the above detailed steps 7 Maintenance i Keep the product clean and free from dust dirt and foreign substances ii In...

Reviews: