6 - Inserire lo spinotto (7) completo di rondella dentata (8) (preas-
semblati dal costruttore) sull’ estremità scanalata della spina che
sporgerà dal braccio di alcuni millimetri.
Montare quindi la molla (9) facendone coincidere il diametro inter-
no con la rondella posta sulla rondella dentata.
Coprire con il cappellotto (10), inserire le viti (11), centrando i fori
sui bracci, quindi serrarle.
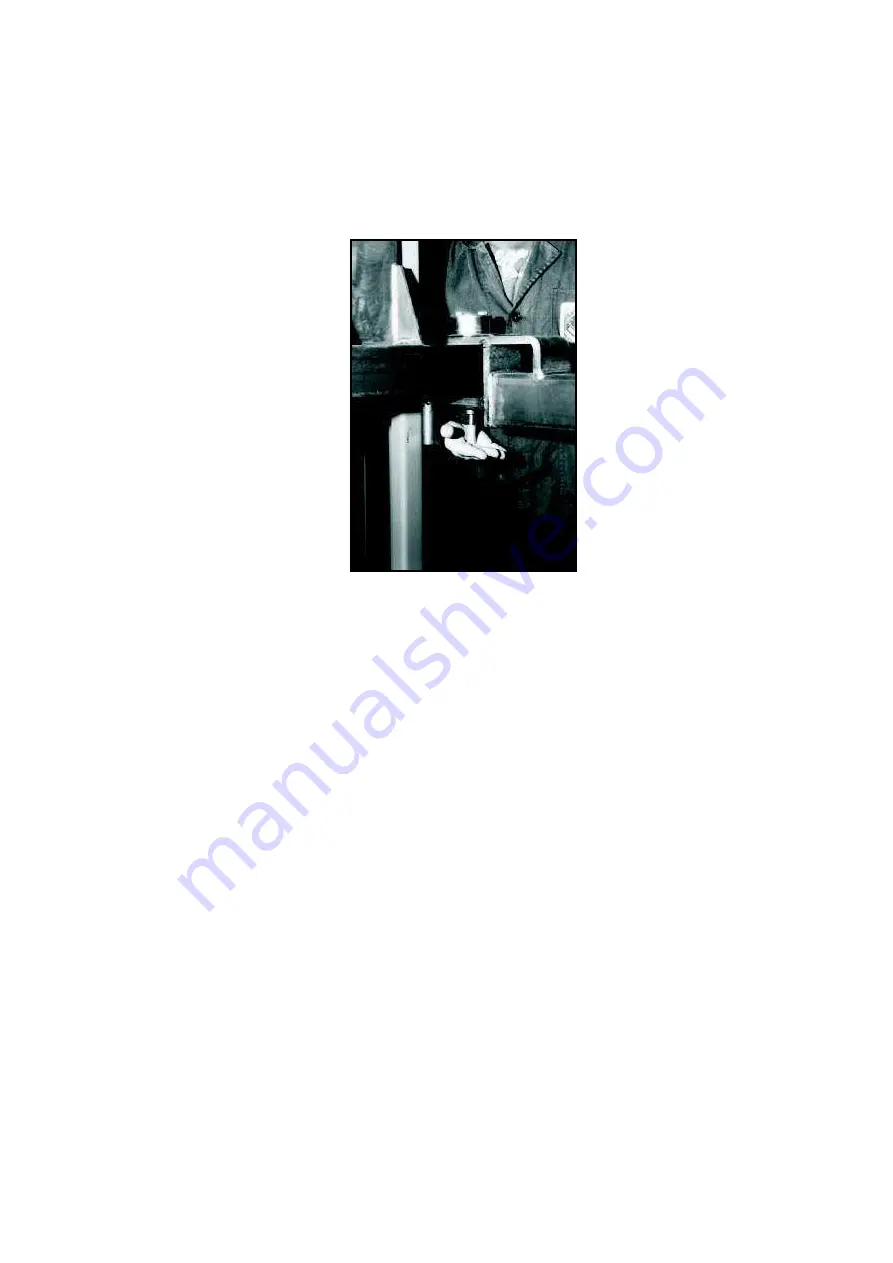
7 - Verificare il corretto funzionamento del dispositivo di bloccaggio
bracci, premendo verso l’ alto sulla prolunga del perno spingimolla
e ruotando il braccio in uno dei 2 sensi, così che dopo una breve
rotazione il perno ritorni nella sua posizione iniziale (Fig.54).
8 - Ripetere le stesse operazioni per il montag-
gio degli altri 3 bracci.
I
ATTENZIONE
Controllare il corretto funzionamento dei
blocca bracci in tutte le posizioni possibili
per il sollevamento di un veicolo.
Fig.54
Verifica funzionamento bloccaggio bracci
6 - Insert the pin (7) complete with lock washer (8) (pre-assembled
by the manufacturer) on the grooved end of the pin that will project
from the arm support by a few millimetres.
Then mount the spring (9) making the internal diameter coincide
with the washer located on the lock washer (5).
Cover with the cap (10), insert the screws (11), centering the holes
of the arm support, and then tighten the screws.
7 - Make sure that the arm locking device works correctly, pressing
the extension of the spring thrust pin (1) upwards and turning the
arm in one of the 2 directions, so that after a brief rotation the pin
returns to its position (Fig.54) and the arm locks.
8 - Repeat the same operations for assembling
the other 3 arms.
I
WARNING
Make sure the arms lock in all the positions
where they might lift a vehicle.
Fig.54
Arm locking device control.
30
Summary of Contents for 208I/A
Page 1: ...I SOLLEVATORE ELETTROIDRAULICO A 2 COLONNE GB 2 POST ELECTRO HYDRAULIC LIFT 208I A...
Page 2: ......
Page 39: ...COLONNE E TRAVE SUPERIORE POSTS AND UPPER BEAM 39...
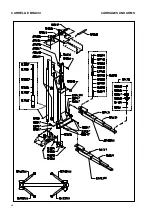
Page 40: ...CARRELLI E BRACCI CARRIAGES AND ARMS 40...
Page 41: ...SICUREZZE SAFETY DEVICES 41...
Page 42: ...QUADRO ELETTRICO TRIFASE THREE PHASE CONTROL PANEL 42...


