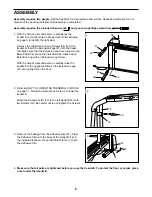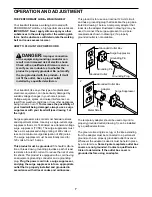
HOW TO FOLD AND MOVE THE TREADMILL
HOW TO FOLD THE TREADMILL FOR STORAGE
Unplug the power cord. Caution: You must be able to
safely lift 45 pounds (20 kg) in order to raise, lower, or
move the treadmill.
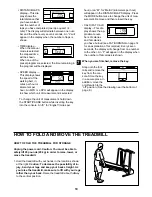
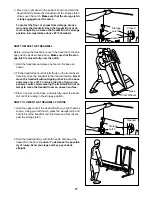
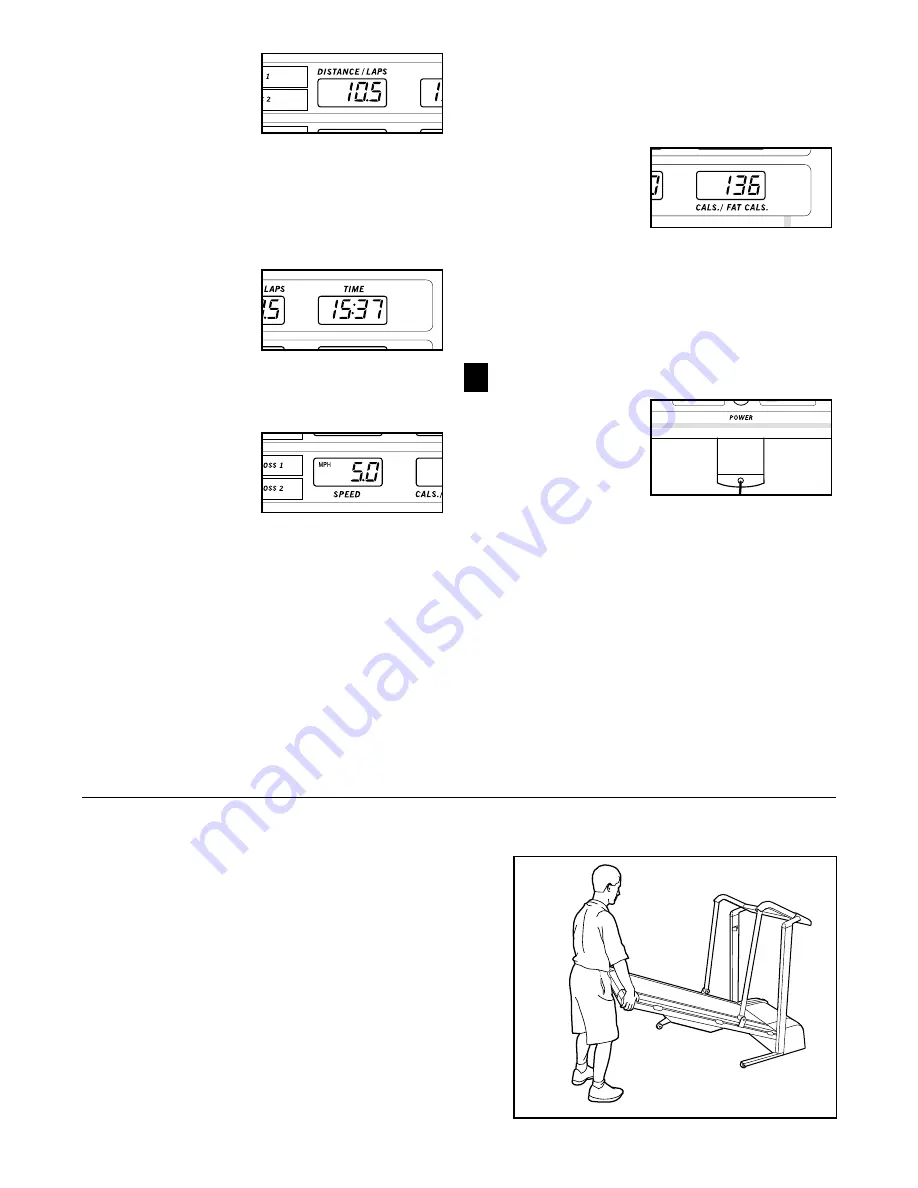
1. Hold the treadmill with your hands in the locations shown
at the right. Caution: To decrease the possibility of in-
jury, bend your legs and keep your back straight. As
you raise the treadmill, make sure to lift with your legs
rather than your back. Raise the treadmill about halfway
to the vertical position.
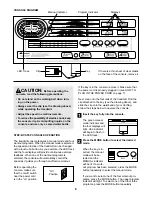
• DISTANCE/LAPS
display—This dis-
play shows the
total distance that
you have walked
and the number of
laps you have completed (one lap equals 1/4
mile). The display will alternate between one num-
ber and the other every seven seconds. An “L” will
appear in the display when the number of laps is
shown.
• TIME display—
When the manual
mode is selected,
the elapsed time
will be shown.
When one of the
preset programs is selected, the time remaining in
the program will be displayed.
• SPEED display—
This display shows
the speed of the
walking belt, in
miles per hour or
kilometers per
hour. An MPH or a KPH will appear in the display
to show which unit of measurement is selected.
To change the unit of measurement, hold down
the START/PAUSE button while inserting the key
into the console. An “E” for “English” (miles per
hour) or an “M” for “Metric” (kilometers per hour)
will appear in the DISTANCE/LAPS display. Press
the MODE button twice to change the unit of mea-
surement. Remove and then reinsert the key.
• CALS./FAT CALS.
display—This dis-
play shows the ap-
proximate num-
bers of calories
and fat calories
you have burned (see FAT BURNING on page 14
for an explanation of fat calories). Every seven
seconds, the display will change from one number
to the other. An “F” will appear in the display when
the number of fat calories is shown.
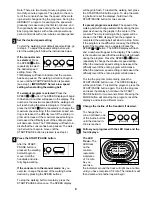
When you are finished, remove the key.
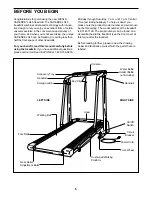
Step onto the foot
rails and remove the
key from the con-
sole. Store the key
in a secure place. In
addition, move the
on/off switch to the
“off” position. (See the drawing near the bottom of
page 8.)
7
10


