


Page 37
WESMAR
INSTALLATION AND OPERATION
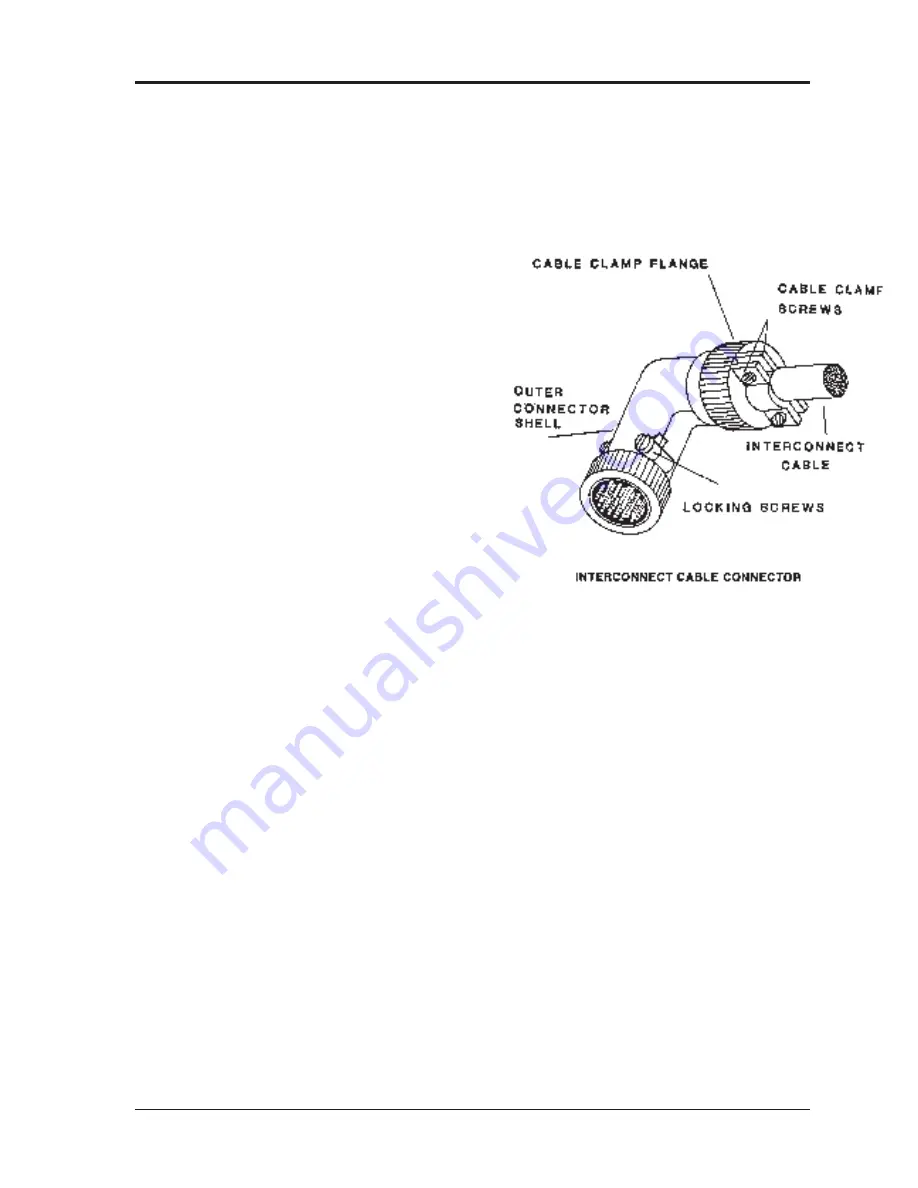
8 notches on the back of the wired connector.
Position the connector so that the keyway points
toward the top of the console when installed.
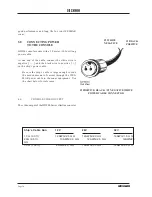
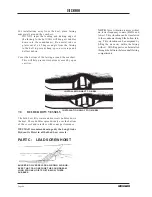
6.1.5
Place one half of the outer shell in the desired
cable run direction, and align the key with the
appropriate notch.
6.1.6
Install the other half of the outer shell and
clamp the halves together by inserting the two
locking screws, or by screwing on the lock-
ing ring. Make sure that no wires are pinched
between the two halves.
6.1.7
Screw on the cable clamp flange (without
twisting the cable), and tighten the cable
clamp screws to secure the cable.
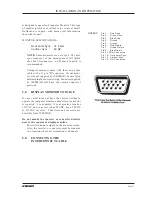
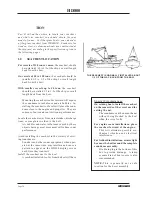
7.0
CONNECTING
THE
SPEAKER
Connect the three-conductor phone jack to the two
wires from the speaker.
Solder one of the speaker wires to the jack terminal
that is connected to the tip of the jack.
Solder the second wire to the jack terminal that is
connected to the conducting area just above the tip.
No connection is made to the jack ground.
Install the speaker where it can be heard by the sonar
operator.
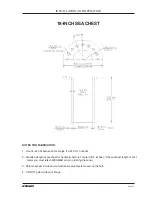
PART B: SEACHEST INSTALLA-
Summary of Contents for HD800/110-10
Page 10: ...Page 10 WESMAR HD800...
Page 32: ...Page 32 WESMAR HD800 Section III INSTALLATION...
Page 64: ...Page 64 WESMAR HD800 HYDRAULIC HOIST ASSEMBLY A...
Page 65: ...Page 65 WESMAR INSTALLATION AND OPERATION HYDRAULIC HOIST ASSEMBLY B...
Page 74: ...Page 74 WESMAR HD800 M18 HOIST CONTROL CIRCUITRY THIS PAGE LEFT INTENTIONALLY BLANK...
Page 86: ...Page 86 WESMAR HD800...
Page 87: ...Page 87 WESMAR INSTALLATION AND OPERATION Section IV FIELD ADJUSTMENTS CALIBRATION...
Page 92: ...Page 92 WESMAR HD800 HD J BOX TRANSMIT PREAMP RECEIVER PCB T P R...


