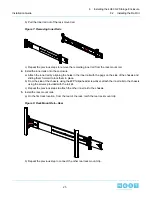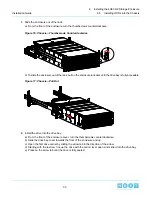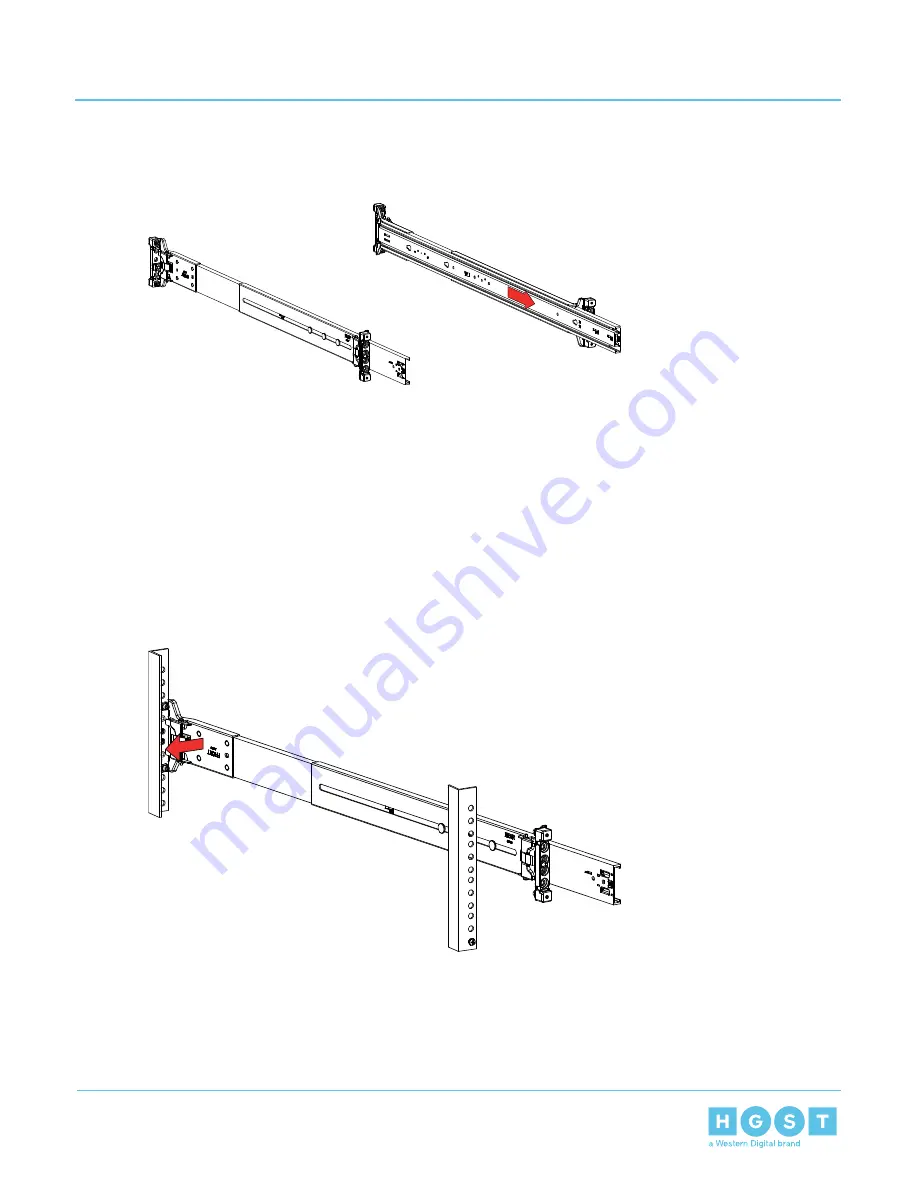
b) Pull the inner rail out of the rack mount rail.
Figure 7: Removing Inner Rails
c) Repeat the previous steps to remove the remaining inner rail from the rack mount rail.
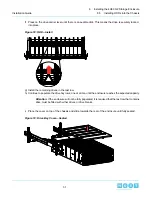
4. Install the inner rails onto the enclosure.
a) Attach the inner rail by aligning the holes in the inner rail with the pegs on the side of the chassis and
sliding them forward to lock them in place.
b) From the side of the chassis, using the #2 Phillips-head screwdriver, attach the inner rails to the chassis
using the screws provided with the rail kit.
c) Repeat the previous steps to attach the other inner rail to the chassis.
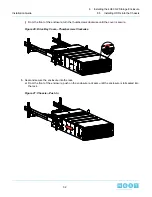
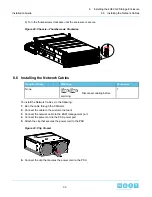
5. Install the rack mount rails.
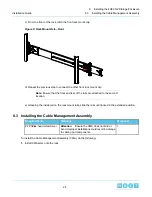
a) On the first rack location, from the rear of the rack, latch the rear rack mount clip.
Figure 8: Rack Mount Rail—Rear
b) Repeat the previous step to connect the other rear rack mount clip.
25
8
Installing the 4U60 G2 Storage Enclosure
Installation Guide
8.2
Installing the Rail Kit

