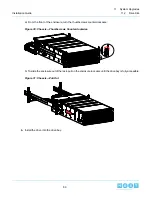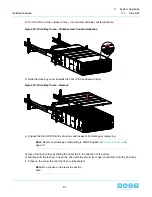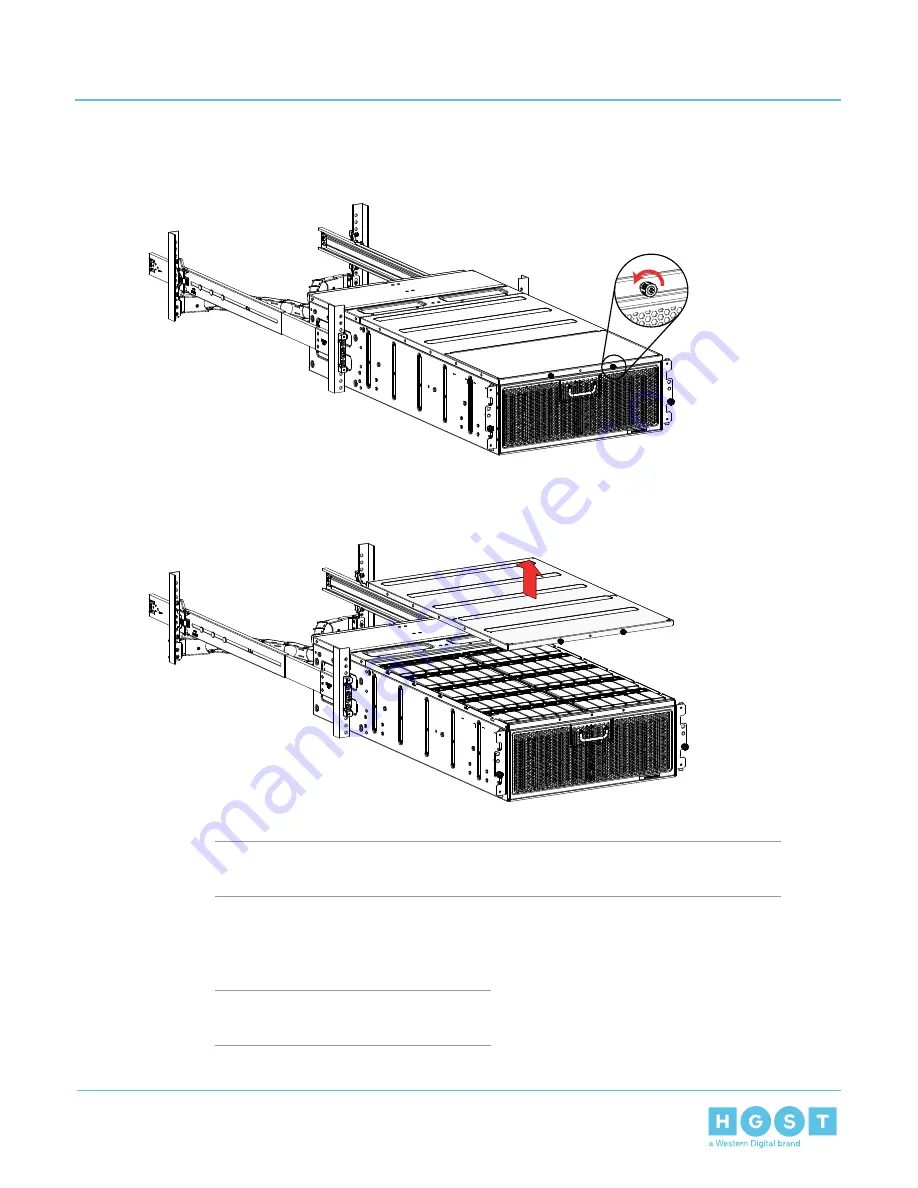
a) From the front of the enclosure cover, turn the thumbscrews counterclockwise.
Figure 32: Drive Bay Cover—Thumbscrews Counterclockwise
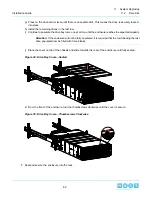
b) Slide the drive bay cover towards the front of the enclosure and up.
Figure 33: Drive Bay Cover—Remove
c) Unpack the first HDD from the drive box and inspect it for damage or tampering.
Note: Report any damage or tampering to HGST Support at
on
page 10.
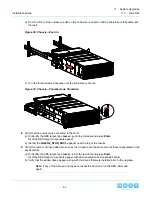
d) Open the drive carrier by sliding the arrow tab in the direction of the arrow.
e) Starting with the last row, line up the drive with the carrier lever open, and slide it into the drive bay.
f) Press on the arrow tab until the drive is fully seated.
Note: Do not push on the lever to seat the
drive.
61
11
System Upgrades
Installation Guide
11.2
Drive Kits

