USING THE WD SENTINEL SERVER’S FEATURES
58
WD SENTINEL RX4100
ADMINISTRATOR AND MAINTENANCE GUIDE
Remote Web Access Home Page
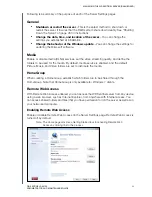
The Remote window includes the following sections:
Note:
You can also use the navigation links at the top of the window to view these
sections.
Computers
Note:
Connecting to computers or the WD Sentinel server using Remote Web
Access requires the Internet Explorer browser.
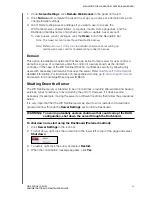
Click
Connect
to connect to your WD Sentinel server or to a computer on your
network.
-
If the Internet Explorer you are using does not have Active X Client, click
OK
to
install it, then complete the wizard.
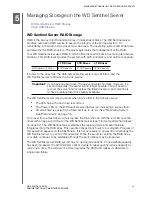
Shared Folders
Access shared folders on the WD Sentinel server. The folders may include Documents,
Pictures, Music, Video, Recorded TV, and any additional shared folders the Administrator
may create using the Dashboard
.
A user with "Read & Write" access to a particular shared
folder is able to modify the contents of the existing files, upload new files, or delete files from
the folder.
Note:
Only the folders for which the user has permissions are displayed under
Shared Folders on Remote Web Access.
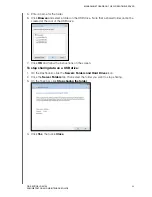
Media Library
Browse through your pictures, music, videos, and recorded videos. The WD Sentinel server
automatically discovers the media files and adds them to your media library. The built-in
media capabilities allow you to view your pictures in a slideshow, steam digital music, or
stream videos over the web.
Backing up (Windows PC)
The WD Sentinel server backup is based upon block level de-duplication, a process that
backs up data without unnecessarily backing up the same data more than once. This
powerful process uses less network traffic for execution, provides a full back-up at each
backup time (although it behaves as if it is incremental), and by executing de-duplication
across all client computers, the storage capacity requirements are significantly reduced.
Backup becomes an automatic process for a computer once you install Connector software
on it. With Connector software installed, all volumes and all NTFS data on that computer are
backed up.
Note:
For information on backing up your Mac using Time Machine, See “Backing up with
Time Machine (Mac)” on page 61.

