Lit. No. 95900/95901, Rev. 00
9
September 1, 2006
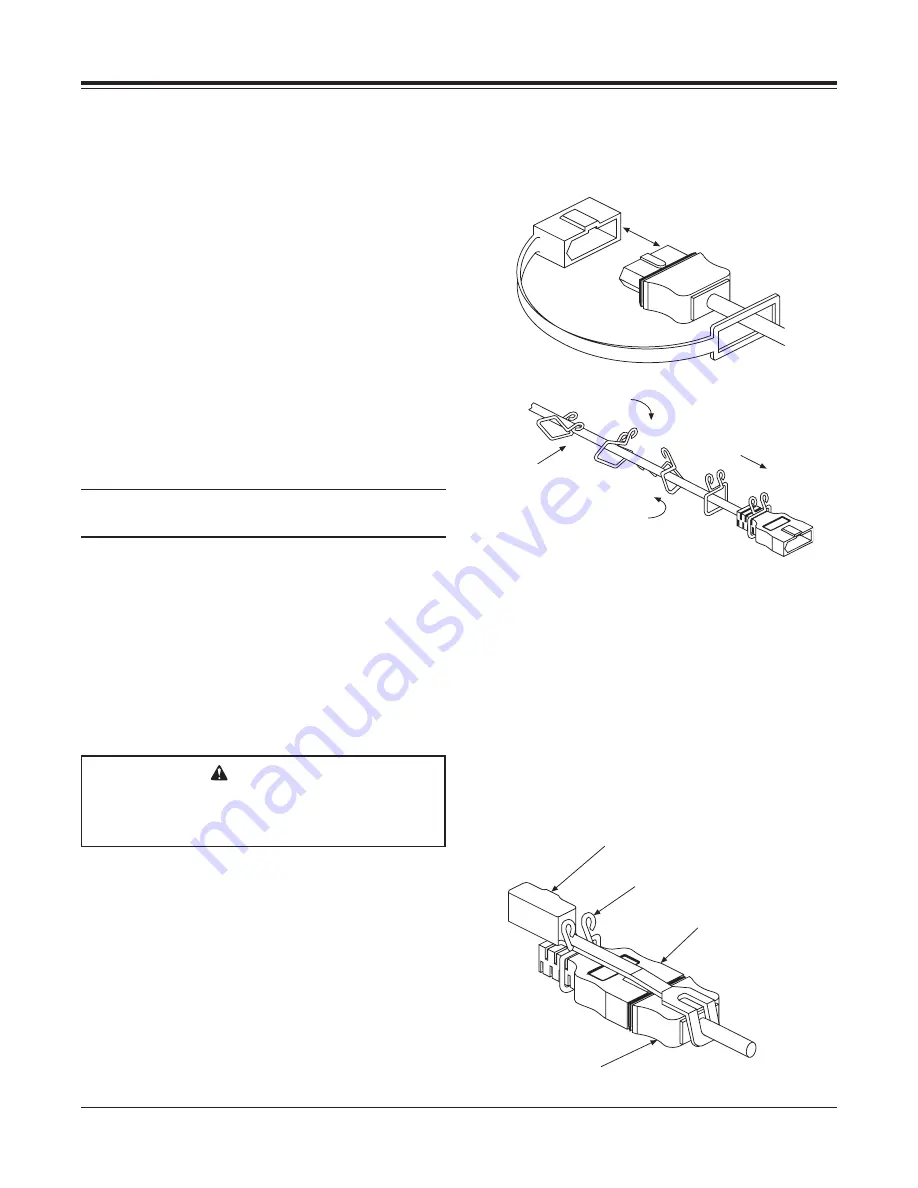
Plug Cover
Hook Legs
Spreader
Harness Plug
Vehicle
Harness Plug
WIRING AND HARNESS PLUG INSTRUCTIONS
Wiring Instructions
To properly wire the hopper spreader, please adhere
to the following recommended installation sequence.
1. Install either the Spreader or Vehicle Battery Kit
per the instructions included with the kit.
2. Install the vehicle harness included with the
spreader per the following instructions.
3. Install the cab control per the instructions included
with the cab control.
Vehicle Harness Installation
All spreaders are shipped from the factory with the
spreader harness wired to the engine, clutch, and
electric throttle.
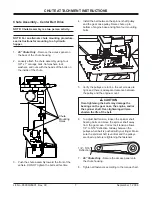
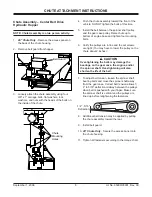
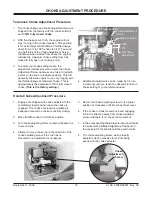
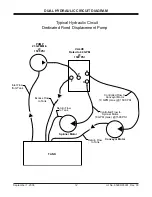
NOTE: Use dielectric grease on all electrical
connections.
1. Plug the vehicle harness into the spreader
harness.
2. Lay out a path for routing the vehicle harness into
the cab of the truck. Make sure the vehicle
harness avoids any hot or moving parts of the
truck. Routing will vary from truck to truck.
3. Identify a convenient location for the cab control
that can be reached by the harnesses and wiring.
4. Drill a 5/8" hole in the fire wall so that the vehicle
harness can reach the desired cab control
location.
5. Insert the rubber grommet into the hole.
6. Route the harness to the desired location.
7. Secure the vehicle harness to the truck. Verify that
the harness cannot drop onto the road when it is
disconnected from the spreader.
Harness Plug and Hook Instructions
1. Install the plug cover as shown.
2. Position the legs of the hook over the spreader
harness.
3. Twist the hook to spread the wire.
4. Rotate the hook and push over the spreader
harness.
5. Squeeze the legs of the hook together and slide
the hook over the spreader harness plug.
6. After connecting the spreader harness plug with
the vehicle harness plug, secure the plug cover
into the legs of the hook.
CAUTION
Before drilling any holes, check both sides of
the material for any wires, fuel lines, fuel tanks,
etc. that may be damaged by drilling.
Step 2
Step 3
Step 4
Step 5


